Extractor Fan Troubleshooter
Select the symptoms you are experiencing to get a customized diagnosis and action plan.
Recommended Action Plan
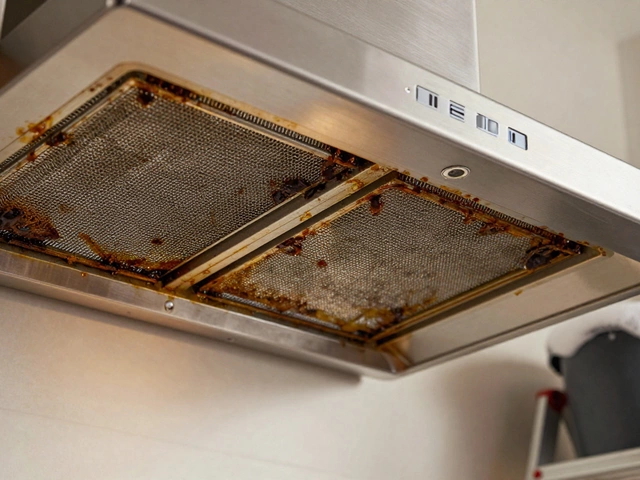
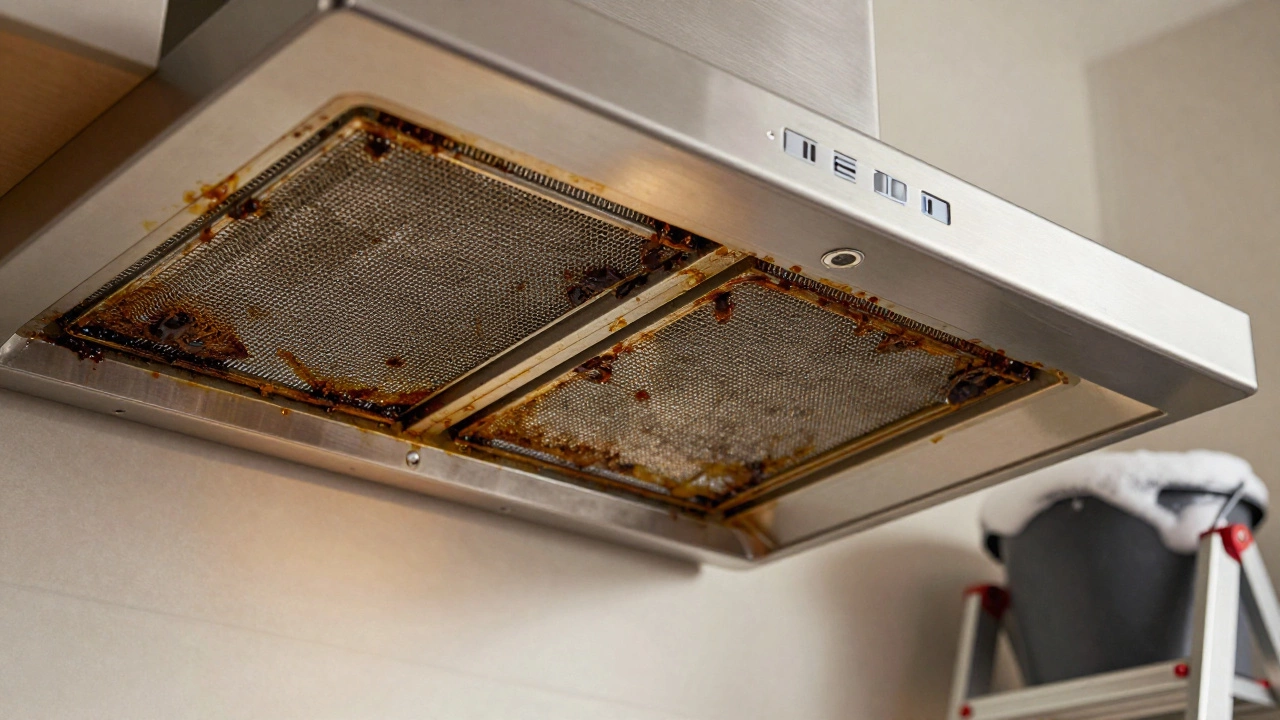
Is your kitchen extractor fan struggling to pull smoke away? Maybe it’s making a rattling noise that sounds like gravel in a blender. Or perhaps you just noticed the air coming out feels warm and oily instead of cool and fresh. You aren’t dealing with a broken motor right away. In most cases, the culprit is simple: a blockage. Grease, dust, and debris build up over time, choking the airflow and forcing the fan to work twice as hard for half the result.
Unblocking your kitchen extractor fan is a process of removing accumulated grease, dust, and debris from filters, ducts, and blades to restore proper airflow doesn’t require a degree in engineering. It does require a bit of patience, some household supplies, and the willingness to get your hands dirty. If you skip this maintenance, you risk overheating the motor, increasing fire hazards, or simply living in a kitchen that smells like last night’s dinner three days later.
Gather Your Tools Before You Start
Before you climb on a chair or take apart the hood, make sure you have everything within reach. Running back and forth to the garage while holding a greasy filter is a recipe for disaster. Here is what you need:
- A sturdy step ladder: Safety first. Don’t balance on a wobbly stool.
- Mechanical gloves: Grease is slippery and can harbor bacteria. Protect your skin.
- A large bucket or basin: For soaking filters.
- Degreaser or strong dish soap: Something that cuts through oil effectively.
- An old toothbrush or small scrub brush: For reaching into tight mesh grids.
- A vacuum cleaner with a hose attachment: Ideally one with a HEPA filter to capture fine dust.
- A screwdriver set: Usually Phillips head, but check your model.
- Aluminum foil or plastic sheeting: To protect your countertops from drips.
Step 1: Cut the Power
This isn’t optional. Even if the fan seems off, capacitors inside the motor can hold a charge, and accidental activation can cause injury. Locate your circuit breaker panel and switch off the power to the kitchen lighting and outlets. If you know which specific breaker controls the hood, flip that one. If not, turn off the main kitchen breaker. Verify the power is dead by trying to turn on the fan switch. Nothing should happen.
Step 2: Remove and Clean the Filters
The first line of defense against blockages is the filter. Most modern hoods use either metal mesh grease filters or charcoal filters. Metal filters are washable; charcoal filters are disposable. If yours has a charcoal layer attached to the metal mesh, you’ll need to buy replacements eventually, but for now, we focus on the metal part.
- Locate the release mechanism: Most filters slide out horizontally or drop down when you press a small button or lever at the bottom edge. Look for arrows indicating the direction of movement.
- Scrape off excess grease: Before washing, use a spatula or paper towel to wipe away thick, liquid grease. This prevents clogging your sink drain.
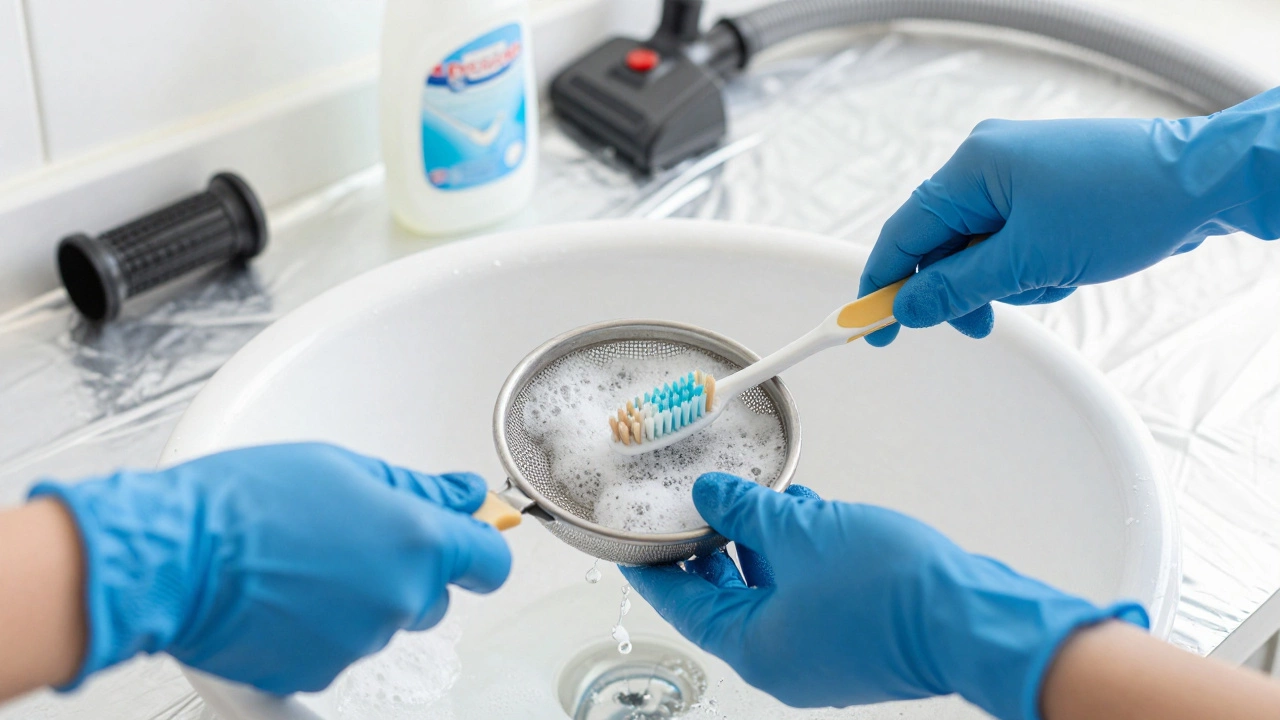
- Soak the filters: Fill your bucket with hot water and a generous amount of degreaser or dish soap. Let the filters soak for at least 30 minutes. For heavy buildup, let them sit overnight.
- Scrub thoroughly: Use the toothbrush to agitate the mesh. Pay attention to the corners where grease pools. Rinse with hot water until the water runs clear.
- Dry completely: Air dry them fully before reinstalling. Moisture trapped in the filter can lead to mold growth or rust.
Step 3: Inspect the Ductwork
If your fan vents outside (which it should), the ductwork is the next likely spot for a blockage. Birds often nest in exterior vents, and spiders love the dark, dusty interior of flexible aluminum ducts. A blocked duct creates backpressure, causing the fan to wheeze and lose suction.
Check the exterior vent cap first. Go outside and look at the wall or roof where the duct exits. Is there a bird’s nest? A spiderweb covering the flap? Clear any visible debris. If the flap sticks open or closed, lubricate the hinge with silicone spray.
For internal blockages, you might need to disconnect the duct from the back of the hood. This requires removing the hood’s outer casing, which varies by model. If you’re uncomfortable doing this, stop here. However, if you proceed, use your vacuum cleaner with the hose attachment to suck out loose dust and cobwebs from the duct opening. For deep cleaning, a long-bristled brush designed for dryer vents can help dislodge stubborn grease layers inside rigid metal ducts.
Step 4: Clean the Fan Blades and Housing
Once the filters are clean and the duct is clear, you need to address the fan itself. Over time, grease coats the impeller blades, making them unbalanced and inefficient. An unbalanced fan vibrates excessively, leading to premature bearing failure.
- Remove the fan cover: Depending on your model, this might involve unscrewing a few bolts or twisting a retaining ring. Keep screws in a magnetic tray so they don’t roll under the cabinet.
- Extract the impeller: The central hub usually has a nut or clip holding it in place. Loosen it carefully. Note the orientation of the blades before removing them; you’ll need to put them back exactly the same way.
- Clean the blades: Soak the impeller assembly in the same degreasing solution as the filters. Scrub each blade individually. Grease buildup on one side more than the other causes imbalance.
- Wipe the housing: While the parts are soaking, use a damp cloth with degreaser to wipe the inside of the fan housing. Avoid getting water near the motor windings.
- Reassemble: Ensure all parts are bone dry. Reinstall the impeller, ensuring it spins freely without rubbing against the housing. Secure the cover.
When to Call a Professional
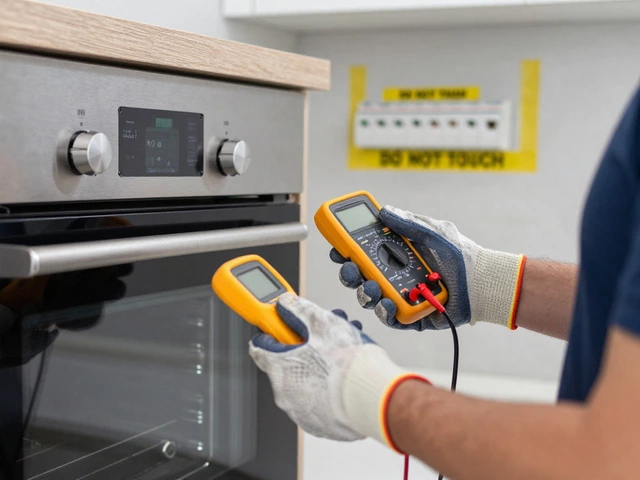
Sometimes, cleaning isn’t enough. If you’ve completed these steps and the fan is still weak, noisy, or vibrating, the issue might be mechanical. Listen closely. A high-pitched squeal often indicates worn bearings. A grinding noise suggests the motor shaft is damaged. Electrical issues, like flickering lights when the fan turns on, point to wiring problems.
In these cases, DIY repair can be dangerous. Motors contain high-voltage components, and improper reassembly can void warranties or create fire risks. Contact a certified appliance repair technician. They have specialized tools to test motor amperage and replace internal components safely.
| Symptom | Likely Cause | Action Required |
|---|---|---|
| Weak suction | Clogged filters or duct blockage | Clean filters and inspect ductwork |
| Loud rattling | Loose screws or foreign object in fan | Tighten hardware and remove debris |
| Burning smell | Overheating motor or electrical fault | Turn off immediately and call a pro |
| Grease dripping | Saturated filters | Replace or deep clean filters |
Maintenance Tips to Prevent Future Blockages
Prevention is easier than cure. Incorporate these habits into your kitchen routine:
- Clean filters monthly: Don’t wait for them to look black. Light cleaning takes five minutes; deep cleaning takes an hour.
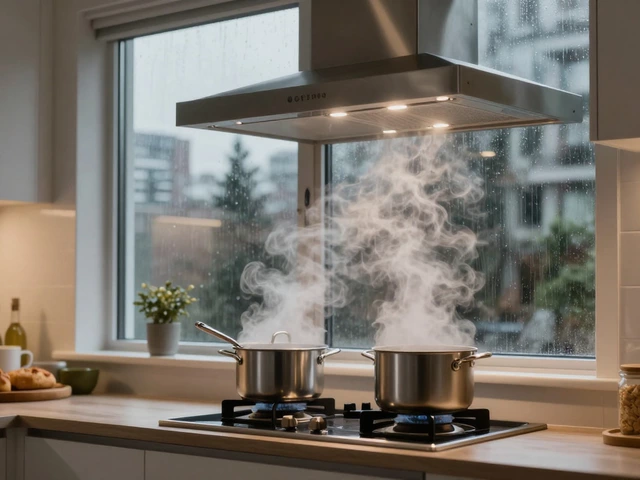
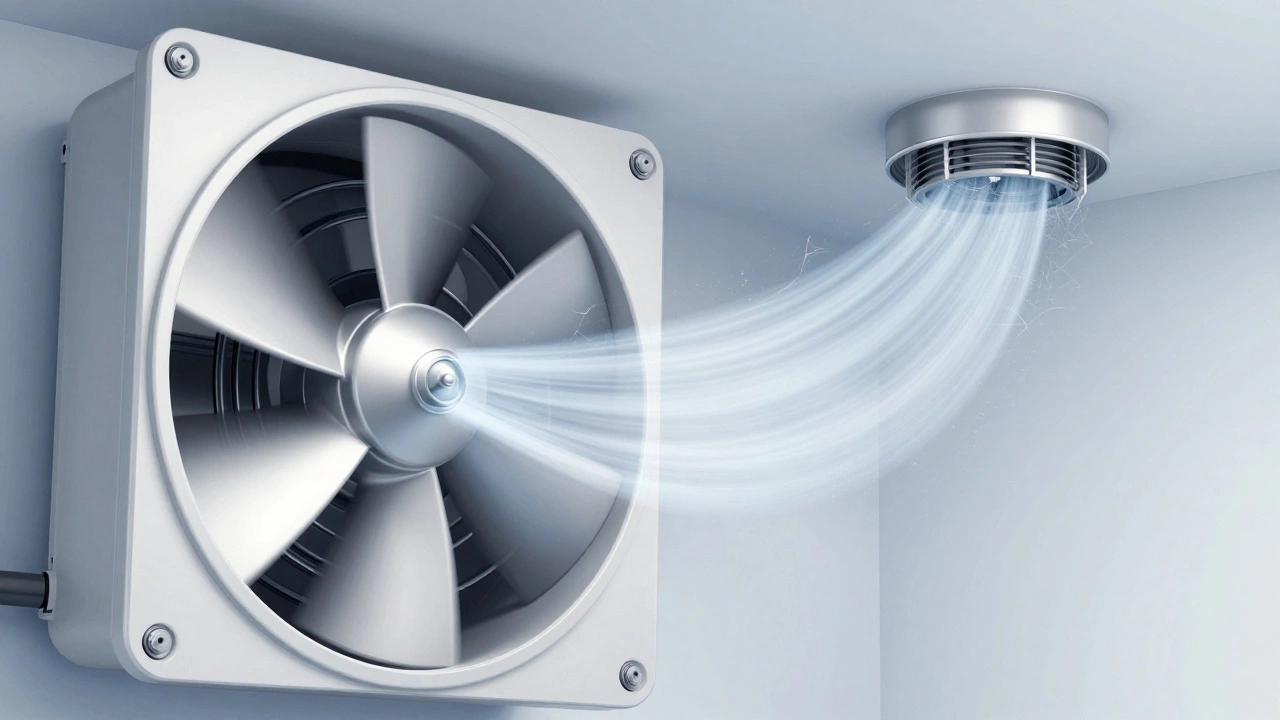
- Use the fan correctly: Turn it on before you start cooking and leave it running for 15-20 minutes after you finish. This clears residual steam and grease particles.
- Check the exterior vent seasonally: Spring and fall are prime times for birds and insects to invade ducts.
- Avoid boiling fats: High-heat frying produces aerosolized grease that travels further into the ductwork. Cook gently when possible.
Can I use bleach to clean my extractor fan?
No, avoid using bleach. Bleach reacts with grease to form toxic fumes and can corrode metal parts over time. Stick to dedicated degreasers or mild dish soap mixed with hot water.
How often should I replace charcoal filters?
Charcoal filters cannot be cleaned. Replace them every 3 to 6 months depending on usage intensity. If your kitchen smells stale even with the fan on, it’s time for a new filter.
Is it safe to clean the fan while it’s plugged in?
Absolutely not. Always cut power at the circuit breaker before touching any internal components. Water and electricity are a deadly combination.
What if my fan doesn’t have external ducting?
If you have a recirculating (ductless) hood, it relies entirely on charcoal filters. Focus heavily on keeping those filters fresh and the metal mesh clean. Recirculating systems are less efficient at removing heat and moisture, so ensure your kitchen has adequate ventilation elsewhere.
Why does my fan vibrate after cleaning?
Vibration usually means the impeller is unbalanced or not seated correctly. Check that all blades are securely attached and free of remaining grease chunks. Ensure the housing screws are tightened evenly.