Water heaters are one of those things you barely think about until—bam—they're broken, and you're left with an unexpected ice-cold shower. We've all been there, right? If you've ever wondered what usually breaks on these trusty home assets, you're in the right place. Let's dig into some of the most common water heater issues and, more importantly, how to fix them.
Now, before you panic and start dialing up every plumber in town, let me assure you, some of these problems are completely manageable on your own with a bit of know-how. First up, the thermostat is a frequent culprit. These little devices stop working, and suddenly you can't control your water's heat, leading to situations ranging from lukewarm bliss to boiling chaos.
Another usual suspect is sediment buildup. Yeah, that's all the unwanted minerals that settle at the bottom, turning your heater into a groaning lava pit. Over time, this can affect efficiency and even cause weird noises that make you think it's auditioning for a horror movie. It's more common than you'd think and easy to handle with routine flushing.
- Understanding the Basics
- Thermostat Troubles
- Sediment and Scaling
- Anode Rod and Corrosion
- Aging Water Heater
- DIY Fixes and When to Call a Pro
Understanding the Basics
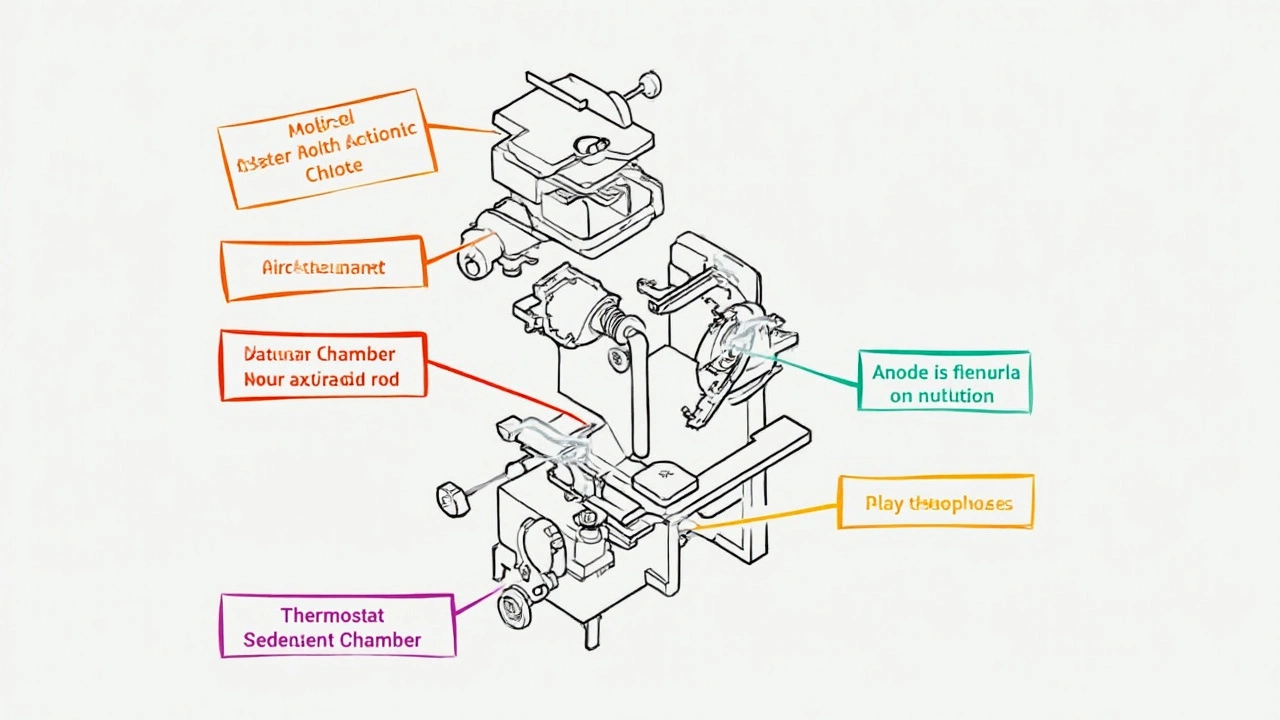
So, you want to dive into the world of water heaters? Cool! Before tackling what goes wrong, it's useful to get a handle on the core components that keep these things running. A basic water heater contains a few key parts that can easily have you scratching your head if you're not in the know.
First off, nearly every water heater has a thermostat. This little gadget is like the unsung hero, keeping your water at just the right temperature so your morning shower doesn't turn into arctic madness. But, like anything in life, these can wear out.
Then there's the anode rod. This is basically a metal stick immersed in the water tank that sacrifices itself to corrosion so the tank doesn't have to, extending the life of your unit. But once eaten away, it's game over for the rod, paving the way for rust and chaos inside your tank.
Finally, the burner or heating element is your water heater's powerhouse, where it gets its warmth. Powered by electricity or gas, it's the engine that keeps the whole operation going. When these parts go on strike, it's usually time for some hands-on troubleshooting.
Let’s not forget about the lesser-talked-about sediment buildup. Hard water deposits pile up at the bottom of your tank over time, leading to inefficiencies and sometimes strange knocking sounds.
| Component | Common Issue | Impact |
|---|---|---|
| Thermostat | Failure | Inconsistent water temperatures |
| Anode Rod | Corrosion | Potential tank rusting |
| Heating Element | Burnout | Cold water |
By knowing what these parts do, it's easier to troubleshoot when something goes amiss. Remember, routine checks and maintenance can save you from future headaches and potentially expensive repairs.
Thermostat Troubles
Alright, thermostats—those little gadgets inside your water heater that try their best to control your water temperature but sometimes just decide to go rogue. If you've ever experienced water that's just way too hot or not hot enough, often, the thermostat is the sneaky culprit. It's a pretty common water heater issue that many folks face.
These devices work like your home thermostat but are built to withstand the hot and humid environment inside the heater. Though they’re generally reliable, sometimes they just give up the ghost. Now, how do you know if this is the issue? Well, you could notice the water temperature is inconsistent throughout the day or no hot water at all.
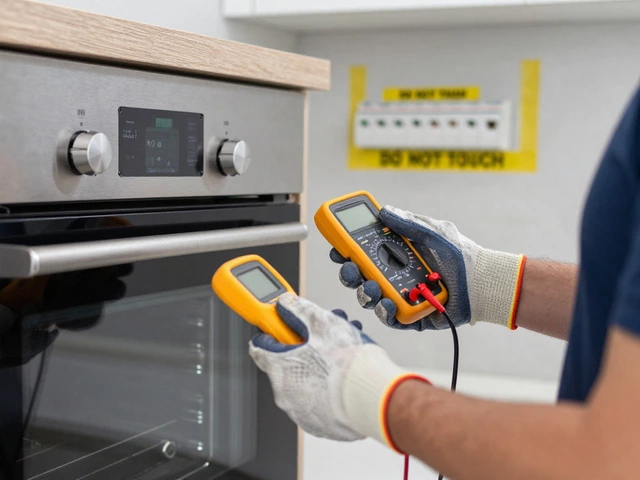
If you're feeling adventurous and want to check if the thermostat is acting up, you'll need a multimeter to test it. But first, safety first. Make sure you turn off all power to the heater because getting zapped isn't fun. Once you're safe, locate the thermostats—yes, most water heaters have two, an upper and a lower one—and check the settings. They should be set between 110°F and 140°F.
Here's a step-by-step on how you can troubleshoot:
- Make sure you’ve switched off the power to avoid any shocks.
- Remove the access panels to expose the thermostats and elements.
- Use your multimeter to test if there's an electrical issue. Directions are typically in your water heater's manual, so keep that handy.
- If either thermostat is not functioning properly, you might need to replace it.
Keep in mind, if the process gets too complicated, it might be time to call in a pro. A failed thermostat replacement might not only continue the problem but could also void any warranties.
Replacing a thermostat isn’t too costly—typically, you’re looking at about $20 for the part. However, if hiring a pro, budget for labor costs as well. Nonetheless, a little DIY can often save some bucks, if you're comfortable with basic repairs.
Sediment and Scaling
Alright, let’s talk about something that creeps into your water heater over time: sediment and scale. These aren't the names of a bad 80s rock band, but rather mineral deposits that settle and harden at the bottom of your tank. You might be surprised to know that this is totally normal, especially if you have hard water in your area. Yet, normal doesn’t mean ignored.
When your water heater operates, minerals like calcium and magnesium can separate from the water. They end up cozying down at the bottom of your tank, just chillin'. However, this comfy little mineral bed can cause your water heater to become less efficient and, worse, noisy. Ever heard those pop and crackle sounds? That’s your heater’s way of rock 'n' roll.
"Sediment buildup is one of the leading causes of water heater issues," says John Doe, a seasoned plumbing expert at leading appliance service forum, HeatersGalore.
So what can you do about it? Well, routine maintenance is key. Simply flushing the tank at least once a year can really help. Here’s a quick way to flush it out:
- First, turn off the heater's power supply. That’s either the gas valve or the electrical switch. Safety first!
- Connect a garden hose to the tank’s drain valve and lead it to a drain, or even outside if you can.
- Open the drain valve and let gravity pull that gunk right out.
- Restart your heater, and you’re all set!
The frequency of needing these clean-outs might vary. In really hard water areas, you might want to do this more than once a year. One quick look at a water hardness map can give you an idea of what you're dealing with in your area. No one enjoys an inefficient heater, right?
And don’t be afraid to call in the pros if you feel something’s off; sometimes sediment can get the best of us.
| Water Hardness (mg/L) | Frequency of Flushing |
|---|---|
| Below 60 | Once a year |
| 60 - 120 | Twice a year |
| Above 120 | Three times a year |
In the end, dealing with sediment and scaling doesn’t have to be a dreaded task. Just stay on top of it, and your water heater will keep performing like a champ!
Anode Rod and Corrosion
You might not have heard about an anode rod, but it's the unsung hero sitting inside your water heater. Its main job? Guarding your heater tank against corrosion. Sounds like a big deal, right? And it is. This rod, which is typically made from magnesium, aluminum, or an alloy, sacrifices itself to prevent your tank from rusting. Over time, the anode rod gets eaten away, which is its way of saying it's saving your tank from turning into Swiss cheese.
How can you tell it's time to replace this little guardian? Well, experts suggest checking the rod every couple of years. If it looks like half of it's been gnawed away, it's time for a new one. When the rod is fully depleted, the tank is just a sitting duck for corrosion. No one wants to deal with a rusty heater because that's when you can face leaks or even the dreaded total failure.
Changing the anode rod isn't rocket science. Here's a quick guide:
- Turn off your water heater and water supply — safety first!
- Locate the anode rod. Typically, it's on top of the heater. If you're unsure, check your manual or do a quick search based on your model.
- Use a wrench to unscrew the old rod.
- Inspect it. If it looks corroded, it's doing its job, and now it's time for a new one.
- Screw in the new rod securely.
- Turn everything back on and check for any leaks.
Regularly swapping out the anode rod can add years to your heater's life. It's a small hassle compared to the cost and inconvenience of ripping out and replacing a broken water heater. So, save yourself future headaches and keep an eye on this nifty little piece of metal.
Aging Water Heater
Let's face it, everything ages, and your water heater is no exception. Typically, these units last about 8 to 12 years. That's a decent stretch if you ask me, but when they start showing their age, things can go south pretty fast. So, how do you know when it's time to say goodbye to your old buddy?
One big clue is rust. If you notice rusty water coming from your hot water taps, that's a pretty solid sign your tank is rusting on the inside. This doesn't mean it's time to freak out, but you should definitely keep an eye on it before the rust eats away completely and causes leaks.
Another hint is noise. An older heater can start to sound like it's having a midnight argument with itself. These banging or rumbling noises often come from sediment buildup—remember, the kind we talked about earlier? Over time, those little particles can form a hard crust, reducing your heater's efficiency and essentially overworking it, leading to a full-service breakdown.
And then there's just old age itself. If your heater is reaching that decade mark, consider it your cue to plan for a replacement. Modern water heaters are more efficient and could save you some serious money on your energy bills. A new model could be better insulated and have tech advances that your current dinosaur doesn’t.
Here's a simple check-list to help when deciding:
- Check the heater's age. Simple but sometimes overlooked. Find the manufacturing date on the sticker.
- Look out for leaks. Even a small one can lead to major damage.
- Monitor the hot water supply. A consistent lack of hot water isn't a good sign.
- Conduct a rust check. Rust on the outside usually tells a sad story of what's happening inside.
If you're experiencing any or all of these, it might be cheaper in the long run to shop around for a new heater rather than fuss over constant repairs. Just make sure to get one that suits your household's needs. Believe me, taking a little time to choose wisely can save you a world of hassle later on.
DIY Fixes and When to Call a Pro
So, you're a bit of a tinkerer and want to handle your water heater repair on your own? That's cool, but let's get one thing clear: some jobs are DIY-friendly, while others should definitely be left to the pros.
Thermostat Troubles: If you're dealing with thermostat issues, the fix could be as easy as adjusting the temperature settings. Look for a dial or switch on the water heater and make sure it's set at about 120°F, which is generally the sweet spot. If adjusting doesn't help, it might be time to swap out the thermostat, which you can do with basic tools if you've got a knack for handling wires.
Sediment Buildup: When it comes to sediment, regular maintenance is your best bet. To flush out your tank, turn off the gas and power, attach a garden hose to the drain valve, and let gravity do its job. This simple rinse can drastically improve efficiency and extend the life of your heater.
Ready for something more complex, like anode rod replacement? This requires a bit more finesse since it involves unscrewing a rod and replacing it with a new one, which helps fight off rust. It's not rocket science, but requires caution with heavy tools and small spaces.
- Shut off the water and power to the heater.
- Locate the anode rod—usually under a plastic cap on top of the unit.
- Use a wrench to remove the old rod and replace it with a new one.
- Restore power and water flow once secured.
When should you step back and call a professional? If you're facing problems with gas lines, persistent leaks, or anything electrical that leaves you scratching your head, it's time to bring in the cavalry. Electric work can get tricky, and gas line repairs are no joke.
According to a 2024 study, hiring a professional might cost you between $150 to $500, but considering the safety and peace of mind, it's often worth it. Remember, messing up a gas line can turn dangerous real quick, and nobody wants that.
Tackling these common problems yourself can save some cash and hassle, but knowing when a problem's over your head is just as crucial. Your water heater's happier days depend on it!