Microwave Repair Decision Tool
Select the symptoms you are experiencing to get a tailored diagnosis and safety assessment.
Diagnosis
Repair Checklist
0/0 CompletedRecommendation
Tools Needed
When to Call a Pro
- Magnetron replacement needed
- Control board damage
- Uncomfortable with high voltage
- Unit is over 10 years old
Your microwave just stopped heating. Or maybe it hums loudly but the food stays cold. You stare at the door, wondering if you need to call a technician or toss the whole unit in the trash. Before you spend money on a repair service or buy a new machine, there are several things you can check yourself. But here is the catch: microwaves store lethal amounts of electricity even when unplugged. If you want to fix your microwave at home, you have to respect that danger.
This guide walks you through safe, effective steps to diagnose and repair common microwave issues. We will cover everything from simple power checks to replacing internal components like fuses and switches. By the end, you’ll know exactly which problems are worth fixing and which ones mean it’s time to upgrade.
Is It Safe to Open Your Microwave?
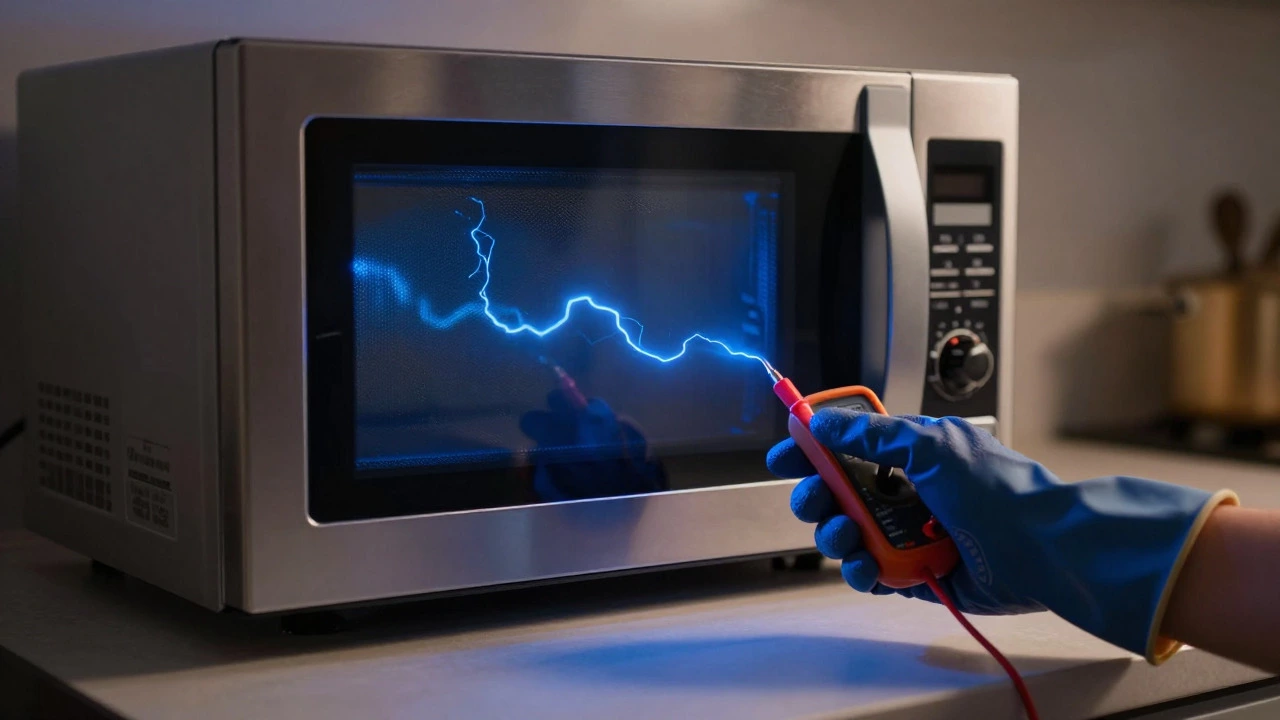
Before you pick up a screwdriver, understand the risk. A Magnetron is the component in a microwave that generates electromagnetic waves to heat food. This part works with high voltage-often around 4,000 volts. That energy is stored in a large capacitor inside the chassis. Even if you unplug the microwave for hours, that capacitor can hold a charge capable of causing severe injury or death.
If you are comfortable working with electronics and willing to take proper precautions, you can proceed. If not, stop here and call a professional. For those who continue, the golden rule is this: never touch the interior components without first discharging the capacitor. We will explain how to do that later. For now, focus on external fixes that require no opening of the case.
Step 1: Check the Power Supply
Most "broken" microwaves are actually just unplugged or tripped. It sounds obvious, but we’ve all been there. Start by checking these basics:
- The outlet: Plug another device, like a lamp, into the same socket. If the lamp doesn’t work, the issue is your wall outlet, not the microwave.
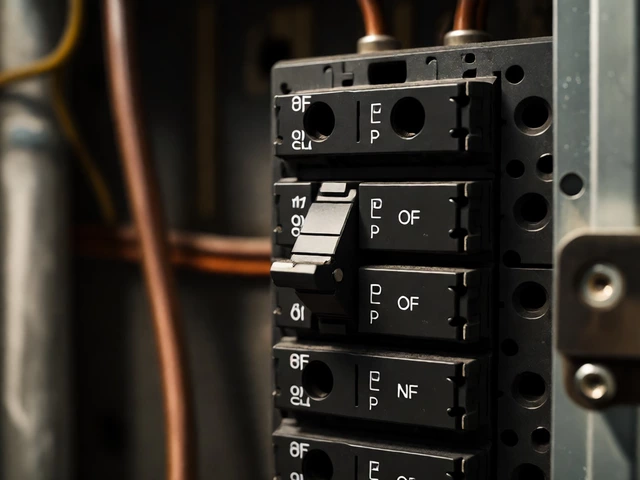
- The circuit breaker: Go to your home’s electrical panel. Look for any switches that have flipped to the middle or "off" position. Reset them if needed.
- The cord: Inspect the power cord for frays, cuts, or burns. A damaged cord can interrupt power flow.
If the microwave still won’t turn on after these checks, move to the next step. Sometimes, the problem lies within the microwave’s internal fuse.
Step 2: Test the Door Switches
A microwave has multiple safety interlocks. These are switches located near the door latches. They ensure the magnetron only fires when the door is fully closed. If one switch fails, the microwave thinks the door is open and refuses to start.
You might notice signs of faulty door switches before you even open the unit. Does the display light up, but the oven won’t start? Do you hear a clicking sound when you press the door shut? These are classic symptoms.
To test this, you need to open the microwave. Here is how to do it safely:
- Unplug the microwave from the wall.
- Remove the outer casing. This usually involves unscrewing the bottom screws and sliding off the top cover.
- Locate the door switches. There are typically two or three, connected to the latch mechanism.
- Use a multimeter to test continuity. Set the multimeter to the ohms setting. Touch the probes to the switch terminals. If the meter shows infinite resistance (or OL), the switch is broken and needs replacement.
Replacing a door switch is straightforward. Buy a universal replacement kit online. Match the connector type and wire colors. Install the new switch, reassemble the case, and test.
Step 3: Discharge the Capacitor Safely
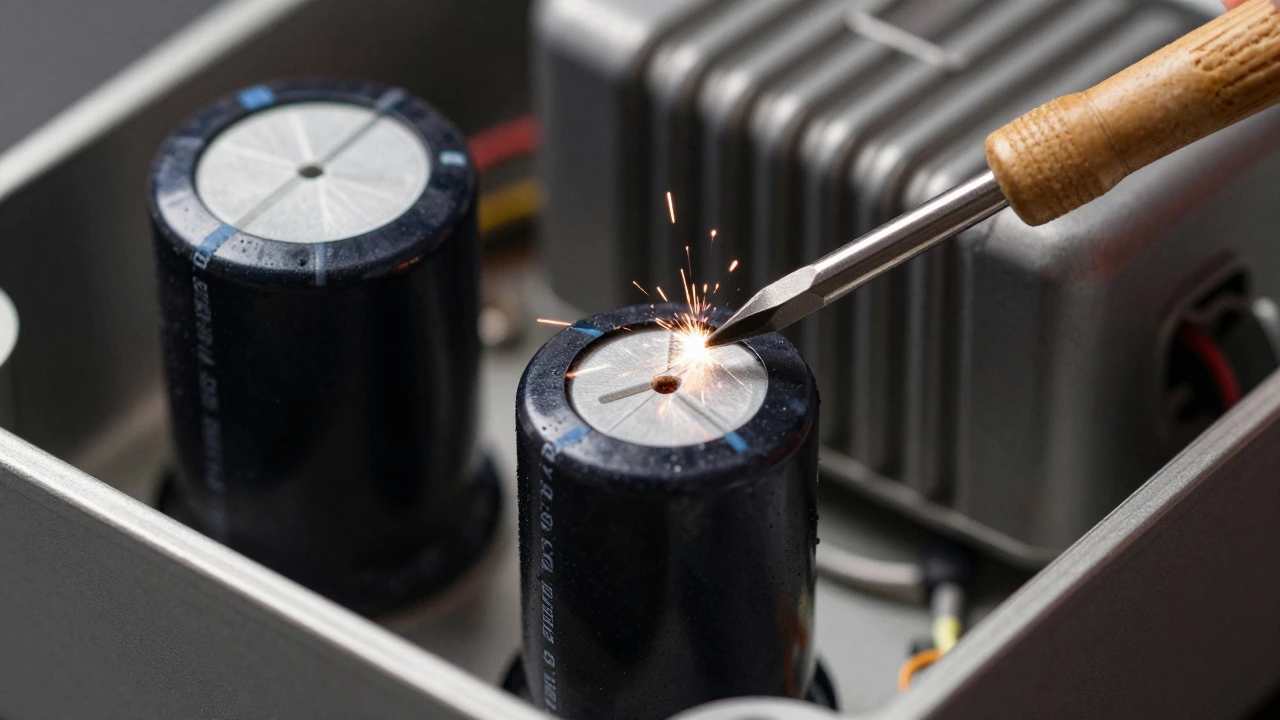
If you suspect an internal electrical fault, you must discharge the capacitor. This is the most critical safety step. Skipping it can result in a painful shock.
You will need an insulated screwdriver with a wooden handle. Here is the procedure:
- Keep the microwave unplugged.
- Identify the capacitor. It looks like a large cylinder, often black or silver, with two metal terminals.
- Place the tip of the screwdriver across both terminals simultaneously. Hold it steady for 5-10 seconds.
- You may see a small spark or hear a snap. This is normal. It means the stored energy is dissipating.
- Repeat the process twice more to be sure.
Once discharged, you can safely test other components like the diode and transformer. Use your multimeter again to check for continuity and resistance values. Compare your readings to the manufacturer’s specifications, available in the service manual for your model.
Step 4: Inspect the High-Voltage Diode
The High-voltage diode is a component that converts alternating current to direct current for the magnetron. When this diode fails, the microwave might run but not heat. You might also smell burning plastic or see smoke coming from the vents.
To test the diode:
- Ensure the capacitor is discharged.
- Locate the diode. It is usually mounted near the transformer and looks like a small cylinder with wires attached.
- Set your multimeter to the diode test mode.
- Touch the red probe to the positive terminal and the black probe to the negative. Note the reading.
- Reverse the probes. The second reading should be different. If both readings show zero or infinity, the diode is bad.
Replace the diode with an identical model. Pay attention to the voltage rating and amperage. Installing a mismatched diode can damage the magnetron.
Step 5: Check the Thermal Fuse
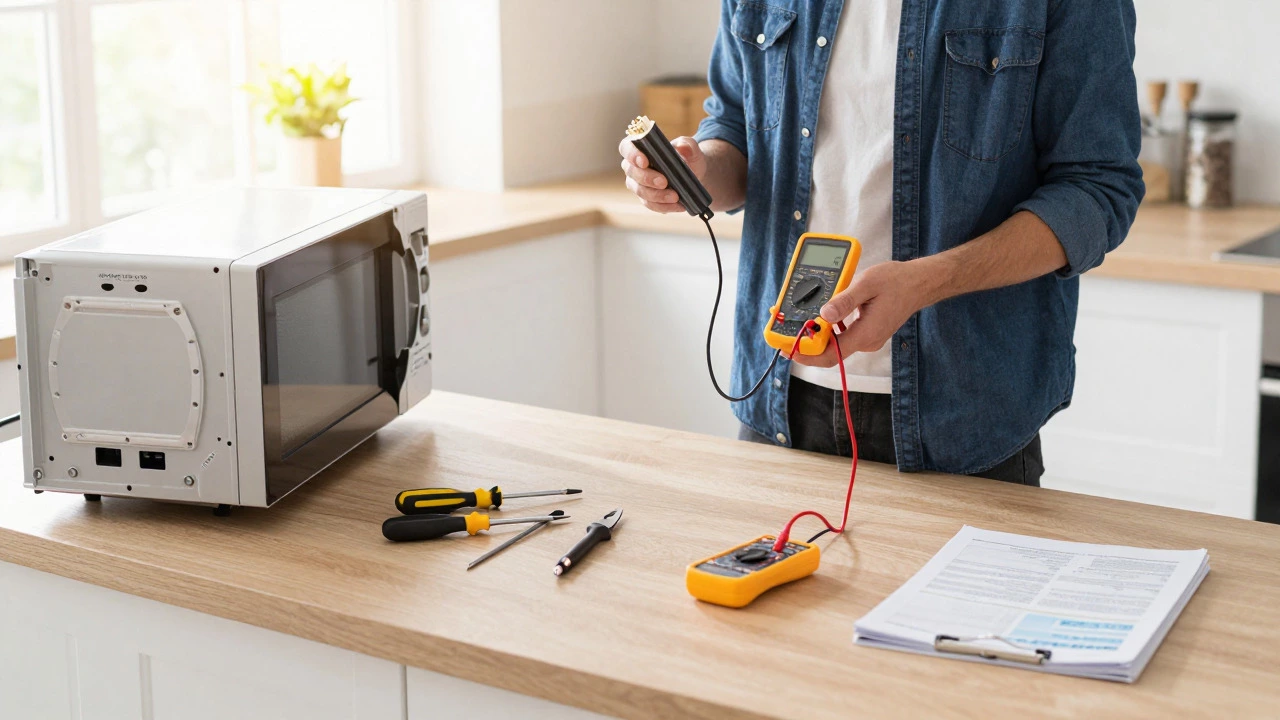
Many modern microwaves include a thermal fuse as a safety feature. This fuse blows if the oven overheats, cutting power to prevent fire. If your microwave suddenly stops working during use, the thermal fuse might be the culprit.
Locate the fuse near the blower fan or the top vent area. Use your multimeter to check for continuity. If there is no continuity, the fuse has blown. Replace it with a fuse of the exact same rating. Never bypass the fuse or install a higher-rated one, as this defeats the safety mechanism.
When to Call a Professional
Not every microwave problem is fixable at home. Consider calling a technician if:
- The magnetron itself is faulty. Replacing a magnetron is complex and requires precise alignment.
- The control board is damaged. Circuit boards involve intricate soldering and programming.
- You are uncomfortable with high-voltage components. Safety should always come first.
- The microwave is older than ten years. At this age, parts may be hard to find, and the cost of repair might exceed the price of a new unit.
In Vancouver, local appliance repair services are readily available. Get quotes from at least two providers before committing. Ask if they offer warranties on their work.
Preventing Future Issues
Regular maintenance can extend the life of your microwave. Clean the interior weekly to remove food splatters. Grease buildup can interfere with sensors and cause overheating. Avoid running the microwave empty, as this can damage the magnetron. Use microwave-safe containers only; metal utensils can cause arcing and burn the interior lining.
By following these steps, you can troubleshoot and fix many common microwave problems. Remember, safety is paramount. If you ever feel unsure, step back and seek professional help. Your health is worth more than saving a few dollars on a repair.
Can I fix a microwave myself?
Yes, you can fix minor issues like faulty door switches, blown fuses, or bad diodes. However, you must be comfortable working with high-voltage components and follow strict safety protocols, especially discharging the capacitor.
How do I know if my microwave capacitor is bad?
A bad capacitor might cause the microwave to not heat or make unusual noises. Testing requires a multimeter and careful handling due to high voltage. If you are not experienced, leave this to a professional.
Why does my microwave hum but not heat?
This usually indicates a problem with the high-voltage diode, the magnetron, or the transformer. The fan and light work, so power is reaching the unit, but the heating element is failing.
Is it dangerous to open a microwave?
Yes, if you do not discharge the capacitor. The stored energy can deliver a lethal shock. Always unplug the unit and use an insulated tool to short the capacitor terminals before touching anything inside.
How much does it cost to repair a microwave?
DIY repairs can cost $20-$50 for parts like switches or diodes. Professional repairs range from $80 to $150, depending on the issue. If the magnetron needs replacing, costs can exceed $200, making a new microwave a better option.