Ice Maker Troubleshooting Wizard
Follow this step-by-step wizard to identify the cause of your ice maker failure. Answer each question honestly for the best diagnosis.
Check the Basics
Is the ice maker control switch or wire bail arm in the "OFF" position?
Water Supply Check
Is the water supply valve behind the fridge fully open, and are there no kinks in the line?
Filter Status
Has your water filter been replaced within the last 6 months?
Temperature Verification
Is the freezer temperature below 15°F (-9°C)? (Use a standalone thermometer for accuracy)
Visual Inspection
Do you see significant frost buildup on the evaporator coils or inside the ice maker unit?
Mechanical Check
Does the ejector blade/arm rotate freely when manually moved? (Ensure power is off first)
Diagnosis Complete
Recommended Next Steps:
You open the freezer door, expecting a scoop of fresh ice for your drink, but find an empty bin or, worse, a solid block of frozen water. It’s frustrating when a basic function like ice making stops working without warning. Before you call a technician or buy a new fridge, know that most ice maker failures are simple fixes you can handle yourself. Whether it’s a clogged filter, a frozen line, or a faulty switch, identifying the root cause is half the battle.
Quick Summary: The Most Likely Culprits
- Water Supply Issues: The supply valve is off, kinked, or the filter is clogged.
- Temperature Problems: The freezer isn’t cold enough (needs to be below 15°F/-9°C).
- Mechanical Failures: The ejector arm is stuck or the mold heater failed.
- Defrost System Faults: Ice buildup on the coils blocks heat transfer.
- Control Settings: The ice maker feature was accidentally turned off.
Check the Basics First
It sounds too simple to be true, but many "broken" ice makers are just switched off or disconnected. Start by checking the control panel. Many modern refrigerators have a physical lever or a digital setting that disables the ice maker. If someone in your household cleaned the fridge or moved items around, they might have bumped the wire bail (the metal arm) into the "off" position. Ensure this arm is down and free to move.
Next, verify the water supply. Follow the water line from the back of the fridge to the wall valve. Is the valve fully open? A partially closed valve reduces water pressure, which prevents the fill valve from opening completely. Also, check for kinks in the plastic tubing behind the appliance. If you recently moved the fridge, this is a common oversight. If your model has a water filter, check its installation date. Filters older than six months often become clogged with sediment, starving the ice maker of water.
Diagnosing Temperature and Airflow
Ice needs time to freeze. If your freezer temperature is above 15°F (-9°C), the ice won’t harden properly before the harvest cycle begins. This results in wet, clumpy ice or no ice at all. Use a standalone thermometer placed between two bags of frozen peas to get an accurate reading; the built-in display can sometimes be misleading due to sensor placement.
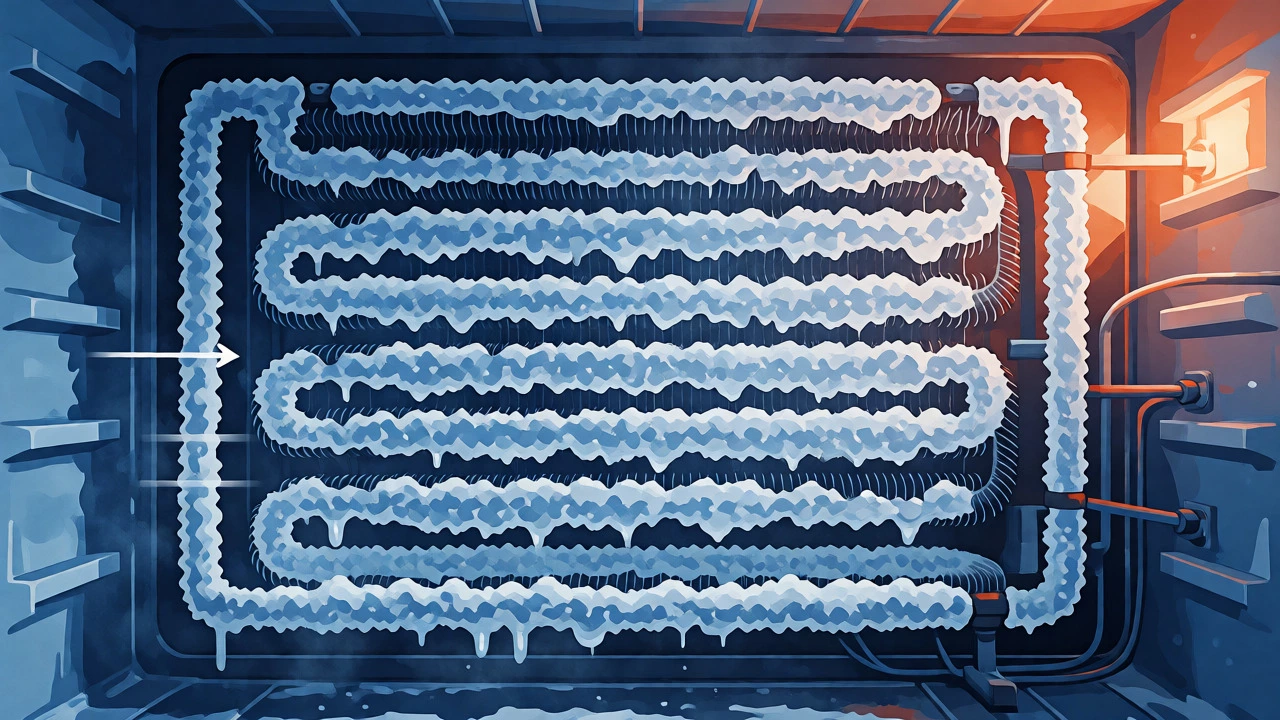
Airflow is equally critical. If the evaporator coils are coated in thick frost, air cannot circulate over them to cool the freezer compartment effectively. This usually points to a failure in the defrost system. When the defrost timer, heater, or thermostat fails, ice builds up on the coils, insulating them and raising the internal temperature. You might notice the fridge section getting warmer while the freezer struggles to maintain its chill.
Inspecting the Ice Maker Assembly
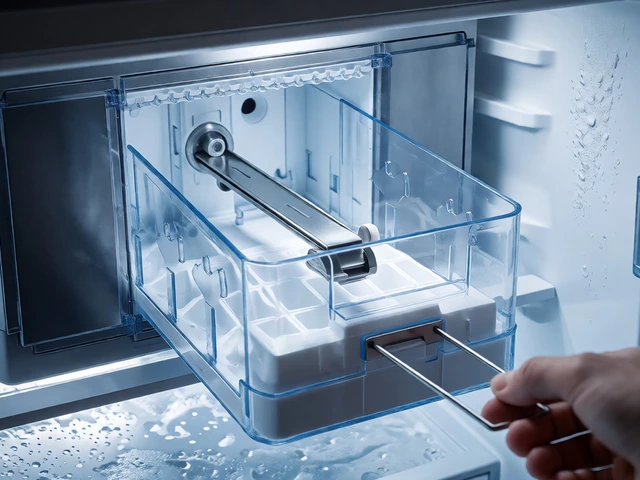
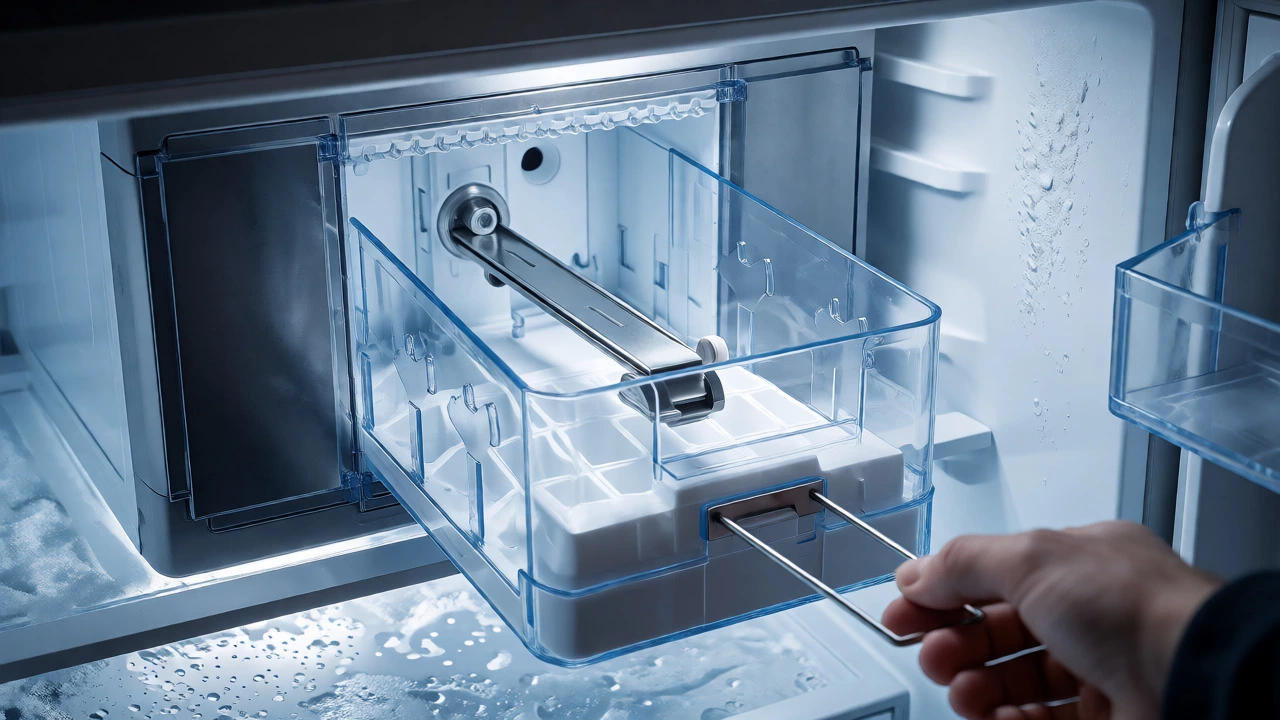
If water and temperature are fine, the issue likely lies within the ice maker unit itself. Unplug the refrigerator or turn off the circuit breaker before removing the assembly. Locate the ice maker tray and look for signs of mechanical binding. The ejector blade should rotate freely. If it’s jammed by a stray ice cube, clear it out. If the blade doesn’t move when manually rotated, the motor inside the head may be burnt out.
Another common failure point is the mold heater. This small component warms the ice mold slightly during the harvest cycle to release the cubes. If the heater fails, the ice sticks to the mold. The ice maker will try to eject the cubes repeatedly until it times out, resulting in no ice in the bin. You can test the heater for continuity using a multimeter. If there’s no continuity, the heater needs replacement.
| Symptom | Likely Cause | DIY Fix |
|---|---|---|
| No ice produced | Clogged water filter | Replace filter every 6 months |
| Small or hollow cubes | Low water pressure | Check supply valve and lines |
| Ice stuck in mold | Failed mold heater | Test and replace heater element |
| Leaking under fridge | Cracked water line | Replace plastic tubing |
| Freezing over | Defrost system failure | Check defrost timer/heater |
The Water Inlet Valve: The Silent Killer
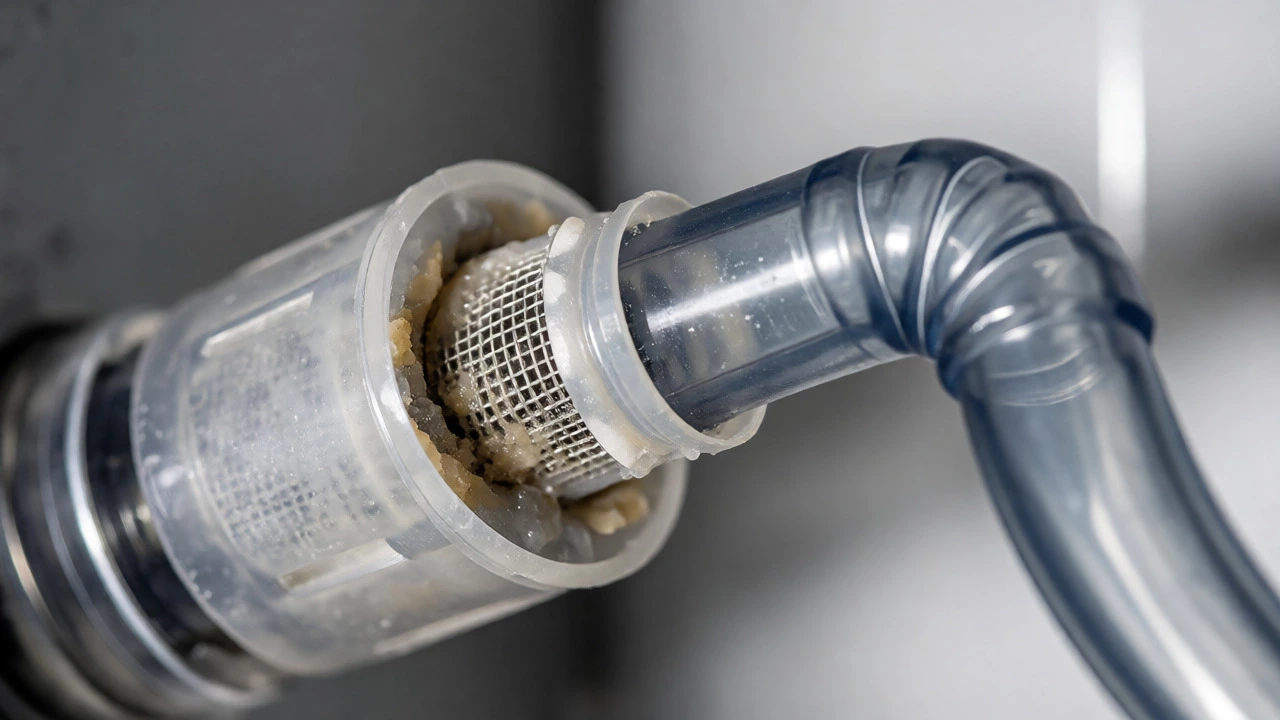
The water inlet valve is an electrically controlled solenoid that opens to let water into the ice maker. Over time, mineral deposits from hard water can calcify on the screen inside the valve, blocking flow. Even if water flows to the dispenser, the tiny hole required for the ice maker might be blocked.
To test this, disconnect the water line from the back of the fridge and place the end in a bucket. Activate the ice maker test mode (consult your manual for specific button combinations). If water doesn’t spray forcefully into the bucket, the valve is likely clogged or defective. Cleaning the inlet screens with vinegar can sometimes restore flow, but replacing the valve is often more reliable and inexpensive.
When to Call a Professional
While many issues are DIY-friendly, some require specialized tools and knowledge. If you’ve checked the water supply, temperature, filters, and mechanical components, but the ice maker still refuses to work, the problem might be deeper. A failed main control board or a broken compressor relay can stop the entire cooling cycle, not just ice production. Additionally, if your refrigerator uses complex dual-evaporator systems, diagnosing airflow issues requires manifold pressure testing, which is best left to certified technicians.
Frequently Asked Questions
How long does it take for a new ice maker to start producing ice?
After installing a new ice maker or restoring power, it typically takes 4 to 6 hours for the first batch of ice to form. However, it may take up to 24 hours to reach full production capacity as the system stabilizes temperatures.
Can I use my ice maker if the water filter is missing?
Yes, but it depends on your model. Some fridges require a bypass plug to allow water flow without a filter. Running without a filter or bypass can lead to sediment buildup in the ice maker valve, so it's better to install a cheap filter or the correct bypass plug.
Why is my ice maker making loud grinding noises?
Grinding noises usually indicate a mechanical jam. Check for ice cubes stuck in the ejector mechanism or a broken gear in the ice maker head. If the gears are stripped, the entire ice maker assembly usually needs replacement.
Does hard water affect ice maker performance?
Absolutely. Hard water leaves calcium and lime deposits that clog the water inlet valve screens and coat the ice molds. This reduces water flow and causes ice to stick. Using a water softener or replacing filters regularly mitigates this damage.
Is it worth repairing an old ice maker?
If the refrigerator is less than 10 years old and the rest of the unit works well, yes. Ice maker assemblies cost between $50 and $150, plus labor. If the fridge is older or has other failing components, consider upgrading to a new energy-efficient model instead.