Extractor Fan Troubleshooter & Sizer
Diagnose Your Problem
Select the symptom you are experiencing to get a likely cause and DIY fixability rating.
Likely Cause
DIY Fixability
Recommended Action
Calculate Required CFM
Ensure your new or existing fan has enough power (Cubic Feet per Minute) for your room size.
Required Airflow:
0
CFM (Cubic Feet Per Minute)
You’re in the shower, steam is rising, and you flip the switch. Nothing. Or worse, a loud grinding noise that sounds like a lawnmower trapped in your ceiling. A broken extractor fan isn’t just an annoyance; it’s a moisture management crisis waiting to happen. In Vancouver, where rain is practically a lifestyle choice, proper ventilation prevents mold and structural damage. Before you call a handyman for a $150 service fee, try these steps. Most fan failures are simple mechanical or electrical issues you can fix with basic tools.
Safety First: Power Off and Secure
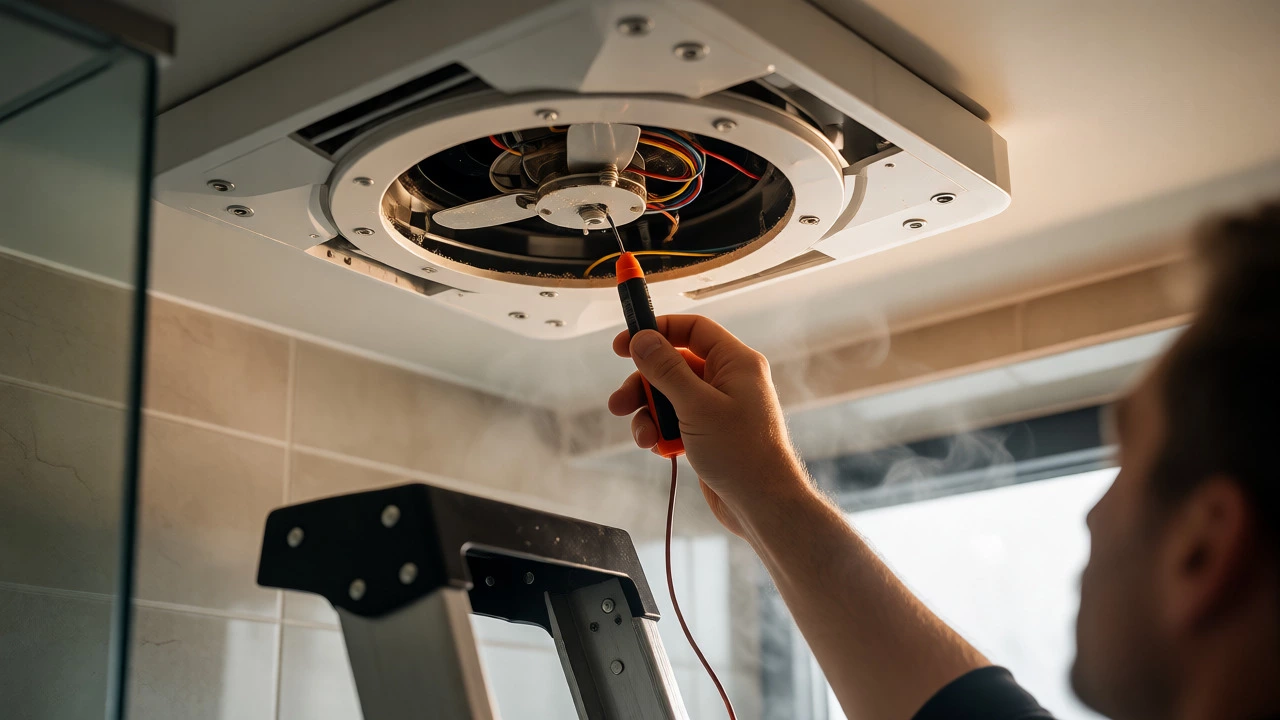
Electricity doesn’t care if you’re in a hurry. Always kill the power at the circuit breaker before touching anything inside the housing. Don’t just rely on the wall switch. Label the breaker so no one accidentally flips it back while you’re up on a ladder with wires in hand. Grab a non-contact voltage tester. Wave it near the wiring compartment. If it beeps, you haven’t killed the right circuit. This takes ten seconds and saves you from a shocking experience-literally.
Step 1: Clean the Blades and Housing
Ninety percent of "dead" fans aren’t dead; they’re choked. Bathroom fans attract dust, hair, and lint like magnets. Over time, this gunk builds up on the blades and motor shaft, creating enough friction to stall the motor or blow a fuse.
- Remove the cover: Most covers clip off or unscrew. Set them aside gently; plastic gets brittle over time.
- Vacuum the interior: Use a brush attachment to suck out loose debris from the motor housing and duct connection.
- Clean the blades: Wipe each blade with a damp cloth and mild detergent. Check for warping. If a blade is bent, it will wobble and cause noise even after cleaning.
- Check the damper: The flapper door that opens when the fan runs often gets stuck due to grease or ice buildup (common in cold climates). Ensure it moves freely.
If the fan spins freely by hand after cleaning but still won’t start when powered, move to the next step. If it starts running quieter and stronger, you’ve saved yourself a repair bill.
Step 2: Diagnose the Motor and Capacitor
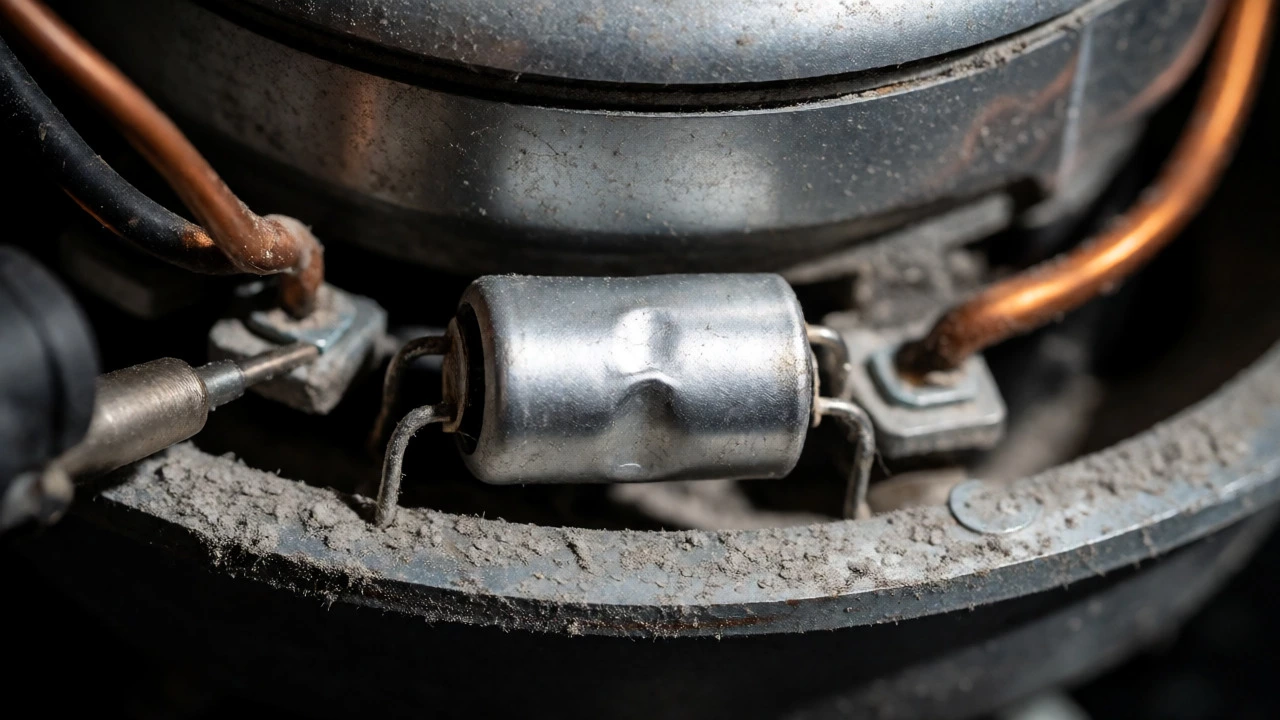
If cleaning didn’t help, the issue is likely internal. Two components usually fail first: the capacitor and the motor bearings. The capacitor gives the motor the initial jolt to start spinning. When it fails, the fan might hum but not turn, or it might need a manual push to start.
| Symptom | Likely Cause | DIY Fixability |
|---|---|---|
| Fan hums but doesn't spin | Failed capacitor or seized bearing | High |
| Fan is very noisy/grinding | Dry bearings or loose parts | Medium |
| No sound at all | Dead switch, blown fuse, or burnt motor | Low/Medium |
| Fan stops after a few minutes | Overheating motor or thermal cut-off | Low |
Testing the capacitor: Look for a small silver cylinder attached to the motor. If it looks bulged, leaking, or burnt, replace it. These cost about $5-$10 online. Match the microfarad (µF) rating exactly. You’ll need a multimeter to test continuity if it looks fine visually. If you’re uncomfortable working with capacitors, skip to the motor check.
Step 3: Lubricate or Replace Bearings
Older fans use sleeve bearings that dry out. Newer ones often have sealed ball bearings that don’t need lubrication. How do you know? Spin the fan blade by hand. If it feels gritty or stiff, the bearings are shot. For sleeve bearings, apply a drop of lightweight machine oil (like 3-in-One) to the shaft where it enters the motor housing. Do not use WD-40; it attracts more dust and dries out quickly.
If the shaft has play (wobbles side-to-side), the bearings are worn out. Replacing just the bearings is tricky for beginners. It’s often cheaper and easier to replace the entire motor unit if available, or the whole fan assembly.
Step 4: Check Electrical Connections and Switches
If the fan shows no signs of life-no hum, no spin-the problem might be upstream. Use a multimeter to check for voltage at the fan’s wire terminals when the switch is on. If you get 120V (standard North American household voltage) but the fan doesn’t run, the motor is likely dead. If you get zero volts, trace the circuit back.
- Test the wall switch: Turn off power, remove the switch plate, and disconnect the wires. Use a multimeter to check for continuity when flipping the switch. If it doesn’t close the circuit, replace the switch ($5 part).
- Inspect wiring: Look for loose wire nuts or charred insulation. Rodents love chewing through attic wires. If you see damage, splice new wire using wire connectors rated for the gauge.
When to Call a Pro vs. DIY Replacement
Sometimes, fixing isn’t worth the hassle. Here’s a quick decision tree:
- Fix it: If the fan is under 5 years old, the motor is intact, and the issue is dirt or a cheap capacitor.
- Replace the motor: If the housing is in good shape but the motor is dead. Motors cost $20-$40. This requires precise wiring matching.
- Replace the whole unit: If the fan is over 10 years old, the housing is cracked, or the CFM (cubic feet per minute) rating is too low for your room size. Modern fans are quieter and more energy-efficient.
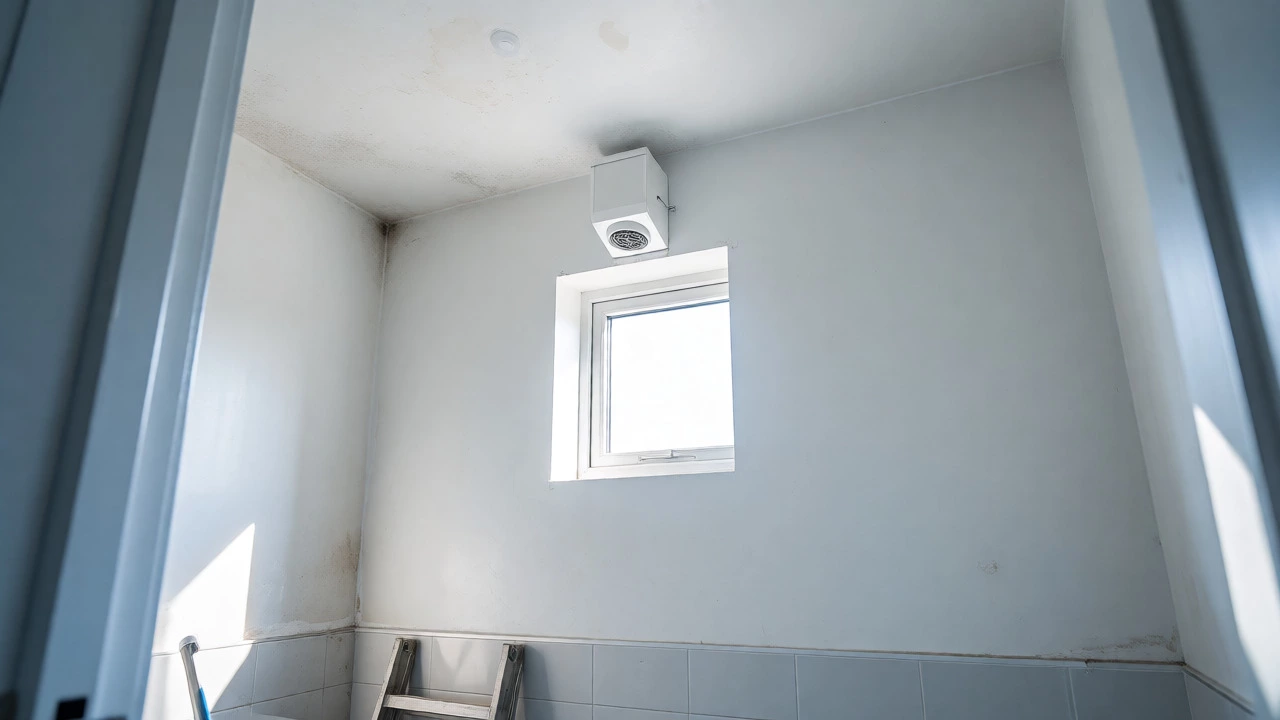
In Canada, building codes require bathroom fans to vent outside, not into the attic. If your current fan vents into the attic, replacing it is mandatory anyway to prevent mold. A new high-efficiency fan costs $50-$150 plus installation labor if you hire someone. Doing it yourself saves that labor cost but requires cutting a new hole if sizes differ.
Troubleshooting Specific Noises
Noise types tell you what’s wrong. Learn to listen.
- Rattling: Usually loose screws, a detached cover, or debris hitting the blades. Tighten everything and clean.
- Squealing: Dry bearings. Lubricate or replace.
- Humming: Electrical issue. Could be a failing capacitor or a loose transformer mount.
- Whooshing/Wind noise: Blocked ductwork. Check the exterior vent flap. Is it stuck shut by snow or paint? Clear the path.
Preventing Future Breakdowns
You don’t want to climb that ladder again next year. Maintenance is simple.
- Clean twice a year: Vacuum the grille and blades every six months. More often if you have pets.
- Run it longer: Let the fan run for 20 minutes after showering. This clears residual moisture, reducing corrosion and mold growth inside the housing.
- Check the damper: Ensure the external vent hood isn’t blocked by bird nests or ice.
A well-maintained extractor fan lasts 10-15 years. Neglect cuts that lifespan in half. By doing regular cleaning, you avoid the stress of a sudden breakdown during a humid winter week.
Why does my extractor fan make a loud noise?
Loud noises usually stem from accumulated dust on the blades causing imbalance, dry motor bearings, or a loose mounting screw. Cleaning the blades and lubricating the bearings (if accessible) often resolves grinding or rattling sounds. If the noise persists, the motor may be failing.
Can I replace just the motor in my extractor fan?
Yes, many models allow motor replacement. However, you must match the voltage, RPM, and physical dimensions exactly. Sometimes, buying a complete new fan unit is cheaper than sourcing a specific motor part, especially for older models where parts are discontinued.
How do I know if the capacitor is bad?
A bad capacitor often causes the fan to hum without starting or requiring a manual push to begin spinning. Visually, look for bulging, leaking, or burn marks on the capacitor casing. A multimeter can confirm failure by measuring capacitance against the rated value printed on the component.
Should an extractor fan vent into the attic?
No. Venting moist air into the attic leads to condensation, which causes wood rot and mold growth. Building codes generally require bathroom exhaust fans to vent directly to the outdoors through a roof or wall cap. If yours vents into the attic, consider upgrading to a properly ducted system.
What size extractor fan do I need for my bathroom?
Calculate the required airflow in Cubic Feet per Minute (CFM). Multiply the length, width, and height of your bathroom to get cubic feet, then divide by 7.5 (for standard bathrooms) or 6 (for showers/tubs). For example, a 5x8 foot bathroom with 8-foot ceilings needs approximately 43 CFM. Round up to the nearest standard model size, such as 50 CFM.