Water Heater Element Diagnostic Tool
Select the symptoms you are experiencing or enter your multimeter readings below to determine the likely cause of your water heater failure.
Step 1: Identify Symptoms
Step 2: Multimeter Readings (Optional)
If you have already tested the element, enter values here for a precise diagnosis. Otherwise, rely on Step 1.
Nothing ruins a morning faster than stepping into a cold shower. If your electric water heater suddenly stops producing heat, or the water runs lukewarm before going ice-cold, you are likely dealing with a failed heating element. This is the component responsible for converting electrical energy into thermal energy to warm the water in your tank. While it sounds intimidating, diagnosing this part is one of the easiest repairs you can tackle yourself. You don't need a degree in engineering-just a multimeter and about thirty minutes of focused attention.
Before you start tearing things apart, let's look at the symptoms. Most homeowners confuse a bad element with a bad thermostat or a lack of power. The key difference? Power issues usually mean zero heat anywhere. Thermostat issues often mean inconsistent temperatures. But a single bad element on a dual-element system typically results in "short showers" where the top half of the tank heats up, but the bottom remains cold. Once you have confirmed the suspicion, here is how you confirm it with certainty.
Symptoms That Point to a Failed Heating Element
You don't always need tools to spot trouble. Your senses are often the first line of defense. Listen closely when the heater kicks on. A healthy element hums quietly. A failing or broken element might buzz, crackle, or make popping sounds. These noises usually indicate mineral buildup (scale) insulating the element, causing it to overheat and eventually burn out. If you hear nothing at all, but the tank is cold, the circuit might be open inside the element itself.
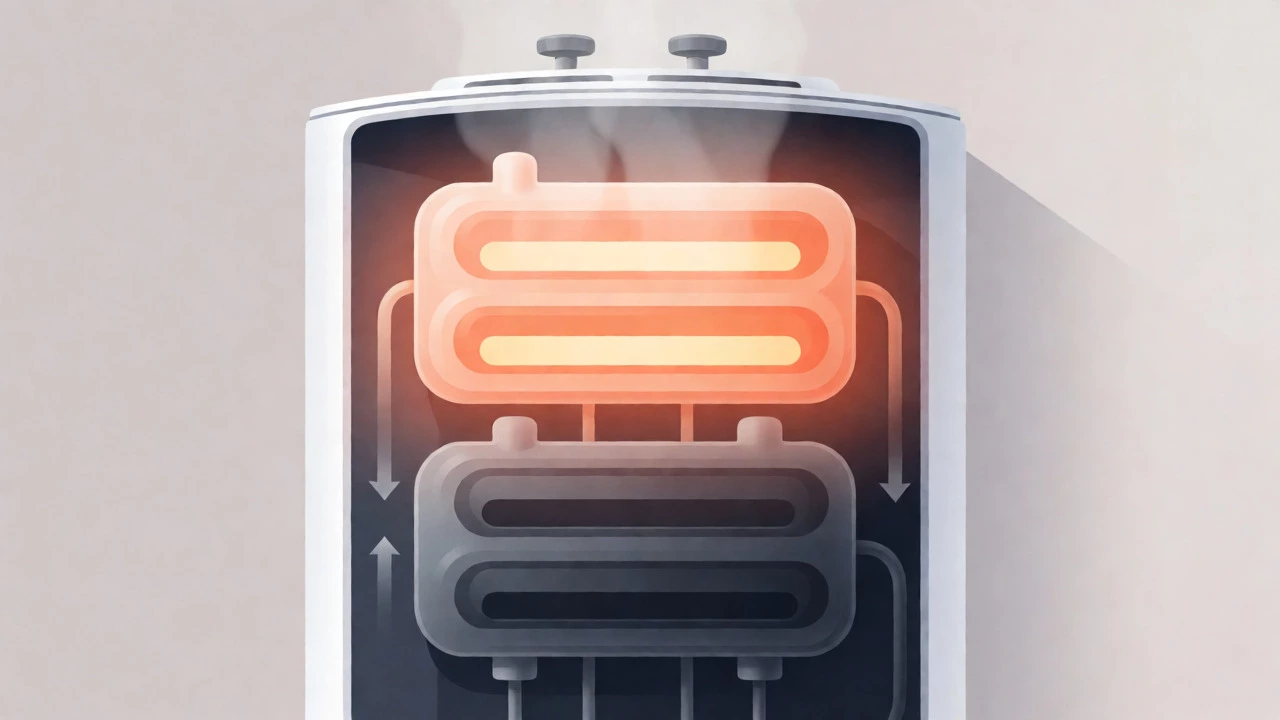
Another major red flag is temperature inconsistency. Electric water heaters usually have two elements: an upper and a lower. They work in sequence. The upper element heats the top of the tank first. When that water cools down, the thermostat triggers the lower element. If you notice that you get plenty of hot water initially, but it vanishes quickly during a long shower, the lower element has likely quit. Conversely, if you get almost no hot water at all, the upper element might be dead, preventing any heat from entering the main body of water.
Check your utility bill too. A sudden spike in electricity usage without a change in habits can signal that the heater is running constantly because it never reaches the set temperature. The thermostat keeps calling for heat, but the broken element can't deliver it, so the system stays on indefinitely.
Safety First: The Golden Rules Before You Touch Anything
Electricity and water are a dangerous mix. Never skip these steps. One wrong move can result in a shock that sends you flying backward off your ladder.
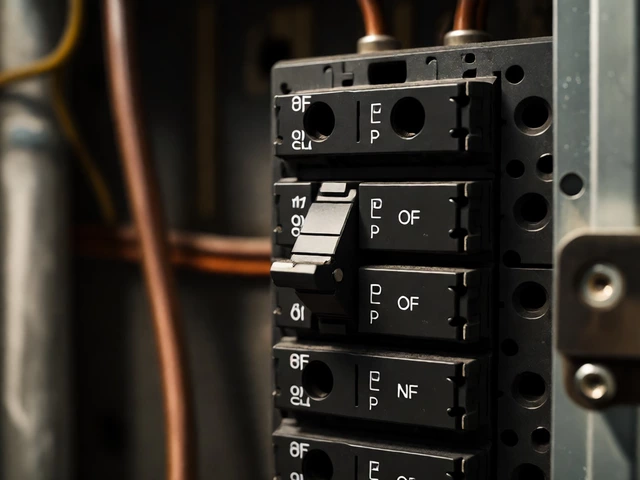
- Kill the power: Go to your breaker panel and switch off the breaker labeled "Water Heater." Do not just turn off the light switch; go straight to the source.
- Verify the kill: Don't trust the label. Labels lie. Use a non-contact voltage tester or a multimeter on the terminals inside the heater access panel to confirm there is zero voltage present.
- Wear gear: Safety glasses are mandatory. If you drain the tank, old water can spray out unexpectedly, carrying sediment and rust. Gloves protect your hands from sharp metal edges and scalding water.
Tools You Actually Need
You don't need a truckload of equipment. Here is the bare minimum kit for a diagnostic check:
- Multimeter: Essential for checking continuity and resistance. Any basic digital model works.
- Voltage Tester: For confirming power is off.
- Screwdrivers: Usually a Phillips head to remove the access panel covers.
- Insulated Wire Strippers: Helpful if you need to clean corroded terminals.
- Flashlight: Tank interiors are dark and cramped.
Step-by-Step Diagnostic Procedure
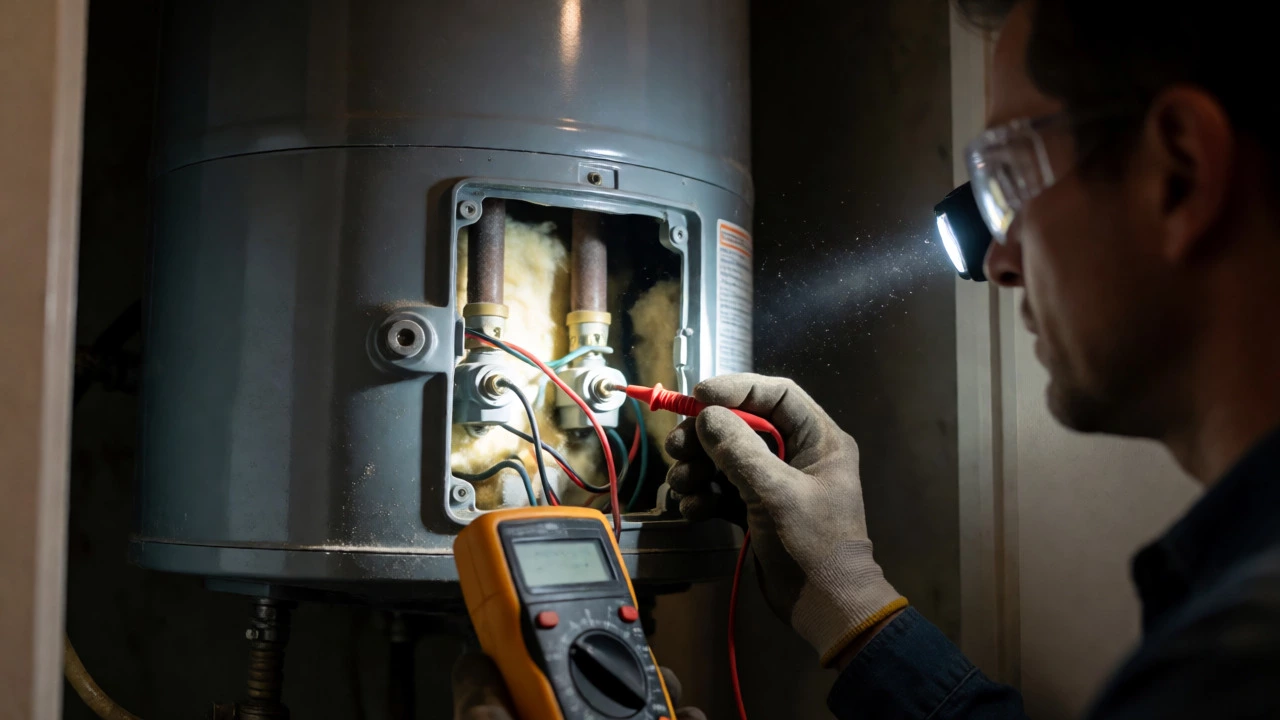
Once the power is off and verified, locate the access panels on the side of your tank. There are usually two-one near the top and one near the bottom. Peel back the insulation carefully. You will see plastic covers protecting the thermostats and wiring. Remove those screws and pull the covers away gently. Be careful not to disturb the small wires connected to the thermostats.
Visual Inspection
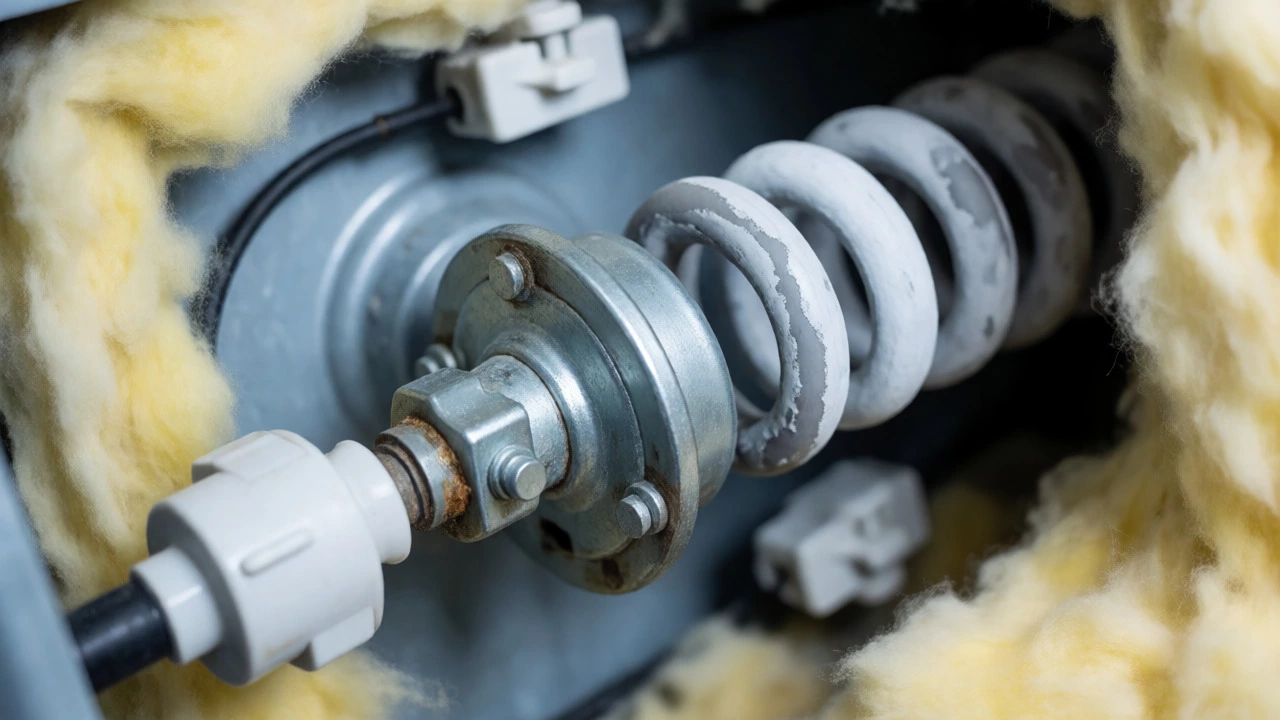
Look at the wiring connections first. Are they burnt? Is there green corrosion on the terminals? Sometimes the problem isn't the element itself, but a loose wire or a corroded connection preventing current flow. Tighten loose nuts with a wrench. Clean minor corrosion with a wire brush. If the wires look fine, proceed to testing the element.
Testing for Continuity
Set your multimeter to the Ohms (Ω) setting. You are looking for a complete electrical path. Disconnect the wires from the heating element terminals. Touch one probe to each terminal of the element. Continuity Test checks if electricity can flow through the coil inside the element. If the multimeter reads close to zero (0.1 to 50 ohms depending on the wattage), the circuit is closed, meaning the wire inside hasn't snapped. If it reads "OL" (Open Loop) or infinity, the filament inside the element is broken. It’s like a blown fuse. No current can pass through. Replace the element immediately.
Testing for Ground Faults
A common failure mode is a "ground fault," where the internal wire touches the metal casing of the element. This trips the breaker but doesn't necessarily break the continuity between the two terminals. To test this, keep one probe on a terminal and touch the other probe to the metal flange (the mounting plate) of the element. A good reading should be infinite resistance (OL). If the meter shows low resistance (close to zero), electricity is leaking to the ground. This is dangerous and means the element must be replaced.
Common Pitfalls and Misdiagnoses
Many people replace elements unnecessarily because they miss simpler issues. Always rule out the thermostat first. A faulty thermostat won't send power to the element even if the element is perfect. You can test the thermostat by bypassing it temporarily or checking for voltage at the element terminals while the heater is powered on (extreme caution required). If there is voltage at the element but it's not heating, the element is definitely dead.
Also, consider the age of your unit. Elements last anywhere from 8 to 15 years depending on water quality. Hard water destroys them faster. If your tank is 12 years old and one element just died, assume the other is on its way out too. Replacing both saves you from doing the job twice.
| Symptom | Likely Culprit: Bad Element | Likely Culprit: Bad Thermostat |
|---|---|---|
| Hot Water Duration | Short showers; runs out quickly | Inconsistent; sometimes hot, sometimes cold |
| Noise | Popping, buzzing, or silence | Clicking sound when trying to activate |
| Multimeter Reading (Element) | OL (Open) or Low Resistance to Ground | Normal Resistance (e.g., 10-16 Ohms) |
| Voltage at Terminals | Voltage present, but no heat | No voltage reaching the element |
When to Call a Pro
DIY is great, but know your limits. Call a licensed plumber or electrician if:
- You find significant water leakage around the element flange. This requires draining the tank and replacing gaskets, which can be messy.
- The wiring inside the tank looks melted or severely damaged.
- You are uncomfortable working with live voltage.
- The new element fails immediately after installation. This could indicate a deeper issue with the thermostat or control board.
Frequently Asked Questions
Can I replace just one heating element?
Yes, you can. However, if one has failed due to age or hard water, the other is likely nearing the end of its life. Replacing both at once is cost-effective and prevents future downtime.
How much does a water heater element cost?
Replacement elements typically range from $15 to $40 USD per unit. Professional labor adds significantly to this, often totaling $150-$300 for a service call. Doing it yourself saves the labor cost.
Why did my new element fail so quickly?
This is often caused by dry-firing. If the tank wasn't completely full of water when power was restored, the element overheated instantly. Always run hot water faucets until water flows steadily to ensure the tank is full before turning the breaker back on.
Do gas water heaters have elements?
No. Gas water heaters use a burner assembly at the bottom of the tank. If you have a gas unit, check the thermocouple, igniter, or gas valve instead.
What size element do I need?
Check the rating plate on the tank or the old element. Common sizes are 3,500W, 4,500W, and 5,500W. Voltage also matters (usually 240V). Using the wrong wattage can cause overheating or slow recovery times.