Oven Element Diagnostic Tool
Input Multimeter Reading
Enter the resistance value displayed on your multimeter when testing the oven element terminals.
Enter a resistance value to diagnose your oven element.
Your dinner is late. The roast is still raw. You check the temperature dial-it says 400°F-but the inside of your electric oven feels like a refrigerator. Before you call a technician or order a new appliance, there’s a good chance the problem isn’t the whole unit. It might just be one small part: the heating element. These coils do all the heavy lifting in an electric oven, turning electricity into heat. When they fail, they’re often called "blown," even though no explosion occurs. They simply stop conducting electricity.
Replacing a heating element is one of the most common DIY appliance repairs. It costs less than $50 for the part and takes about 30 minutes if you know what you’re doing. But first, you need to be sure the element is actually dead. Swapping parts blindly wastes money and time. This guide walks you through exactly how to diagnose a blown oven element using simple visual checks and a basic tool every homeowner should own.
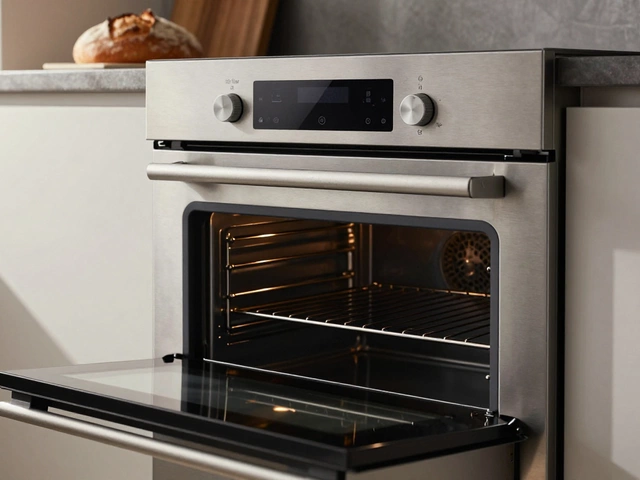
The Quick Visual Inspection: What a Bad Element Looks Like
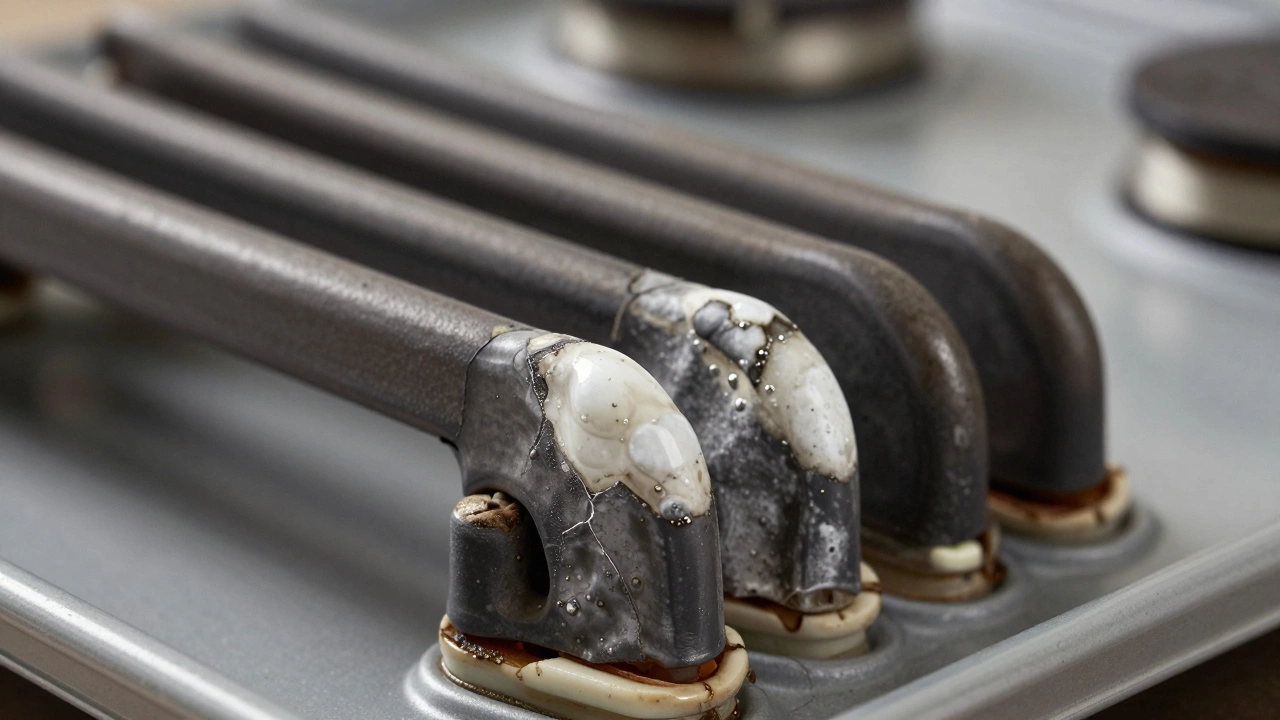
Before grabbing any tools, look at the element. Most electric ovens have two elements: one at the bottom (the bake element) and one at the top (the broil element). Sometimes, failure leaves obvious clues. A healthy element has a smooth, uniform surface with consistent color-usually dark gray or black. A failing element often shows signs of stress.
- Bulges or bubbles: If the metal tube looks swollen or has raised spots, it’s likely overheated internally. This usually means the internal resistance has failed, breaking the circuit.
- Cracks or breaks: Even hairline cracks in the ceramic insulators or the metal sheath can interrupt power flow. If you see a visible gap where the coil should be continuous, it’s dead.
- Discoloration: While some variation is normal, bright white spots or severe rust indicate excessive heat exposure or moisture damage. This weakens the element over time.
- Sparking or glowing when off: If you see sparks near the terminals or the element glows brightly without the oven being on, this is a serious electrical fault. Unplug the oven immediately.
Keep in mind that visual inspection alone isn’t always reliable. Some elements look perfect but are electrically open. Conversely, minor discoloration doesn’t mean failure. That’s why you need to test for continuity.
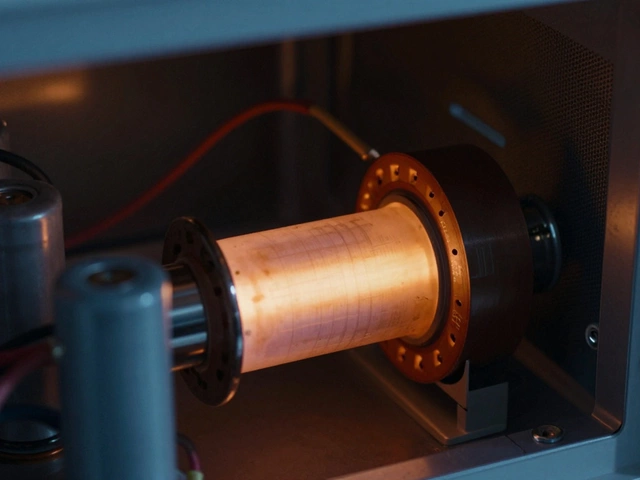
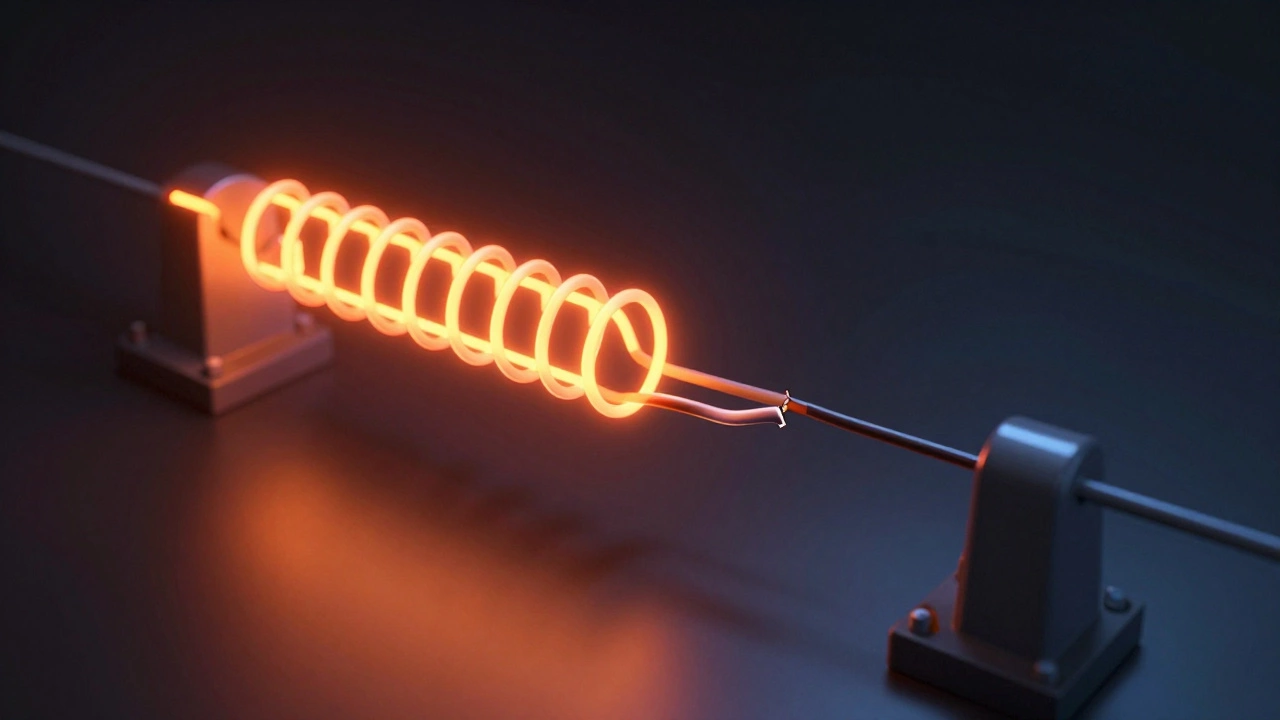
Understanding How Heating Elements Work
To test properly, you need to understand what you’re measuring. An oven heating element is essentially a resistor. When electricity flows through it, resistance creates heat. In a working element, electricity enters one terminal, travels through the resistive coil, and exits the other terminal. This path must be complete-a closed circuit.
When an element "blows," the internal wire breaks or burns out. This creates an "open circuit." Electricity can no longer flow, so no heat is produced. Think of it like a broken bridge: cars (electrons) can’t cross, so traffic stops. Testing for continuity checks whether that bridge is intact.
Most standard bake elements draw between 2,000 and 5,000 watts. At 240 volts, this translates to a resistance of roughly 10 to 25 ohms. Broil elements may have slightly different values depending on size and design. Knowing this range helps you interpret test results accurately.
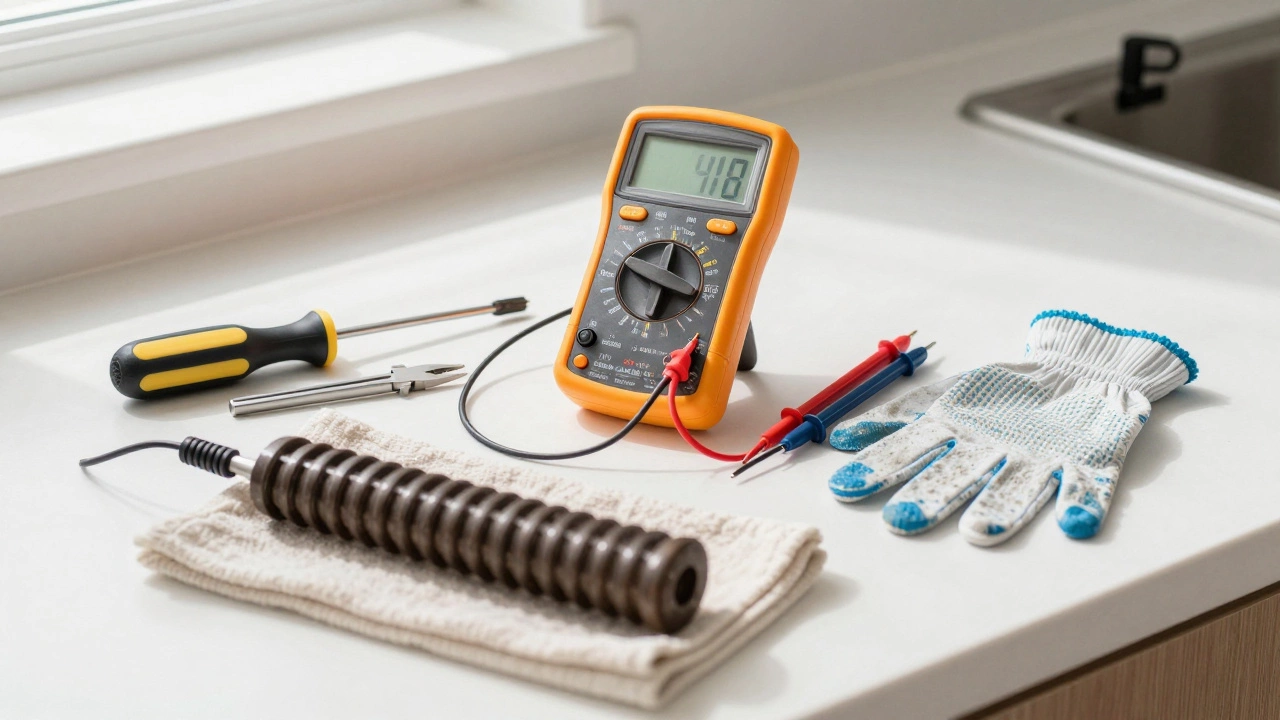
Gathering Tools for the Test
You don’t need expensive equipment to diagnose a blown element. Here’s what you’ll need:
- Multimeter: A digital multimeter capable of measuring resistance (ohms) or continuity. Cheap models from hardware stores work fine for this task.
- Screwdrivers: Usually a Phillips head #2, but some models use flathead or Torx screws.
- Needle-nose pliers: Helpful for disconnecting wires from terminals safely.
- Gloves: Optional but recommended to avoid fingerprints on the element and protect your hands from sharp edges.
If you don’t own a multimeter, now is a good time to buy one. They’re useful for many household troubleshooting tasks, from checking fuses to testing outlets. Look for one with auto-ranging capability-it simplifies use by automatically selecting the correct measurement scale.
Step-by-Step Continuity Test Procedure
Testing for continuity is straightforward, but safety comes first. Follow these steps carefully:
- Disconnect power: Turn off the oven controls, then switch off the circuit breaker dedicated to the oven. Do not rely on the oven’s power switch alone. Verify power is off by trying to turn on the oven light or controls. If nothing happens, proceed.
- Access the element: Pull out the oven racks. Locate the mounting screws holding the element to the oven floor or ceiling. For bottom elements, these are usually at the front and back. Remove the screws and gently pull the element forward until the wires are exposed.
- Disconnect wires: Carefully detach the wires from the element terminals. Note their positions-take a photo if needed. Some terminals push-fit; others screw down. Use needle-nose pliers if necessary, but avoid pulling on the wires themselves.
- Set up the multimeter: Plug the red probe into the VΩmA port and the black probe into the COM port. Turn the dial to the lowest ohms setting (often labeled Ω) or the continuity mode (symbolized by a sound wave).
- Test the probes: Touch the two probes together. The meter should beep or show near-zero resistance. This confirms the multimeter is working.
- Measure the element: Place one probe on each terminal of the heating element. Do not touch the metal housing or oven cavity-only the terminals. Read the display.
If the multimeter beeps continuously or shows a low resistance reading (between 10 and 30 ohms for most residential ovens), the element is good. If it displays "OL" (over limit), "1," or no beep, the circuit is open-the element is blown and needs replacement.
Interpreting Multimeter Results
Not all readings are cut-and-dried. Here’s how to make sense of what you see:
| Reading | Meaning | Action |
|---|---|---|
| 10-30 ohms | Normal resistance | Element is functional; look elsewhere for the problem |
| Below 5 ohms | Short circuit | Replace element; risk of tripping breakers or fire hazard |
| Above 50 ohms | High resistance | Element is degrading; replace soon to prevent uneven heating |
| OL / 1 / No Beep | Open circuit | Element is blown; replace immediately |
Remember that resistance values vary by model. Check your oven’s manual or label inside the door frame for exact specifications. If you lack documentation, compare both elements. If one reads 20 ohms and the other reads OL, the second is bad. Consistency matters more than absolute numbers in many cases.
Common Mistakes During Testing
Even experienced DIYers slip up. Avoid these pitfalls:
- Testing with power connected: Never measure resistance while the oven is plugged in. You’ll damage the multimeter and risk shock. Always verify power is off at the breaker.
- Touching the oven body: Grounding yourself against the metal oven cavity can give false readings. Keep probes isolated on the terminals only.
- Ignoring terminal corrosion: Dirty or corroded terminals can mimic an open circuit. Clean them with sandpaper before testing. If resistance returns after cleaning, the element was fine-the connection was poor.
- Assuming both elements fail together: Bake and broil elements operate independently. One can die while the other works perfectly. Test each separately.
If you’re unsure about any step, pause and consult a professional. Electrical mistakes can lead to fires or electrocution. Safety outweighs speed every time.
What If the Element Tests Good?
A passing continuity test doesn’t guarantee the oven will heat. Other components could be at fault. Consider these possibilities:
- Thermal fuse: Many ovens include a safety device that cuts power if temperatures exceed safe limits. If it blows, the oven won’t heat even with a good element. Locate it near the rear wall or under the control panel and test for continuity.
- Relay board or control board: Electronic controls send signals to activate elements. A stuck relay or faulty microprocessor can prevent power delivery. Listen for clicking sounds when you set the temperature. Silence suggests a control issue.
- Wiring harness: Damaged wires between the control panel and element can interrupt current. Inspect for fraying, burns, or loose connections.
- Voltage supply: Ensure your home provides 240V at the outlet. Use a multimeter to check voltage at the terminal block. Less than 220V indicates a utility or wiring problem.
Diagnosing beyond the element requires deeper technical knowledge. If you’ve confirmed the element is good but the oven still won’t heat, it’s time to call a licensed appliance repair technician.
Replacing a Blown Oven Element
Once you confirm the element is blown, replacement is simple. Order the exact part number listed on the old element or found in your oven’s manual. Universal replacements exist but may fit poorly or perform inconsistently.
Install the new element by reversing the removal steps. Connect wires securely, ensure terminals aren’t bent, and tighten mounting screws firmly but without overtightening. Restore power at the breaker and run a test cycle. Watch for even heating and absence of sparking.
New elements typically last 5-10 years with normal use. Frequent failures suggest underlying issues like surges, poor ventilation, or manufacturing defects. Document replacement dates to track performance trends.
Can I use a regular multimeter to test an oven element?
Yes, any digital multimeter with resistance or continuity settings works. Analog meters are harder to read and less accurate for low-resistance measurements. Digital models provide clear numeric displays and audible beeps for continuity checks.
Why does my oven element glow orange but food doesn’t cook?
Partial failure causes uneven heating. The element may conduct electricity in some sections but not others, producing localized heat without raising overall oven temperature. Replace the element to restore full functionality.
Is it dangerous to leave a blown oven element installed?
No immediate danger exists if the element is truly open-circuit. However, degraded elements can short unexpectedly, causing trips, sparks, or fire hazards. Remove and replace blown elements promptly.
How much does a replacement oven element cost?
Standard bake elements range from $20 to $60. Broil elements are similar. Premium brands or specialty ovens may charge more. Labor adds $75-$150 if hired out. DIY saves significant money.
Should I test the element before removing it?
No. Always disconnect power and remove the element before testing. Measuring resistance while connected to live circuits risks damaging your multimeter and creating safety hazards. Removal ensures accurate, safe readings.