Water Heater Diagnostic Tool
1. Check for Leaks
Look at the floor around the base of the tank. Is there standing water?
2. Test Temperature
Run hot water for 3 minutes and measure with a thermometer. What is the reading?
3. Listen for Noises
While the heater is running, what sounds do you hear?
4. System-Specific Check
What type of water heater do you have?
Pilot Light Status:
5. Age Factor
How old is your water heater?
Diagnostic Complete
Here is your assessment based on the checks performed.
Recommended Actions
Nothing ruins a morning faster than stepping into a cold shower. But before you panic and call a plumber for an emergency visit, take a breath. Most water heater issues are obvious if you know where to look. You don't need a degree in mechanical engineering to figure out if your unit is on its last legs or just needs a minor tweak. In fact, checking the basics yourself can save you hundreds of dollars in unnecessary service fees.
This guide walks you through a simple, step-by-step diagnostic process. We will cover how to spot leaks, test temperature consistency, listen for strange noises, and verify that safety features are functioning. Whether you have a gas or electric model, these checks apply to almost every standard residential system found in Vancouver homes today.
The Quick Summary: What to Look For
- Temperature Fluctuations: If water gets hot then suddenly cold, it’s likely a heating element or dip tube issue.
- Visible Moisture: Puddles around the base indicate a tank breach or loose connection, not just condensation.
- Strange Noises: Rumbling or popping sounds signal sediment buildup, which reduces efficiency.
- Pilot Light Status (Gas): A yellow flame instead of blue means incomplete combustion and potential carbon monoxide risk.
- Age Factor: If your unit is over 10 years old and failing these tests, replacement is often cheaper than repair.
Start with the Obvious: Checking for Leaks
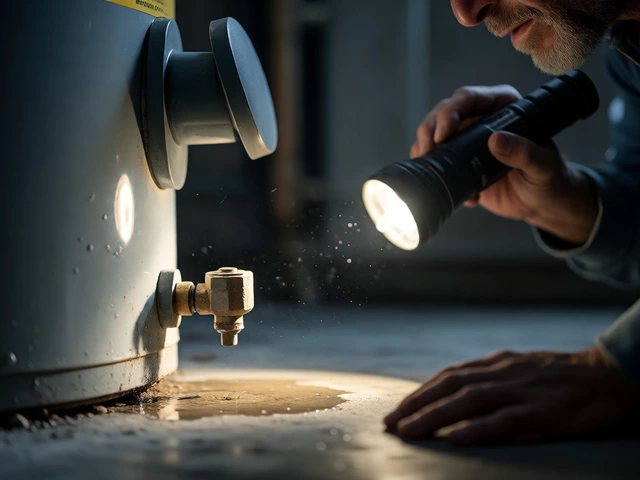
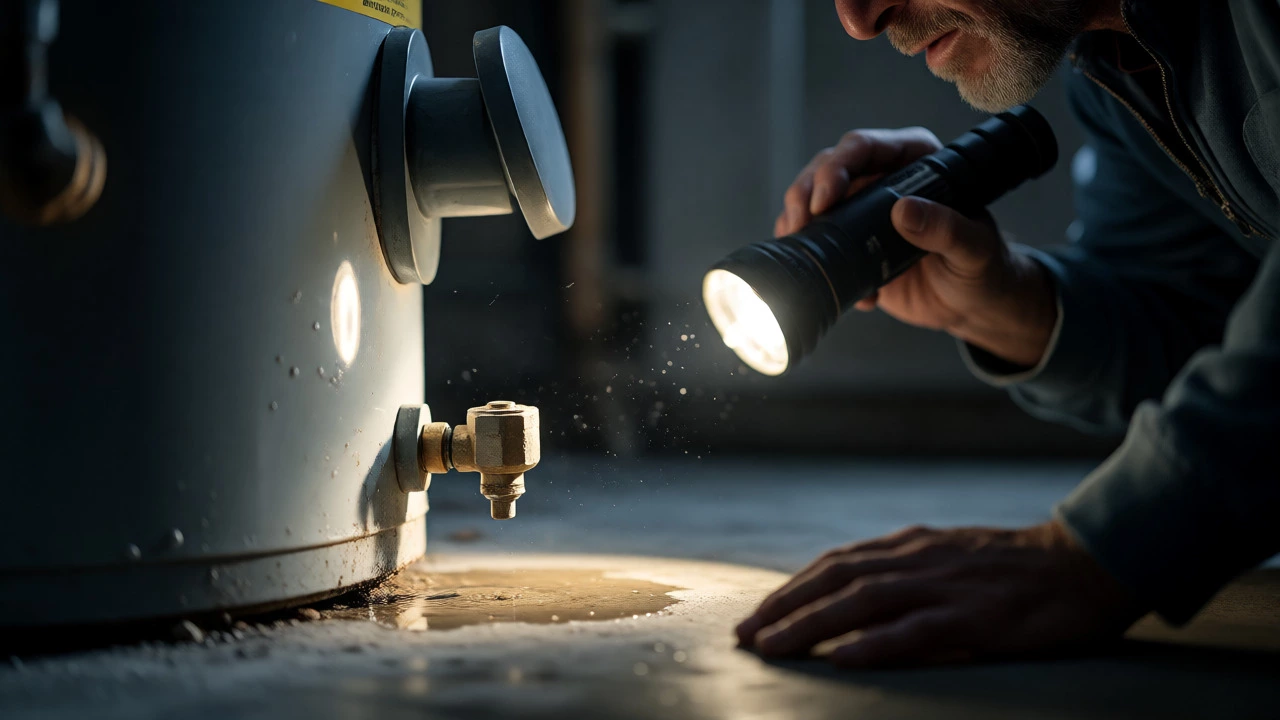
Before you touch any controls, get down on your hands and knees. Grab a flashlight. The first thing you need to rule out is a leak. This is the most common reason people think their water heater is broken when it might just be dripping from a nearby pipe.
Look at the floor around the base of the tank. Is there standing water? If yes, trace it back. Sometimes the culprit isn’t the tank itself but the pressure relief valve (T&P valve). This small brass valve on the side of the tank releases excess pressure. If it drips occasionally during high heat demand, that’s normal. But if it’s gushing or leaking constantly, the valve is faulty or the tank pressure is too high.
If the puddle is coming directly from the tank seams or the bottom, you have a bigger problem. Steel tanks rust from the inside out. Once a pinhole forms in the steel, no patch kit will hold it permanently. At this stage, your water heater is effectively dead. You need a replacement. Do not try to plug it; you’ll just wake up to a flooded basement.
Test the Temperature: Is It Actually Hot?
You turned the dial up, but the shower still feels lukewarm. How do you know if the heater is working or if your expectations are off? Use a thermometer. Not the one in your bathroom cabinet, but a kitchen meat thermometer or a dedicated probe thermometer.
Run the hot water at a sink near the heater for about three minutes. Catch the flow in a cup and measure it. Most manufacturers set the default factory temperature to 120°F (49°C). This is the recommended setting by Energy Star to prevent scalding while keeping bacteria like Legionella at bay. If your reading is below 110°F, the heater isn’t doing its job.
| Symptom | Likely Cause (Electric) | Likely Cause (Gas) |
|---|---|---|
| Water never gets hot | Tripped breaker or failed upper element | Failed thermocouple or pilot outage |
| Hot then quickly cold | Failed lower element or short circuit | Small burner capacity or sediment barrier |
| Too hot (>130°F) | Thermostat stuck open | Thermostat calibrated incorrectly |
If the water is cold, check your electrical panel first. Electric heaters have two elements (upper and lower) and two thermostats. Often, only one trips. Resetting the breaker might solve it instantly. For gas units, ensure the gas supply valve is fully open. It happens more often than you’d think-someone bumps the handle while storing items nearby.
Listen Up: What Your Heater is Trying to Tell You
A healthy water heater is quiet. Maybe a faint hum from the electric elements or a soft whoosh from the gas burner. Anything else is a red flag.
Hear a rumbling, popping, or knocking sound? That’s sediment. Over time, minerals in hard water settle at the bottom of the tank. When the burner or elements heat the water above this layer, steam bubbles form and collapse under the weight of the water above them. This creates noise and, more importantly, insulates the water from the heat source. Your energy bills go up because the heater works harder to push heat through that rocky layer.
To fix this, you need to flush the tank. Turn off the power or gas, connect a hose to the drain valve, and let it run until the water comes out clear. If the noise persists after flushing, the sediment might be baked onto the elements, requiring professional cleaning or element replacement.
Another sound to watch for is a high-pitched whine. This usually indicates restricted water flow, possibly due to a clogged inlet filter or a partially closed shut-off valve. Check both valves leading to and from the heater to ensure they are fully open.
Gas-Specific Checks: The Pilot Light and Thermocouple
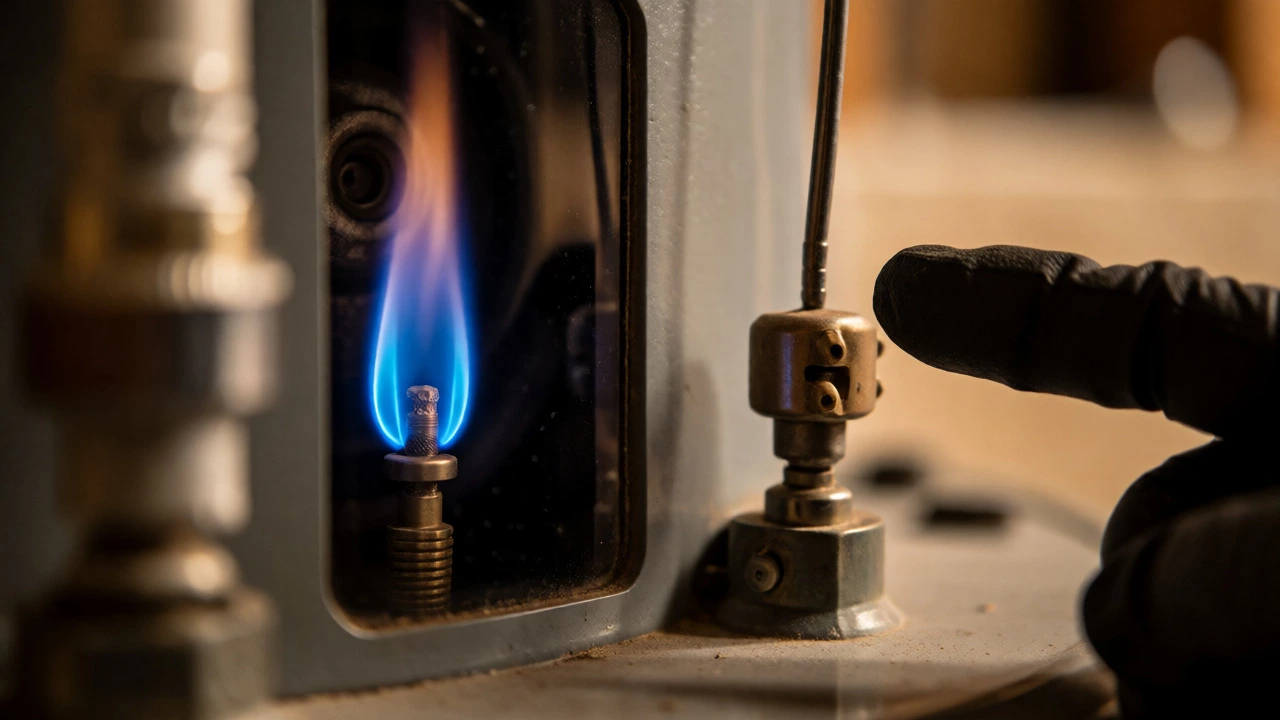
If you have a gas model, the pilot light is your primary indicator. Modern units use electronic ignition, but older ones rely on a standing pilot. Open the access panel (usually at the bottom front) and look through the sight glass.
The flame should be steady and blue. A lazy, flickering yellow flame is bad news. It suggests poor ventilation or a dirty burner assembly. Yellow flames produce soot and carbon monoxide, a silent killer. If you see yellow, turn off the gas immediately and call a professional.
What if the pilot won’t stay lit? You press the button, light it, release, and it goes out again. This is almost always a faulty thermocouple. This safety device senses the heat from the pilot. If it doesn’t feel heat, it shuts off the gas valve to prevent leaks. They wear out over time. Replacing a thermocouple costs about $15-$20 in parts and takes ten minutes if you’re handy. If replacing it doesn’t work, the gas control valve itself might be defective.
Electric-Specific Checks: Elements and Thermostats
Electric heaters are simpler mechanically but have more electrical components that can fail. Remember the two-element setup mentioned earlier? Here’s how it works: The upper element heats the top half of the tank. As you use hot water, cold water enters the bottom, triggering the lower thermostat to activate the lower element.
If you have plenty of hot water but it runs out too fast, the lower element is likely burned out. The upper one works, giving you initial heat, but the rest of the tank stays cold. Conversely, if you have no hot water at all, check the upper element or thermostat first.
Safety Warning: Always cut power at the breaker box before removing panels. Test wires with a non-contact voltage tester. Never assume the breaker is off just because the switch looks flipped.
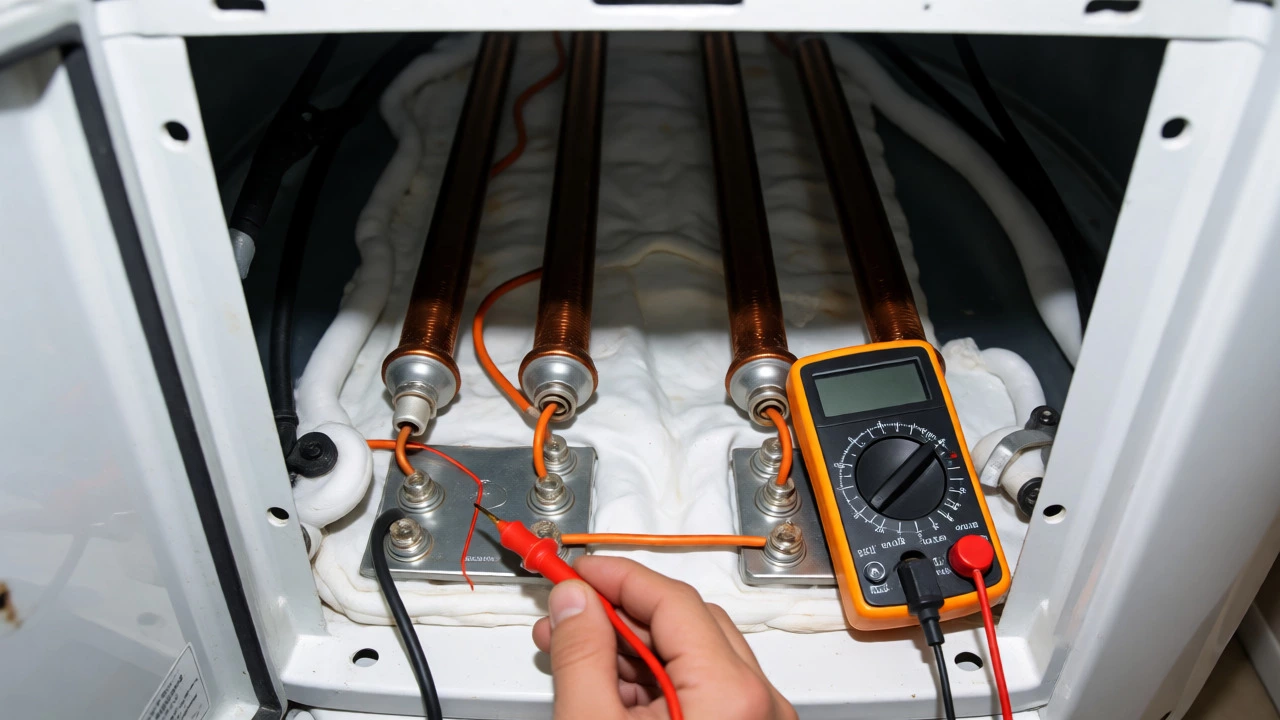
Use a multimeter to test continuity. Set it to Ohms. Touch the probes to the terminals of the heating element. You should read between 10 and 20 Ohms. If it reads infinity (OL), the element is broken. Replace it. If it reads zero, it’s shorted to ground. Also replace it. Thermostats can also fail. If the element has power but doesn’t heat, the thermostat might not be closing the circuit.
Check the Anode Rod: The Silent Killer of Tanks
Most homeowners forget about the anode rod. This sacrificial metal rod sits inside the tank and attracts corrosion. Instead of rust eating the steel tank, it eats the magnesium or aluminum rod. When the rod is gone, the tank starts to corrode rapidly.
You can’t see it without draining some water and unscrewing the hex head on top of the tank (often covered by a plastic cap). If you pull it out and it’s completely eaten away or coated in thick calcium, your tank’s lifespan is nearing its end. If it’s still solid, you’ve bought yourself a few more years. Replacing a worn anode rod is cheap insurance against premature tank failure.
When to Call a Pro vs. DIY
You’ve checked the basics. Now, make a decision. Some things are safe to tackle alone. Others require licensed expertise, especially in British Columbia where gas codes are strict.
DIY Friendly:
- Resetting tripped breakers.
- Flushing sediment from the tank.
- Replacing a T&P valve (if comfortable with plumbing).
- Replacing a thermocouple on a gas unit.
- Tightening loose pipe connections.
Call a Professional:
- Any gas smell other than the brief puff during ignition.
- Yellow pilot flames.
- Cracks in the tank or significant rusting.
- Electrical repairs if you aren’t confident with wiring.
- Unit is under warranty (DIY may void it).
In Vancouver, many older homes have water heaters installed in tight closets. Ensure you have proper ventilation clearance. If your unit was installed recently and acts up, check if the installer balanced the pressure correctly. High incoming city pressure can stress seals and valves unnecessarily.
Why is my water heater making a loud banging noise?
This is typically caused by sediment buildup at the bottom of the tank. Water gets trapped under layers of mineral deposits, boils into steam, and collapses with a pop or bang. Flushing the tank usually resolves this. If ignored, it can damage the heating elements or crack the tank lining.
How long does a typical water heater last?
Standard tank-style water heaters last between 8 and 12 years. Gas models tend to last slightly longer than electric ones due to less electrical component failure, but both suffer from internal corrosion. Hard water areas like parts of Vancouver may see shorter lifespans unless maintenance like anode rod replacement is performed regularly.
Can I replace the heating element myself?
Yes, if you are comfortable working with electricity and plumbing. You must drain the tank partially to remove the element, disconnect the wires safely, and install a new element with a fresh gasket. Always turn off the breaker and verify no voltage is present before starting.
My water is rusty. Is my heater broken?
Not necessarily. Run cold water from another tap. If the cold water is also rusty, the issue is in your home’s pipes or the municipal supply. If only the hot water is rusty, the internal tank lining may be degrading or the anode rod is heavily corroded. This signals aging but not immediate failure.
What temperature should I set my water heater to?
The Department of Energy and most safety experts recommend 120°F (49°C). This prevents scalding, saves energy, and slows mineral buildup. Setting it higher increases energy costs and risk of burns, especially for children and elderly residents.
Next Steps: Maintenance for Longevity
Once you’ve diagnosed the current issue, don’t just fix it and forget it. Preventive care extends life significantly. Every six months, test the T&P valve by lifting the lever briefly to let a bit of water escape. If it doesn’t stop dripping afterward, replace it.
Every year, flush a gallon or two of water from the drain valve to remove settling sediment. Inspect the anode rod every 2-3 years. Keep the area around the heater clean and free of combustible materials. These small habits cost nothing but keep your water heater running efficiently for years to come.