Electric Hob Repair Decision Tool
Step 1: Identify Your Damage Type
Select all symptoms that match your situation:
Step 2: Safety Assessment
⚠️ Important Safety Warning
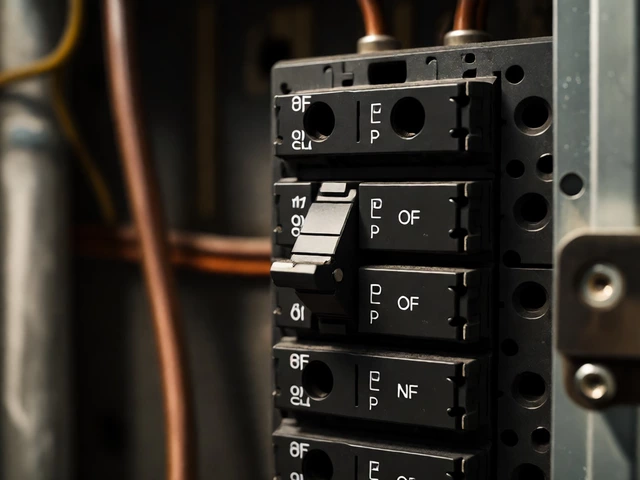
Based on your selections, please turn off power at the circuit breaker and contact a certified technician immediately. Do not attempt DIY repairs.
Good news! Your issue can likely be resolved with DIY methods. Let's gather what you have available:
Tools & Materials Available:
Step 3: Your Custom Repair Plan
Step 4: Summary & Prevention Tips
✓ Prevention Checklist
- Use flat-bottomed pots to prevent hot spots
- Wipe spills immediately before they bake on
- Avoid boiling liquids uncovered
- Don't drag heavy pans across the surface
- Turn off heat early to use residual warmth
- Consider investing in a cooktop protector film
Nothing ruins dinner plans quite like a stubborn black scorch mark on your electric hob is a kitchen appliance with heating elements used for cooking food.. It looks messy, it feels unhygienic, and if you have a smooth glass-ceramic surface, that burn mark might actually be damaging the coating. But before you call a technician or consider replacing the entire unit, take a breath. Most "burnt" hobs are just dealing with carbonized food residue, melted plastic, or sugar spills that can be removed with the right technique. In rare cases, the heating element itself has failed, which requires a different approach.
I’ve seen this happen in kitchens across Vancouver-from boiled-over oatmeal to forgotten frying pans left on high heat. The good news? You likely don’t need a professional. With some patience and household items, you can restore your cooktop to near-new condition. Let’s walk through exactly how to identify the type of damage and fix it safely.
Identify the Type of Burn Damage
Not all burns are created equal. Before you start scrubbing, look closely at the damage. This determines whether you need chemical cleaners, mechanical scraping, or electrical repair.
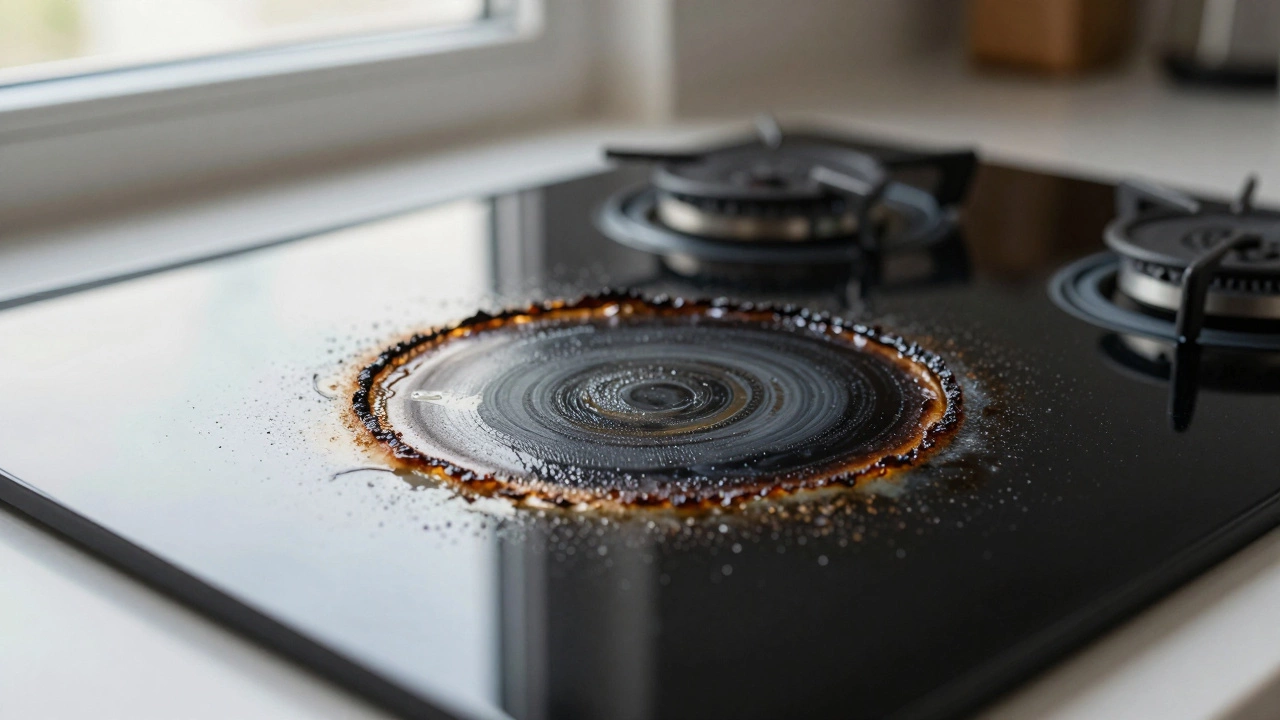
- Surface Scorch: Blackened rings or spots from spilled oil, sauce, or sugar. These sit on top of the glass or metal coil cover.
- Melted Material: Plastic handles, aluminum foil, or silicone mats that have fused into the surface. These often appear as grey or white hardened patches.
- Cracked Glass: If the surface is spider-webbed or has a visible crack, stop using the hob immediately. Heat expands cracks, which can lead to shattering or electrical shorts.
- Element Failure: The burner glows unevenly, doesn’t heat up, or makes buzzing noises. This isn’t a cleaning issue; it’s an electrical fault.
If you see cracks or hear electrical arcing, turn off the power at the circuit breaker and call a certified technician. For everything else, read on.
Gather Your Tools and Safety Gear
You’ll need more than just a sponge. Here’s what works best based on years of hands-on experience:
- Razor blade scraper: Specifically designed for glass cooktops (not regular utility knives).
- Cooktop-specific cleaner: Brands like CeramaBryte or Weiman offer creams formulated for glass-ceramic surfaces.
- Vinegar and baking soda: A cheap, effective alternative for mild burns.
- Microfiber cloths: Non-abrasive and lint-free.
- Gloves: Protect your skin from harsh chemicals and sharp edges.
- Toothbrush: For getting into grates or around coil edges.
Avoid steel wool, abrasive pads, or generic oven cleaners unless they explicitly state they’re safe for glass cooktops. They can scratch the surface permanently, making future stains harder to remove.
Fixing Surface Scorch Marks on Glass-Ceramic Hobs
This is the most common scenario. Sugar, milk, and starchy foods caramelize when heated, creating a hard, black layer that sticks to the glass. Here’s the proven method:
- Cool down completely: Never clean a hot hob. Thermal shock can crack the glass.
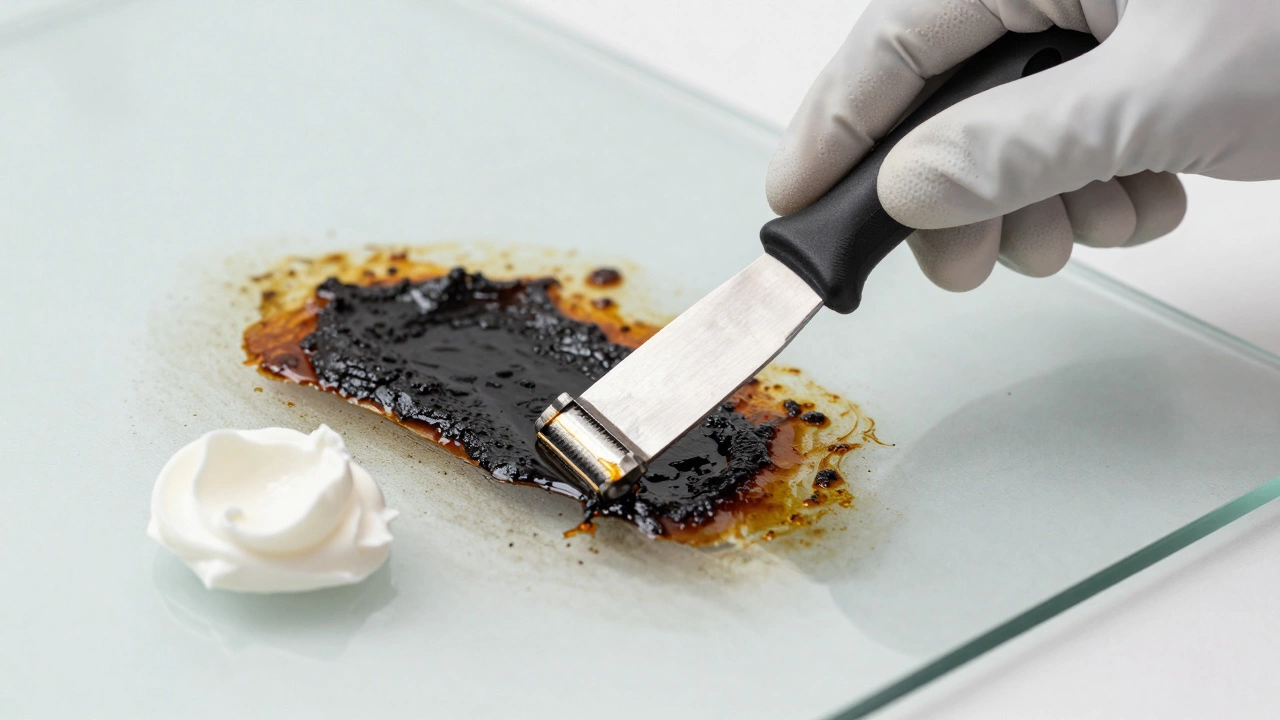
- Apply cleaning cream: Spread a thick layer of cooktop cleaner over the burnt area. Let it sit for 10-15 minutes. The enzymes break down carbon bonds.
- Scrape gently: Hold the razor blade at a 45-degree angle. Use light pressure and short strokes. You should feel the blade glide over the glass, not dig into it.
- Wipe away residue: Use a damp microfiber cloth to remove the loosened gunk. Repeat if necessary.
- Polish: Finish with a dry cloth to prevent water spots.
For tough sugar burns, try the vinegar trick. Soak a paper towel in white vinegar, lay it over the stain, and let it sit for 30 minutes. The acidity helps dissolve the caramelized sugars. Then scrape and wipe as usual.
Removing Melted Plastic or Aluminum Foil
This one is tricky because melted materials bond chemically with the glass. Don’t rush it.
- Freeze it: Put ice cubes in a plastic bag and press them onto the melted spot for 5-10 minutes. The cold makes the material brittle.
- Chip away carefully: Use the edge of your razor blade to lift the corners. Work slowly. If it resists, apply more ice.
- Use adhesive remover: If residue remains, apply a small amount of Goo Gone or rubbing alcohol. Test on an inconspicuous area first.
- Final polish: Clean with cooktop cream to restore shine.
Warning: Never use acetone or nail polish remover on glass hobs. It can cloud the surface.
Repairing Coil-Type Electric Hobs
If your hob uses raised metal coils instead of a flat glass surface, the process is simpler but still requires care.
- Lift the coil: Twist the coil counterclockwise to unlock it from the socket. Pull it straight up.
- Soak in warm soapy water: Let it sit for 20 minutes to loosen baked-on grease.
- Scrub with non-abrasive pad: Focus on the underside where food splatters accumulate.
- Clean the drip pan: Remove the metal tray beneath the coil. Wash it separately.
- Reinstall: Ensure the coil sits flat and locks into place securely.
If the coil itself is warped or cracked, replace it. Coils are inexpensive and widely available. Match the wattage and size of the old one.
When to Replace the Heating Element
Sometimes, the “burn” isn’t on the surface-it’s inside the element. Signs include:
- The burner takes forever to heat up.
- It glows red only in certain areas.
- You smell burning insulation or electronics.
- The control panel flickers or errors out.
In these cases, cleaning won’t help. You need to test the element with a multimeter for continuity. If it reads infinite resistance, it’s dead. Replacement involves disconnecting power, removing the old element, and installing a new one. If you’re uncomfortable working with electricity, hire a pro. It’s cheaper than a fire hazard.
| Method | Best For | Time Required | Cost | Risk Level |
|---|---|---|---|---|
| Razor Blade + Cooktop Cream | Sugar, oil, starch burns | 15-30 mins | $5-$15 | Low (if done correctly) |
| Vinegar Soak | Mild caramelized residues | 30-45 mins | $1-$2 | Very Low |
| Ice + Scraping | Melted plastic, foil | 20-40 mins | $0 | Medium (patience required) |
| Professional Technician | Cracks, electrical faults | 1-2 hours | $100-$300+ | None (expert handled) |
Preventing Future Burns
Once your hob is clean, keep it that way. Prevention is easier than cure.
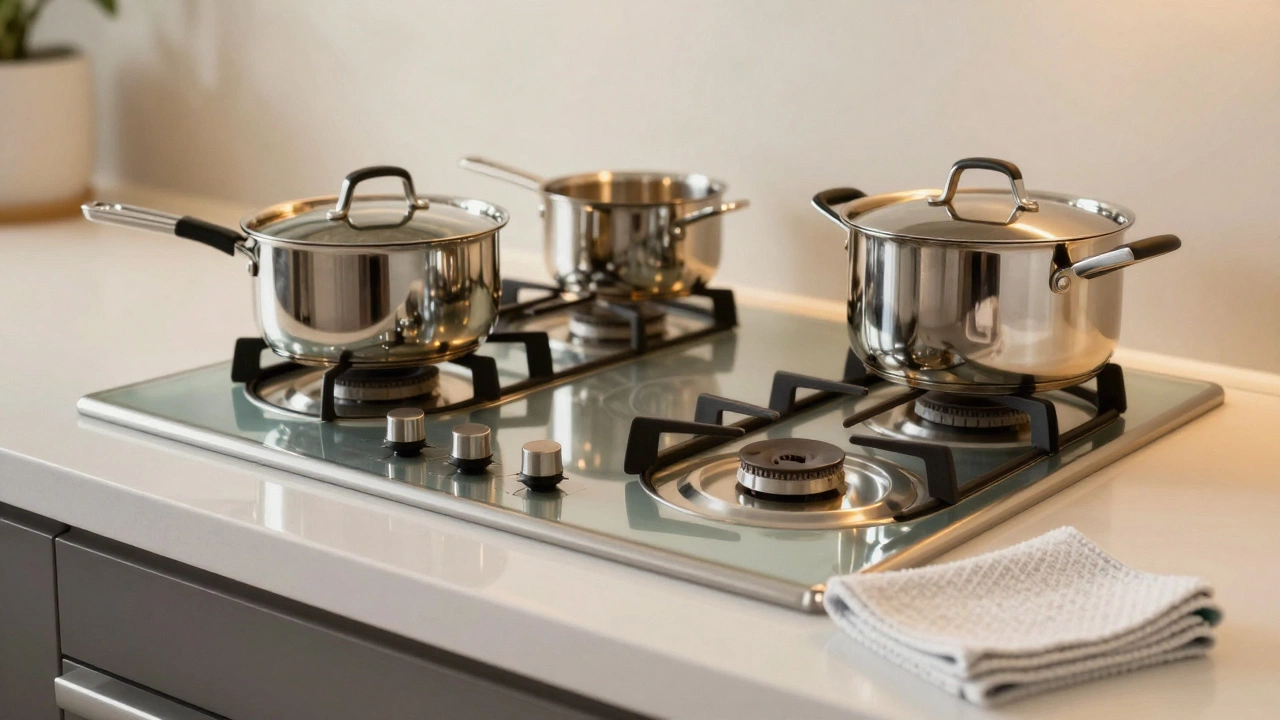
- Use flat-bottomed pots: Warped pans create hot spots and spill over easily.
- Wipe spills immediately: Don’t wait for them to bake on. A quick swipe with a damp cloth saves hours of scrubbing later.
- Avoid boiling liquids uncovered: Boilovers are the #1 cause of glass hob damage.
- Don’t drag heavy pans: Sliding cast iron or stone griddles can scratch the surface.
- Turn off the heat early: Residual heat finishes cooking without risking burns.
Consider investing in a cooktop protector-a thin, transparent film that shields against scratches and spills. They’re affordable and easy to replace.
Can I use oven cleaner on my electric hob?
Only if the label explicitly says it’s safe for glass-ceramic cooktops. Standard oven cleaners contain lye and other harsh chemicals that can etch or discolor the surface. Always check the manufacturer’s guidelines first.
How do I know if my electric hob element is broken?
If the burner doesn’t heat evenly, takes unusually long to reach temperature, or shows visible cracks or blisters, the element is likely failing. Test it with a multimeter for continuity. No reading means it needs replacement.
Is it dangerous to use a razor blade on a glass hob?
No, as long as you use a dedicated cooktop scraper and hold it at a 45-degree angle. The glass is tempered and resistant to scratching. Avoid dragging the blade sideways or applying excessive pressure.
What causes white spots on a glass electric hob?
White spots are usually mineral deposits from hard water or dried cleaning product residue. Wipe the surface with a vinegar-water solution (1:1 ratio) and buff dry with a microfiber cloth. Prevent it by rinsing after every clean.
Should I replace my electric hob if it has deep scratches?
Deep scratches compromise the protective coating and can trap dirt, leading to more burns. If the scratches are superficial, polishing may help. If they’re deep enough to catch your fingernail, consider replacement for safety and hygiene.