DIY Water Heater Flush Checklist & Timer
Wait at least 30 minutes before draining.
- ✓ Garden Hose
- ✓ Bucket
- ✓ Adjustable Wrench/Pliers
- ✓ Work Gloves
- ✓ Old Towels
Most homeowners ignore their water heater until it starts leaking or stops producing hot water. By then, you’re usually paying a plumber $150-$250 just to show up and diagnose the problem. The truth is, flushing your water heater is one of those rare maintenance tasks that’s actually safe and straightforward to do yourself. If you’ve got an hour on a Saturday morning and a garden hose, you can likely save yourself a service call and extend the life of your unit by several years.
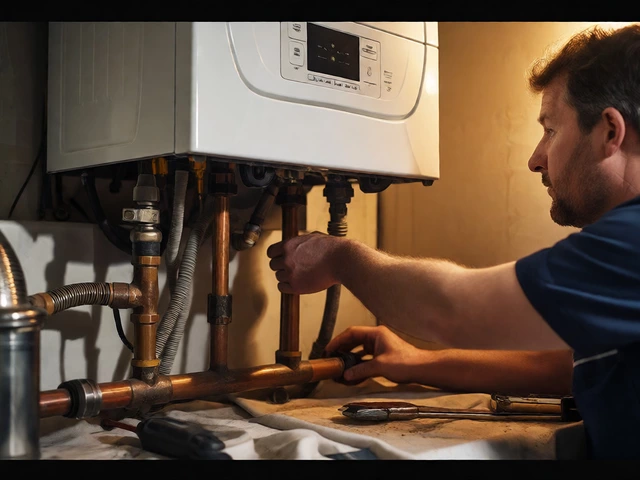
But before you grab your wrench, let’s be real: not every situation calls for a DIY fix. If your tank is over 10 years old, heavily rusted, or if you have a complex hybrid heat pump system, calling a pro might be smarter. For standard electric or gas tank models, though, this is a job you can handle. Here’s exactly how to do it right, what tools you need, and when to stop trying and start calling.
Why You Need to Flush Your Water Heater
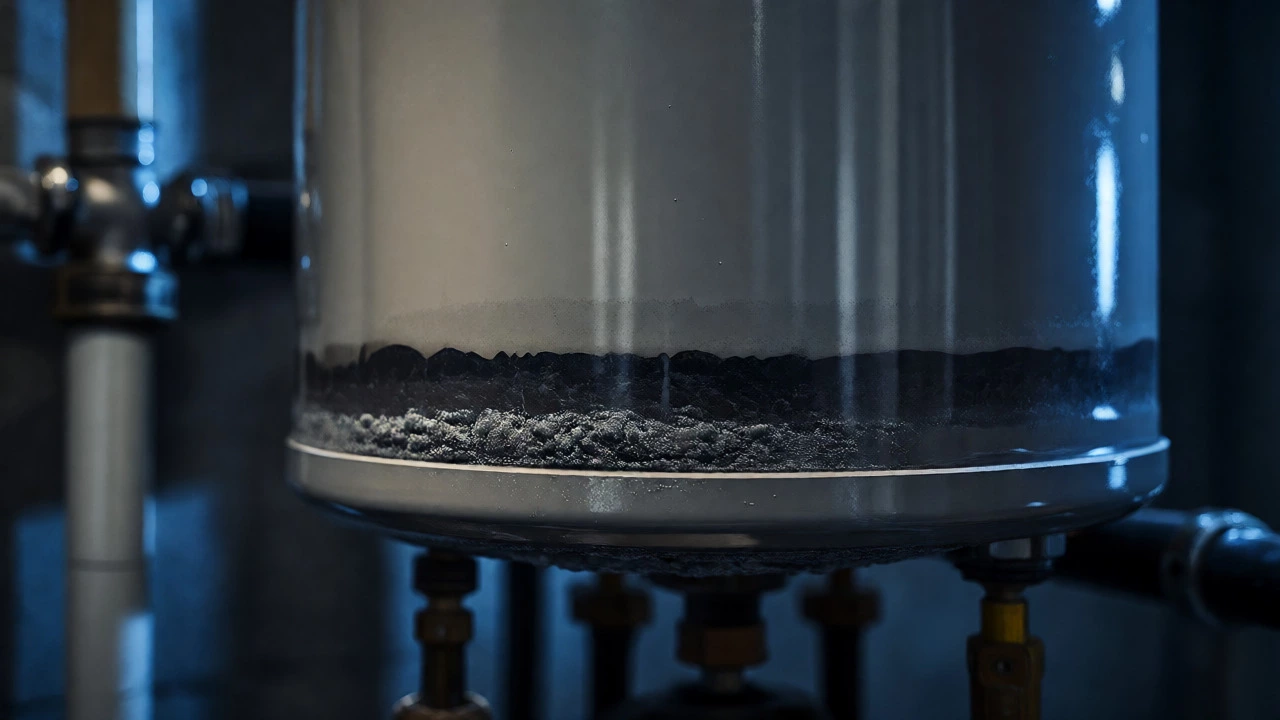
Over time, minerals like calcium and magnesium settle at the bottom of your tank. This is called sediment buildup. In hard water areas-like many parts of Vancouver-the accumulation happens faster than you’d think. That layer of sludge acts as an insulator between the heating element (or burner) and the water.
What does that mean for you? It means your heater works harder and longer to heat the same amount of water. You’ll notice higher energy bills. Worse, the trapped heat can damage the bottom of the steel tank, leading to corrosion and leaks. Flushing removes this debris, restores efficiency, and prevents premature failure. It’s basically preventative medicine for your appliance.
Safety First: Know When to Call a Pro
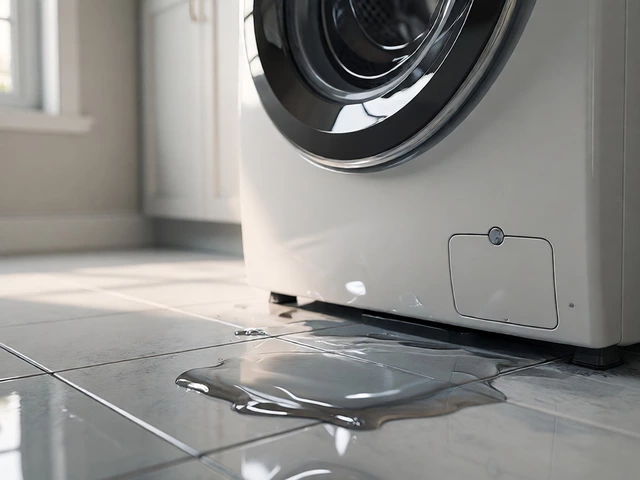
Before you touch anything, assess your unit. If you see active dripping from the tank itself (not just the pipes), don’t flush it. The pressure change could worsen a small leak into a flood. Also, check the age. If your tankless water heater requires a specific descaling kit with vinegar circulation pumps, a simple garden hose flush won’t cut it. Stick to this guide if you have a standard storage tank model.
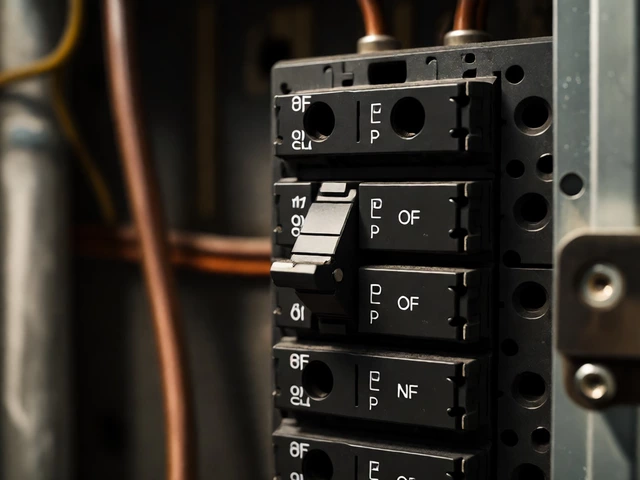
If you smell gas near a gas water heater, turn off the gas supply immediately and ventilate the area. Do not attempt to work on the unit until a professional has checked for leaks. Electrical safety is equally critical: always shut off the power breaker before touching any components.
Tools and Materials Checklist
You probably already own most of what you need. Gather these items before starting:
- Garden hose: Long enough to reach a drain or outside location.
- Bucket: For catching initial dirty water if you can’t drain directly outside.
- Adjustable wrench or pliers: To loosen the drain valve if it’s stiff.
- Work gloves: The drain valve and surrounding pipes get extremely hot.
- Old towels: Spills are inevitable.
No special chemicals are needed for a standard flush. Plain cold water is sufficient to dislodge loose sediment. If you live in an area with extreme hardness, some pros recommend adding a cup of white vinegar during the refill cycle, but it’s rarely necessary for routine maintenance.
Step-by-Step Flushing Process
Follow these steps precisely. Skipping the cooling phase is the most common mistake beginners make.
- Turn off the power or gas. For electric heaters, flip the circuit breaker. For gas units, set the control knob to "Pilot" or "Off." Never leave the heat source on while draining.
- Shut off the cold water inlet. There’s a valve on the pipe feeding into the top of the tank. Turn it clockwise until it stops.
- Let the water cool. Wait at least 30 minutes. Draining boiling water creates dangerous steam and can melt plastic drain valves.
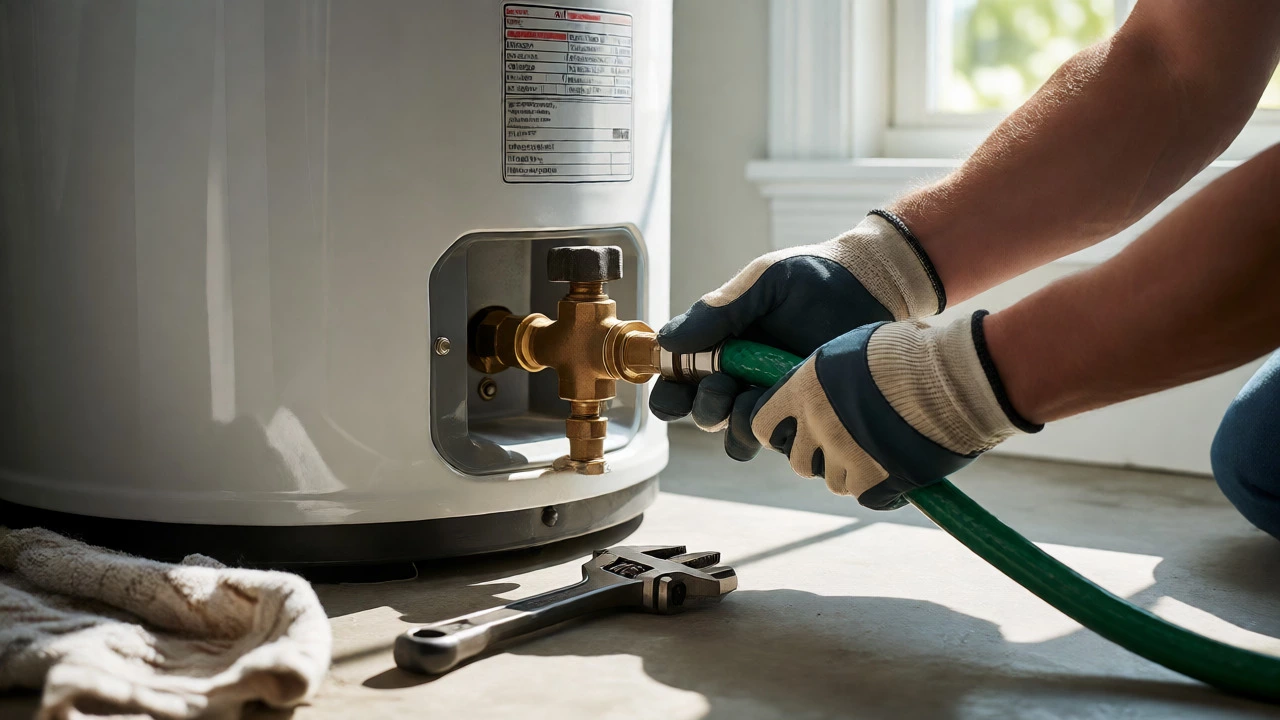
- Connect the garden hose. Attach it to the drain valve at the bottom of the tank. Run the other end to a floor drain, utility sink, or outside.
- Open a hot water faucet inside the house. Go to the highest floor if possible. Opening a tap breaks the vacuum seal, allowing water to flow out of the hose smoothly.
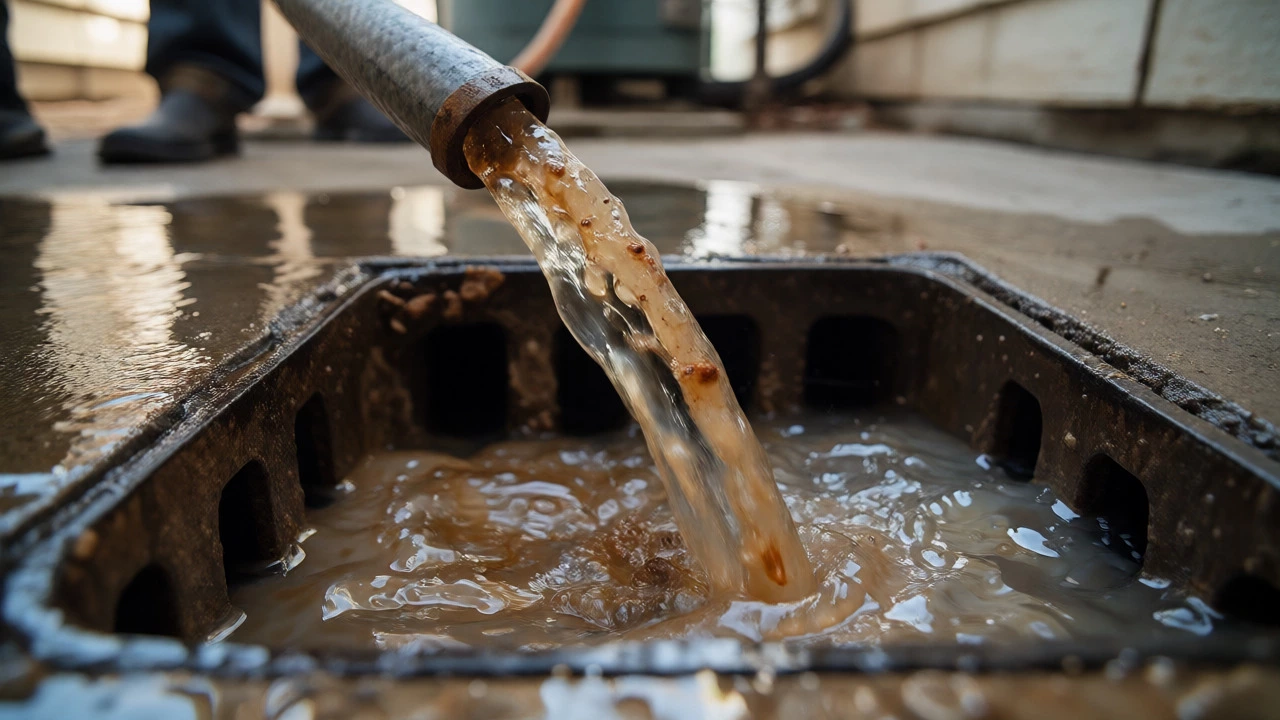
- Open the drain valve slowly. Use caution; the first rush of water will be hot and dirty. Let it run until the water coming out of the hose is clear. This usually takes 5-10 minutes.
- Close the drain valve. Tighten it hand-tight, then give it a quarter-turn with pliers. Don’t overtighten, or you might strip the threads.
- Refill the tank. Turn the cold water inlet back on. Keep the hot water faucet open until a steady stream flows without sputtering air. This ensures no air pockets remain.
- Restore power or gas. Only after confirming the tank is full should you turn the electricity back on or relight the pilot.
| Issue | Cause | Quick Fix |
|---|---|---|
| Water won’t drain | Vacuum lock or clogged valve | Open a hot tap upstairs; wiggle valve handle gently |
| Hose bursts | High pressure or weak hose | Use a heavy-duty rubber hose; keep outlet low |
| Drip after closing | Worn washer in valve | Replace drain valve washer ($2 part) |
Troubleshooting Common Problems
The biggest hurdle people hit is a stuck drain valve. Years of mineral deposits can fuse the internal washer to the seat. If you try to force it and break the handle, you’ll have a leaky mess. Instead, apply penetrating oil around the stem and wait ten minutes. If it still won’t budge, consider replacing the entire drain valve. They cost about $15-$25 and take five minutes to swap once the tank is drained.
Another issue: cloudy water afterward. If your taps run milky for a few days, don’t panic. This is often tiny air bubbles trapped in the lines after refilling. Run the hot taps for a minute each day, and it should clear up. If the cloudiness persists or smells rotten, you might have bacterial growth in the tank, which requires a different treatment (shock chlorination).
How Often Should You Do This?
In Vancouver, where municipal water is relatively soft compared to Alberta or Saskatchewan, flushing once every two years is usually sufficient. However, if you have well water or notice your hot water taking longer to arrive, bump it up to once a year. Regular inspection costs nothing but time and saves hundreds in potential repairs.
Keep a log. Write down the date you flushed it and note any oddities-strange noises, discoloration, or difficulty turning valves. This history helps a plumber diagnose issues quickly if you ever do need to call them.
When Not to Flush Yourself
There are scenarios where DIY isn’t worth the risk. If your water heater is installed in a tight closet with no room for a bucket or hose routing, you might cause more water damage than benefit. Similarly, if you have a high-efficiency condensing gas unit with sensitive electronics, consult the manual first. Some manufacturers void warranties if non-certified technicians perform certain maintenance steps.
Also, if you find significant rust flakes in the discharge water, your tank’s anode rod may be depleted. Replacing the anode rod is a slightly more advanced task requiring a socket wrench and potentially cutting the wire tie holding the rod. If you’re not comfortable with that, hire a pro to replace the rod and flush the tank simultaneously.
Is it dangerous to flush a water heater?
It is generally safe if you follow precautions. The main risks are burns from hot water and water damage from spills. Always let the water cool for 30 minutes before draining and ensure your drain path leads to a proper drainage point. Wear gloves and eye protection to avoid splashes.
How long does it take to flush a water heater?
The actual draining process takes 10-15 minutes for a standard 40-50 gallon tank. Including setup (turning off power, connecting hoses) and cleanup (refilling, checking for leaks), budget about 45 minutes to an hour total.
Do I need to turn off the water heater before flushing?
Yes, absolutely. Turning off the power or gas prevents the heating elements from burning out if they become exposed during draining. It also reduces the risk of scalding from superheated water escaping the drain valve.
Why is my water still brown after flushing?
Persistent brown water suggests internal corrosion rather than just sediment. If flushing doesn’t clear it within a few uses, your tank’s lining may be failing, indicating it’s time for replacement. Alternatively, the issue could be in your home’s piping rather than the heater.
Can I use vinegar to clean the tank?
For severe scale buildup, you can fill the tank halfway with white vinegar and let it sit for an hour before draining. However, for routine maintenance, plain water is usually sufficient. Vinegar is more commonly used for tankless water heaters via a circulation pump.