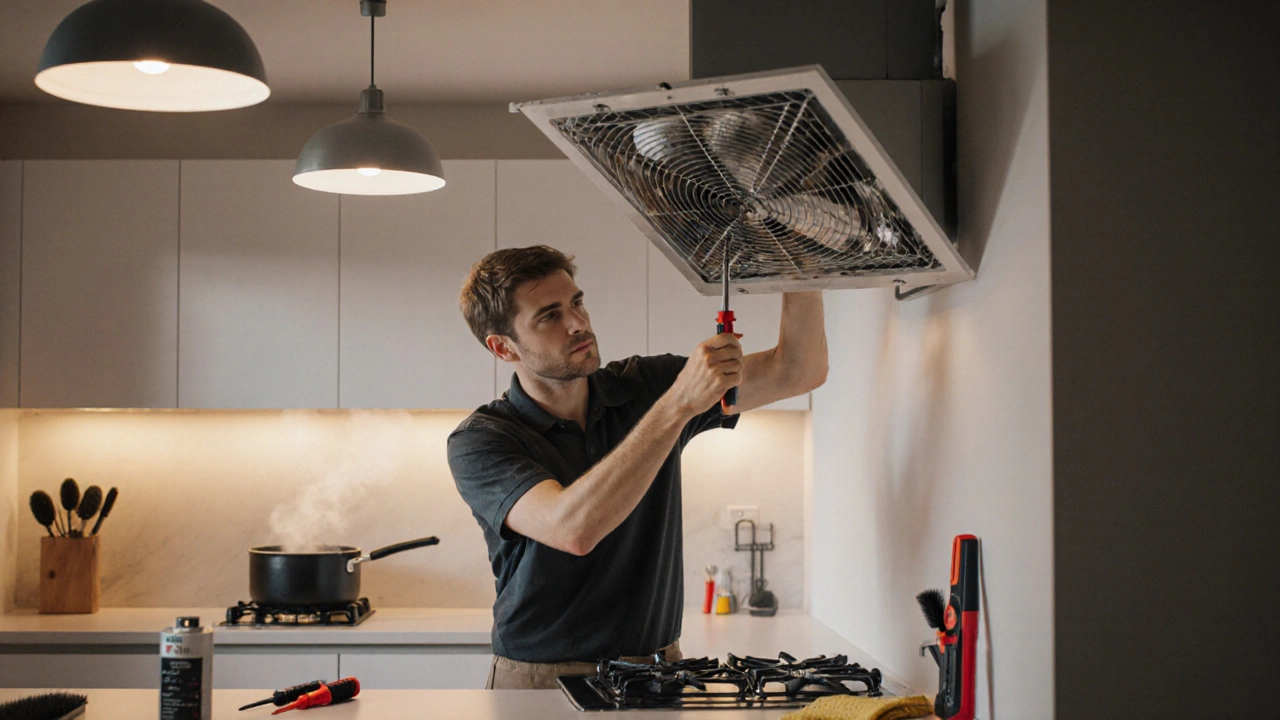
Extractor Fan Replacement: Easy Steps to Get Your Kitchen or Bathroom Working Again
That humming fan that used to whisk away steam and odors suddenly stopped or makes a weird rattling noise? It’s probably time for a replacement. Swapping out an extractor fan isn’t rocket science – with the right tools, a little safety sense, and a clear plan you can have fresh airflow in under an hour.
Tools & Safety First
Before you start, gather these basics: a screwdriver set (Phillips and flat‑head), a drill with a small bit for any screws, a flashlight, a ladder or sturdy step stool, and a new fan that matches the size and voltage of the old one. If the fan is hard‑wired, you’ll also need a voltage tester and a wire stripper.
Safety matters. Turn off the power at the consumer unit – you don’t want a surprise jolt. Double‑check with the tester that the wiring is dead. If you’re dealing with a vent that goes through the roof or an attic, make sure the area is stable and you have a dust mask – debris can be a surprise.
Step‑by‑Step Replacement Process
1. Remove the old fan. Most fans are held in place with a few screws or clips. Unscrew the mounting brackets, then gently pull the fan away from the wall or ceiling. If there’s a duct attached, loosen the clamp or tape and set the duct aside.
2. Disconnect the wiring. Take note of which wire goes where – a quick photo helps. Usually you have live (brown or red), neutral (blue or black), and earth (green/yellow). Loosen the terminal screws and pull the wires off.
3. Prepare the new fan. Match the mounting holes to the existing brackets. If the new unit is a different model, you may need to drill new holes – keep the drill level to avoid a crooked fan.
4. Connect the wires. Strip about 10mm of insulation off each wire, then attach them to the corresponding terminals on the new fan. Tighten the screws so the wires stay put, and connect the earth wire to the green screw.
5. Secure the fan. Place the fan back into the opening, align the brackets, and fasten the screws. Re‑attach the duct with the clamp or tape, making sure there’s no gap for air to escape.
6. Test it. Switch the power back on at the consumer unit. Turn the fan on – you should hear a steady hum and feel airflow. If it’s silent or still rattles, double‑check the wiring and mounting.
That’s it! Most DIYers finish in 30‑45 minutes. If the fan still won’t work after these steps, the issue may be with the wiring in the wall or the switch – that’s when a qualified electrician or professional appliance repair service steps in.
When deciding whether to replace yourself or call a pro, consider the complexity of the wiring and your confidence level. A simple swap with a plug‑in fan is perfect for a weekend project. A sealed, hard‑wired unit behind a ceiling is best left to an expert.
Replacing an extractor fan not only restores fresh air but can also lower humidity, prevent mould, and keep cooking smells where they belong – out of your living space. Keep a spare fan on hand, and you’ll never be caught off guard the next time the motor quits.
How to Troubleshoot an Extractor Fan: Common Problems and Simple Fixes
- Alden Wilder
- Nov 20 2025
- 0 Comments
Learn how to troubleshoot a broken extractor fan with simple steps: check power, clean grease, test the capacitor, inspect ducts, and know when to replace it. Save money and avoid costly repairs.
View More
How Hard Is It to Replace an Extractor Fan? DIY Guide & Tips
- Alden Wilder
- Jul 9 2025
- 0 Comments
Thinking of swapping out your extractor fan? Discover if replacing an extractor fan is tough, what skills and tools you need, and insider tips for a smoother job.
View More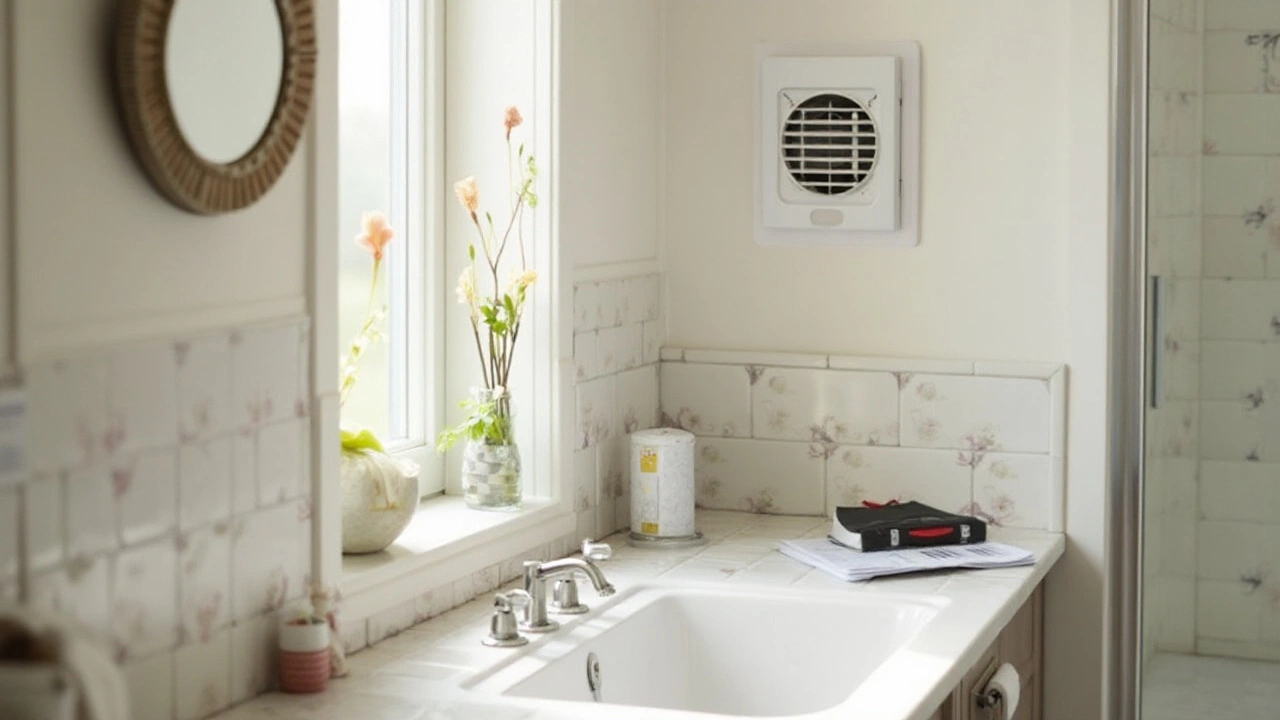
How to Easily Replace Your Bathroom Extractor Fan
- Alden Wilder
- Jan 30 2025
- 0 Comments
Replacing a bathroom extractor fan may sound daunting, but it is a straightforward process with the right guidance. This article provides a detailed guide for homeowners looking to replace their bathroom extractor fans. It covers the necessary tools, step-by-step instructions, and tips for ensuring a successful installation. Discover how upgrading your bathroom extractor fan can enhance the efficiency of ventilation and the overall atmosphere in your bathroom.
View More