Ever wondered if swapping out your bathroom extractor fan is a job you can tackle on your own? The answer is a hearty 'yes'—with a little guidance and some basic tools, replacing that fan can be a rewarding weekend project. By refreshing your bathroom's ventilation system, you not only improve the air quality but also keep mold and mildew at bay, ensuring a fresher, cleaner environment.
This process does not have to be overly technical or demanding. Whether you're doing it to address a faulty fan or you simply want an upgrade, understanding the steps involved can save you time and money. Let's dive into what you need to know to tackle this home improvement task with confidence. From identifying your current fan type to choosing a suitable replacement and following the step-by-step process, this guide is designed to empower even those with limited DIY experience to succeed.
- Understanding Your Current Extractor Fan
- Choosing the Right Replacement Fan
- Step-by-Step Replacement Guide
- Maintaining Your New Extractor Fan
Understanding Your Current Extractor Fan
Before diving into the process of replacing your bathroom extractor fan, it is essential to have a solid understanding of the device you're dealing with. Bathroom extractor fans, also known as exhaust fans, play a crucial role in maintaining the air quality within your home. By removing moisture and odor-laden air, these fans help to prevent mold growth and keep the bathroom environment comfortable. The first step to a successful replacement is identifying the type and specifications of your current fan.
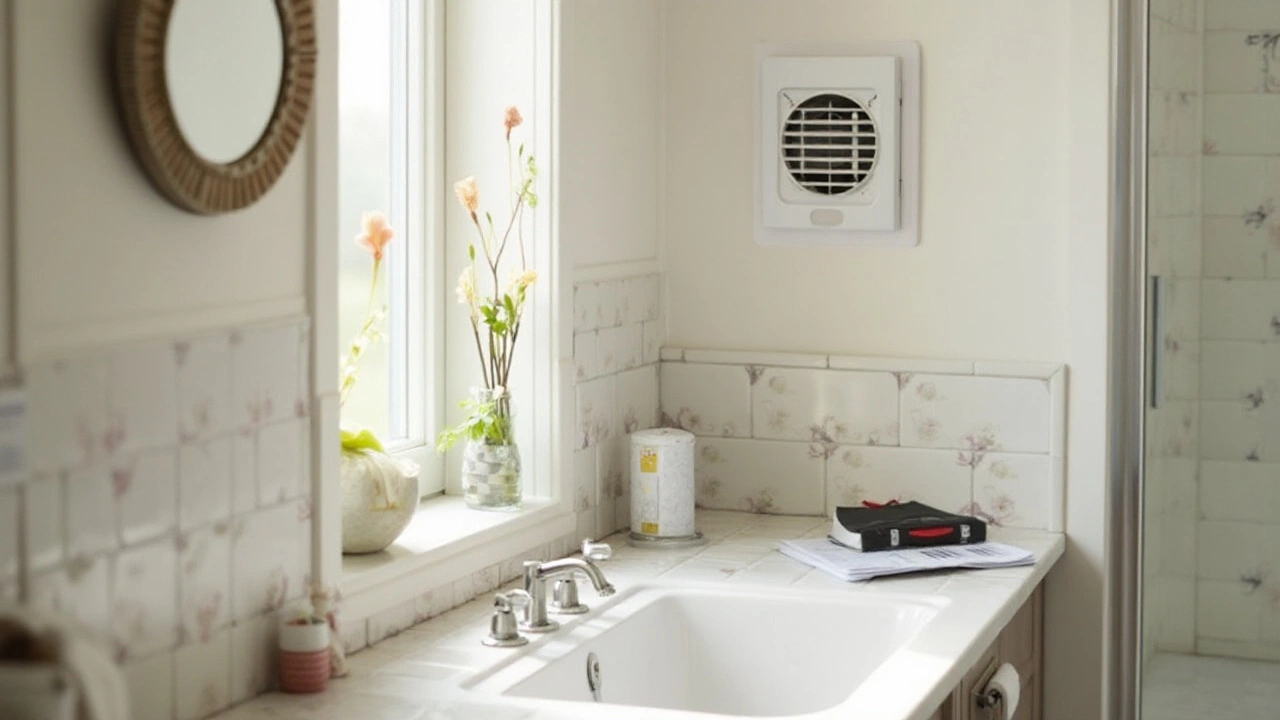
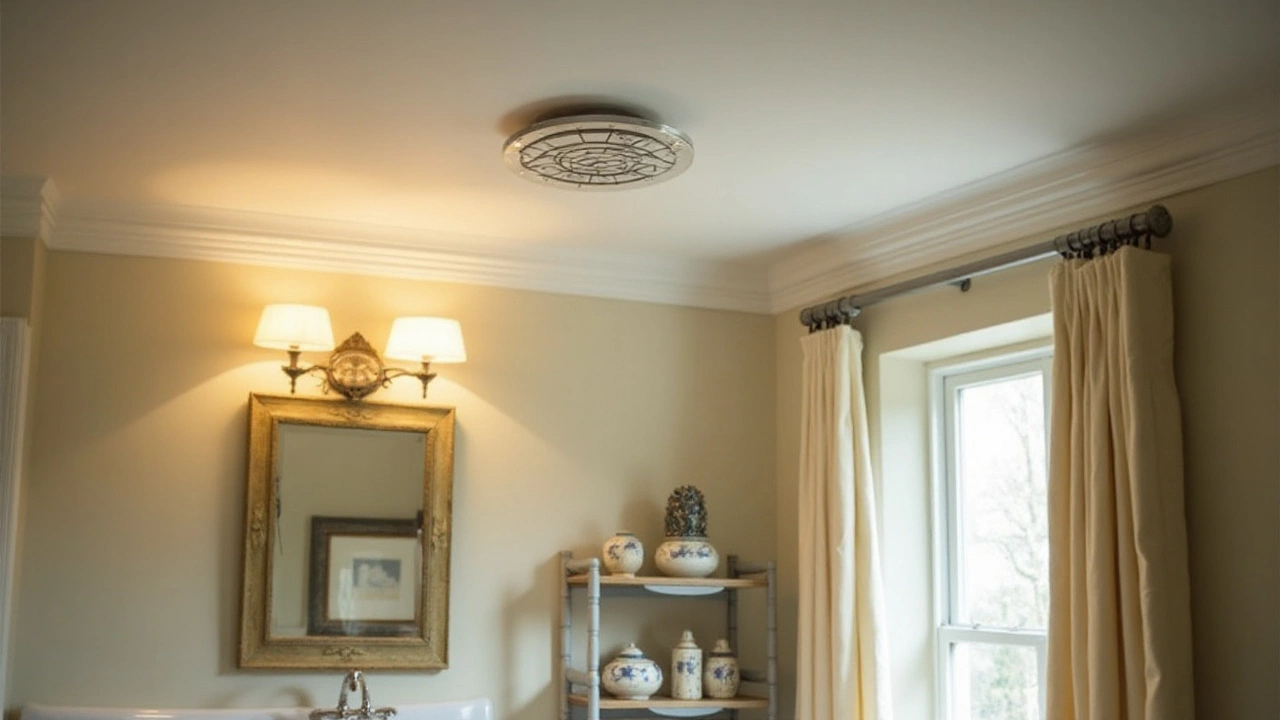
Extractor fans come in various types based on their mounting style and application, with the most common types being ceiling-mounted, wall-mounted, and inline fans. Ceiling-mounted fans are often found in bathrooms where they can easily vent to the attic or a duct system. Wall-mounted fans are suitable for bathrooms with an exterior wall and require direct venting outside, while inline fans are typically mounted in a separate location and are great for rooms that need serious ventilation. Understanding which type you currently have will guide you in choosing the right replacement.
When inspecting your existing fan, take note of its size, power rating, and noise level. The size is often dictated by the duct diameter, commonly ranging between four to six inches. Power rating, measured in cubic feet per minute (CFM), indicates how much air the fan moves per minute. A common range for bathroom fans is between 50 and 110 CFM, and the ideal rating depends on your bathroom's size. Noise level, measured in sones, impacts comfort considerably. Standard range for noise is about 1.5 to 4 sones, with lower numbers being quieter. With this information in hand, you’re ready to start considering your options for a new fan.
To see how your extractor fan fits into the larger ecosystem of home ventilation, consider a brief usage stat that shows on average, Americans spend around 90% of their time indoors. This statistic by the Environmental Protection Agency highlights the importance of indoor air quality and why a well-functioning extractor fan is crucial. Mold and mildew growth, a common problem in poorly ventilated bathrooms, can begin within 24 to 48 hours of moisture exposure, emphasizing the urgency of keeping your bathroom's fan in tip-top shape.
"Good ventilation is critical in creating a healthy indoor environment, which significantly impacts our well-being," states Professor John C. Spengler from Harvard's School of Public Health.
When inspecting your current fan, consider using a simple table format to record the specifications you gather:
| Specification | Detail |
|---|---|
| Type | Ceiling-Mounted |
| Size | 6-inch duct |
| Power Rating (CFM) | 90 CFM |
| Noise Level (Sones) | 2.5 Sones |
This comprehensive understanding of your current extractor fan sets a solid foundation for the replacement process. Armed with this information, transitioning to a new fan that enhances your bathroom's airflow becomes both manageable and rewarding—ensuring you breathe easier in a space that is not only pleasant but essential to your daily routine.

Choosing the Right Replacement Fan
Embarking on the journey to replace your bathroom extractor fan begins with the crucial task of selecting a suitable replacement. With a myriad of options available, choosing the right fan can seem overwhelming at first. However, understanding a few key factors will simplify the process significantly. Start by assessing your current fan's capacity, size, and features. These elements are critical because the new fan should seamlessly fit into the existing setup while handling the moisture levels the bathroom generates. Most fans are rated by their CFM (cubic feet per minute), which measures the fan's airflow capacity. A typical rule of thumb is having a fan with a CFM rating that matches the square footage of your bathroom.
Extractor fan replacement also involves considering the noise level. If you've ever been annoyed by a loud fan, you'll appreciate models specifically designed for quieter operation. Look for fans rated for low sone levels; the lower, the quieter. You'll also want to factor in technological advancements when selecting a fan. Many new models include features like humidity sensors and timers, which automatically regulate operation to keep your bathroom fresh and dry without wasting energy.
If sustainability and energy efficiency are high on your list, consider fans with Energy Star ratings. Energy-efficient models reduce power consumption while maintaining effective ventilation, saving you money in the long run. As you evaluate different fans, remember installation considerations as well. The best fan for your needs might require adjustments to the existing wiring or ductwork, factors that could influence ease of installation or necessitate professional help.
"When choosing a bathroom fan, homeowners should prioritize energy efficiency without compromising on airflow," suggests Rebecca Miller of the Home Ventilation Institute. "This ensures optimal performance and long-term savings."
Shopping for a replacement means navigating different types: ducted and ductless are the primary categories today. Most homes use ducted fans, which direct moisture outside via ductwork. However, if ducting is impractical, modern ductless fans utilize charcoal filters to eliminate bathroom odors. Each type has its pros and cons; the decision depends on your current setup and specific needs.
Finally, don't overlook design aspects. Modern fans come in an array of styles and finishes to match your bathroom decor. Whether you want something sleek and unobtrusive or more decorative, there's a fan to fit every taste. By honing in on these considerations, you'll discover the right DIY extractor fan for your space. Whether seeking better performance or a simple update, the correct fan will enhance both functionality and ambiance in one of the most important rooms in your home.

Step-by-Step Replacement Guide
When the bathroom extractor fan starts faltering, it's time to roll up your sleeves and begin the replacement process. Grasping the art of fan replacement isn't just about following a manual, it's about approaching each step with precision and care. Before you embark on this journey, you need to get familiar with your bathroom's electrical setup and the tools at hand. Your basic toolset should include a screwdriver, a voltage tester, electrical tape, wire nuts, and possibly a drywall saw, depending on the fan style. Once you've gathered these tools, power off the circuit breaker associated with your bathroom to keep things safe.
"A well-ventilated bathroom is the first step to preventing elongated moisture damage," advises Home Improvement Expert Bob Vila.
Now, let's delve into the actual procedure. Begin by gently removing the fan cover, noting whether it's secured by screws or clips. With a firm but cautious touch, detach the old fan from its housing. It's essential to identify the wiring connections. Typically, you'll encounter three wires: neutral, live, and ground. Use your voltage tester to ensure these are no longer powered. Once confirmed, disconnect the wires carefully, preserving their initial positions in case you need a reference later. As the old unit comes off, you might find it helpful to clean the vent area—a dusty vent can block airflow and strain even the most efficient fan systems.
With the new fan at your side, prep it for installation by reviewing its manual. Each fan can have peculiarities, and manufacturers often offer insights specific to their models. It'll guide you through attaching the new unit to the existing ductwork. Slide the new fan into the vent, ensuring a snug fit. It's vital to reconnect those wires just as they were. Typically, matching wire colors—black to black, white to white, and green or bare to copper—is the route to take. Use wire nuts to secure these connections, followed by wrapping any exposed wire with electrical tape to keep things tight and safe.
Once the electrical work is reestablished, test it before finalizing. Ensure the fan is affixed securely, then cautiously restore power and give it a whirl. If your bathroom fan powers on without issue, you're nearing completion. Observe it for a few minutes, tuning in for any odd sounds or vibrations. Should problems arise, double-check your connections and the fan's stability in its housing. When satisfied that everything is sound, turn the power back off to finish up.
Finally, reattach the cover—screw it back in place or snap it into its slots. If you're feeling particularly enthusiastic about your home maintenance skills, give the cover a wipe so it looks as pristine as the internal workings you've just refreshed. Replacing a bathroom extractor fan not only enhances your bathroom's functionality but also offers a personal triumph in household upkeep. The new fixture should provide years of reliable performance, ensuring that your bathroom remains a fresh, inviting space.
Maintaining Your New Extractor Fan
Once you've successfully replaced your bathroom's extractor fan, the next step is ensuring it remains in top condition for years to come. Regular maintenance is key to preserving its efficiency and longevity. A well-maintained fan not only performs better but also extends its lifespan, saving you from frequent replacements. Extractor fan replacement becomes less frequent when proper maintenance is practiced. Let's explore some practical tips and advice on how to maintain your unit effectively.
The first step in maintaining your extractor fan is to establish a regular cleaning schedule. Dust and grime can accumulate on the fan blades and vents, clogging the system. This blockage hinders the fan's ability to expel moisture and odors, defeating its purpose. Ideally, schedule to clean your fan every three months. Start by turning off the power supply to the fan, an essential safety step. Remove the fan cover carefully; it usually snaps or slides off. Using a brush or a damp cloth, clean the blades and the cover. This step is crucial, as studies suggest that clean fans are up to 30% more efficient than those that are neglected.
Regular inspections are also part of effective maintenance. Check the fan for any unusual noises or vibrations that weren't there before. Such changes can indicate issues with the fan's motor or an imbalance in the blades. Pay attention to any sudden decrease in performance, which might suggest the fan is overworked or starting to fail. If you notice any of these signs, addressing them early can prevent larger, costlier repairs. It’s also a good practice to inspect the wiring and connections periodically. Loose connections not only affect the performance but could also pose safety hazards.
In addition to physical maintenance, consider integrating technology for enhanced functionality. Modern extractor fans often come with advanced features like humidity sensors and timers. If your fan supports these, make sure they're configured correctly. Humidity sensors can automatically adjust the fan’s operation based on the room's moisture level, ensuring it's only on when necessary, which is energy efficient. Timers can be useful for setting the fan to run for a specific duration after showers, helping in moisture removal without manual intervention. According to the U.S. Department of Energy, using these features can improve the efficiency of bathroom fan repair systems by up to 15%.
Another useful maintenance tip is to stay aware of the warranty and service agreements that come with your new fan. Many manufacturers offer routine check-ups as part of their warranty packages. These check-ups can catch problems that might not be visible during regular cleaning and inspection. Having a professional evaluate your fan's performance ensures peace of mind and guarantees that all components are functioning correctly. If your fan is under warranty, make sure to take advantage of these services as specified, and keep any paperwork handy in case service is needed.
Finally, always refer to the user manual specific to your model. User manuals often contain detailed information specific to your fan, including any particular maintenance steps or checks that are recommended. Manuals can also offer troubleshooting tips unique to your unit, ensuring that you tackle issues efficiently. They may include detailed diagrams of the fan’s parts, which can be incredibly helpful when cleaning or making minor repairs. Remember, a little maintenance goes a long way in preserving the efficiency and functionality of your bathroom’s install bathroom fan efforts.