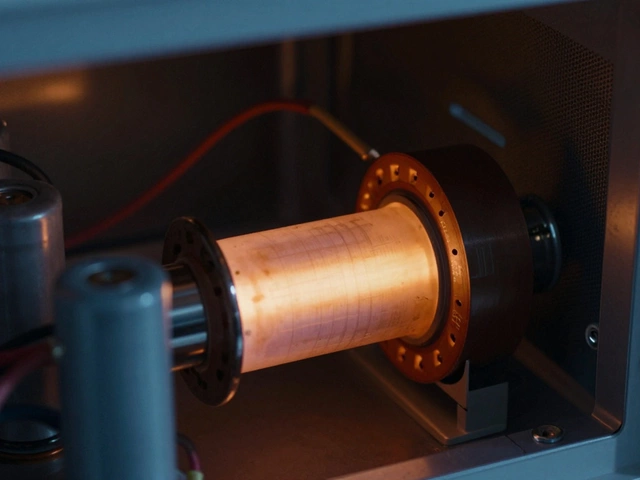
Ever found yourself wondering who fits the bill for replacing an extractor fan? You’re not alone. Whether it’s the fan in your steamy bathroom that’s calling it quits or the one struggling in your kitchen, making the right choice between DIY and calling a professional can be a game-changer.
First things first, how do you even know if your extractor fan is in need of replacement? Well, if it’s making more noise than a rock concert or failing to clear out the steam and smoke, it might be time to act. Ignoring these signs can lead to poor air quality and even mold growth. So, let’s look at some telltale signs.
- Signs Your Extractor Fan Needs Replacement
- Should You DIY or Hire a Professional?
- Tools and Materials Needed
- Step-by-Step Replacement Guide
- Benefits of a Well-Installed Extractor Fan
Signs Your Extractor Fan Needs Replacement
Worried your trusty extractor fan might be giving up? It’s important to catch the signs early to avoid bigger issues like mold buildup or lack of ventilation. Here are pointers to help you decide if it’s time for a new one.
Noisy Operation
If your fan sounds louder than usual or makes strange grinding, rattling, or humming noises, it might not be just your imagination. Worn-out bearings or poor installation can cause these noises. While some noise is normal, excessive racket isn't. A check-up or replacement might be necessary if the noise gets to you.
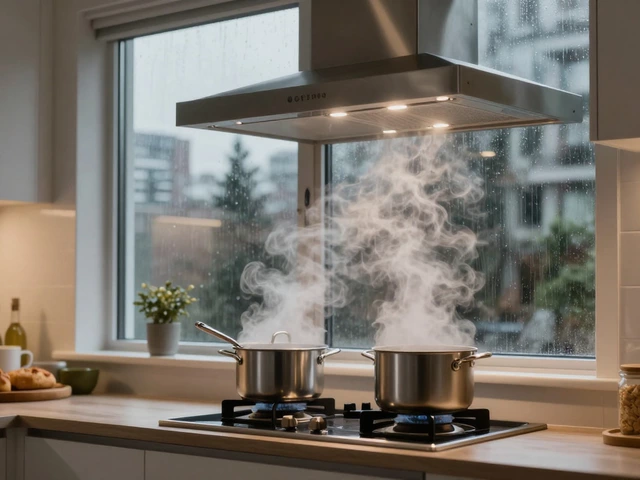
Inefficiency
Notice steam lingering longer in the bathroom or cooking smells hanging around in the kitchen? That’s a clear sign your fan might not be doing its job. A reduction in performance, even when cleaned, means it might be time for an upgrade or at least a good inspection.
Visible Damage
Check for visible wear and tear. Cracks, rust, or broken parts can compromise performance or safety. A broken fan cover can lead to dust accumulation, which doesn’t just look bad – it affects function.
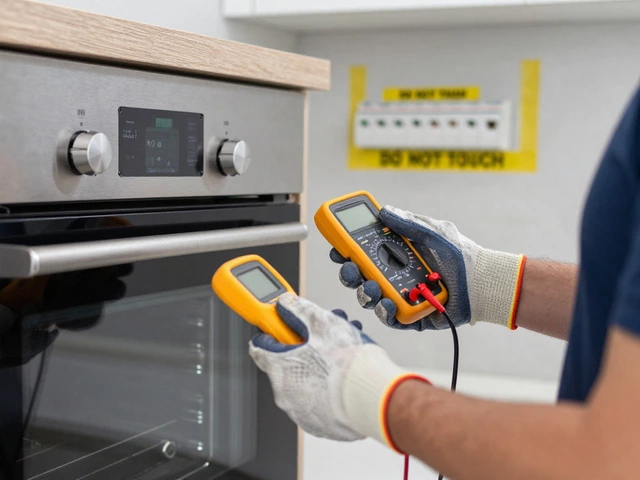
Electrical Issues
Flickering lights, frequent circuit trips, or if the fan just doesn't power on, that’s definitely a signal to investigate electrical problems. Electrical issues require professional help and can point to a need for replacement, especially if your fan is way past its prime.
Energy Consumption
If you've noticed a sudden spike in your energy bills, your old fan could be working overtime trying to do its job. Modern fans are designed to be energy-efficient, so replacing an old unit could eventually save you some bucks.
Keeping your extractor fan in top shape ensures your home stays fresh and mold-free. Watch for these signs to know when to replace yours and breathe easy!
Should You DIY or Hire a Professional?
Thinking about tackling your extractor fan replacement solo? It’s tempting, especially if you enjoy rolling up your sleeves and saving some cash. But, let’s have a look at when it’s a good idea to DIY and when you should consider bringing in the experts.
When You Might DIY
Not all fan replacements are created equal. If you’re dealing with a straightforward swap of a like-for-like bathroom or kitchen fan, you might consider DIY. Especially if you’re a bit handy and familiar with basic electrical work. But be honest with yourself about your skills. Working with electricity isn’t something you want to mess around with if you don’t know what you’re doing.
- Easy access to the fan without extensive ductwork modifications
- Same size and type as the old unit
- Confident in handling simple electric connections
When You Should Call a Professional
Now, on to the other side of the coin. If your fan setup seems more like a labyrinth or if it requires cutting-edge technology with variable speeds and noise levels, bite the bullet and call a professional. This is even more pressing if the job involves tweaking the ductwork or if you aren’t sure about handling electrical connections safely.
Professionals not only have the skills but also the tools to ensure everything meets safety standards. Plus, they offer peace of mind that’s hard to put a price on. As the saying goes from Bob Vila, a well-respected home improvement expert:
"When in doubt, hire it out. A pro’s touch will always result in a cleaner, more efficient setup."
Cost vs. Safety
Sure, hiring a pro might set you back a few extra bucks, but think of it as an investment in safety and long-term savings. A well-installed extractor fan reduces humidity and potential mold growth, which could lead to costly repairs in the future.
| Task | DIY | Professional |
|---|---|---|
| Simple fan swap | ✔️ | ✔️ |
| Complex installation | ❌ | ✔️ |
| Electrical connections | With caution | ✔️ |
At the end of the day, it all boils down to your comfort level and what's at stake in terms of safety and efficiency. Weigh the pros and cons carefully, and make the choice that best suits your situation.
Tools and Materials Needed
So, you're ready to tackle that extractor fan repair project and wondering what you need in your toolbox? Let's walk through it.
Basic Tools
- Screwdriver Set: A must-have for loosening screws and getting that fan out of its fixture.
- Drill: Useful for making new holes if needed during installation.
- Wire Strippers: Handy for handling electrical connections safely.
- Voltage Tester: Safety first! Ensure there's no live electricity where you're working.
Materials
- Replacement Extractor Fan: Choose a fan that fits your space, whether it’s the bathroom or kitchen.
- Electrical Tape: Essential for securing new connections.
- Mounting Hardware: Often comes with the new fan, but double-check in case you need extra screws or brackets.
Once you have these tools and materials ready, you're almost set for the installation. Remember, safety is key, so make sure the power is off before you start tinkering with wires. And if you feel uncomfortable at any stage, it might be time to call in a pro. Knowing your limits is just as important as having the right gear.
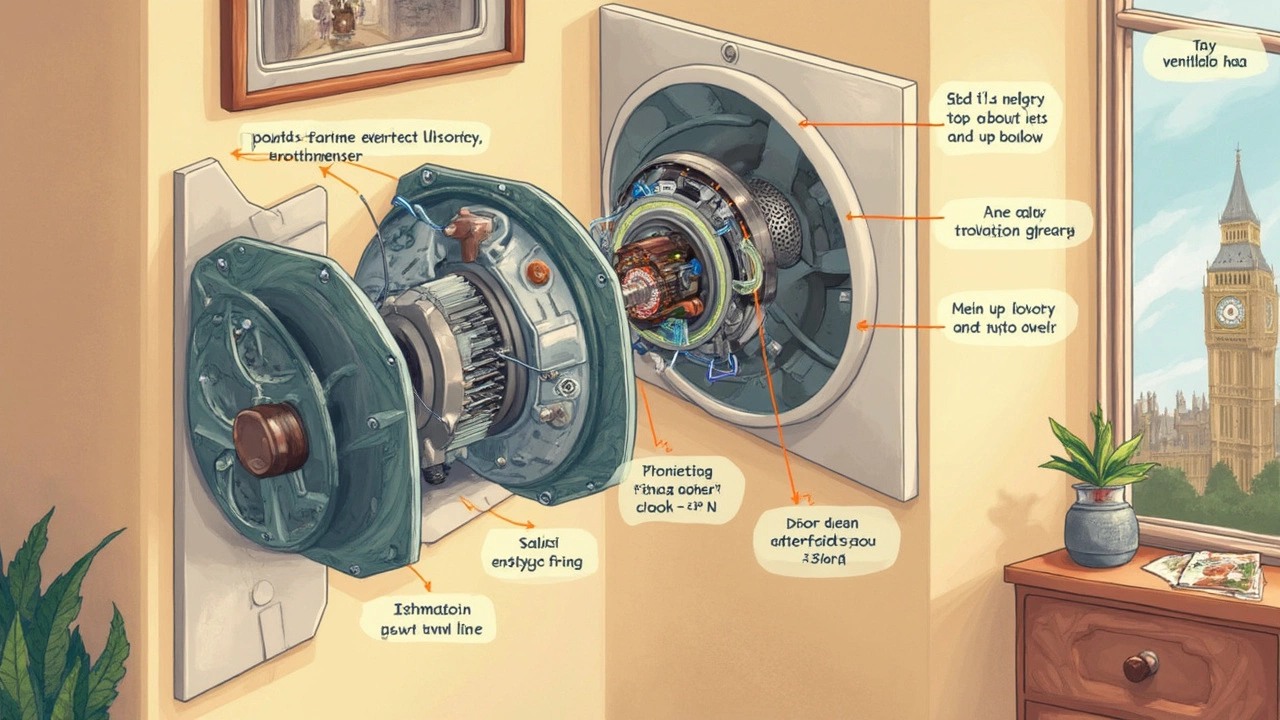
Step-by-Step Replacement Guide
Replacing an extractor fan isn't rocket science, but it does require a bit of know-how. Here’s a straightforward guide to help you tackle the job without breaking a sweat.
Step 1: Safety First
Before you even think about unscrewing anything, make sure the power's off. Head to your fuse box and cut the electricity to the area where you'll be working. Better safe than sorry!
Step 2: Remove the Old Fan
With the power off, unscrew the front cover of the fan. You'll often find it held in place with just a couple of screws. Once that's off, disconnect the wiring. Take note of where each wire goes – taking a photo can help here.
“Always double-check the wiring setup when removing an old fan. It’s crucial for your safety and for the new installation to work seamlessly.” - Jason Lee, Certified Electrician
Step 3: Fit the New Extractor Fan
Grab your new fan and start by connecting the wires. Match them exactly as they were with the old unit. Most fans will have a simple wiring diagram with them. Once connected, tuck the wires neatly back into place.
Check the Specifications
It’s important to make sure your new bathroom fan or kitchen unit matches the specs of the old one. A mismatch can lead to efficiency issues and could mean your new setup won’t clear the air effectively.
| Extractor Fan Type | Ideal Usage Area |
|---|---|
| Bathroom | At least 50 CFM (Cubic Feet per Minute) |
| Kitchen | Minimum 150 CFM |
Step 4: Secure the Fan
With the wiring done, secure the fan into its housing. Screw it in snugly but not too tight. You don't want any vibrations causing noise.
Step 5: Test It Out
Head back to the fuse box and flip the power back on. Test your fan to ensure it's working smoothly. If everything sounds good and there's airflow, you’ve done it!
It may seem like a lot at first, but these steps are manageable with a bit of patience and attention to detail. If at any point you feel uncertain, remember that calling a professional is always a smart move. After all, having a well-functioning extractor fan is key to maintaining a healthy and fresh environment.

Benefits of a Well-Installed Extractor Fan
Let’s talk about why having a properly installed extractor fan is such a boon for your home. These handy devices aren’t just there to make a noise above your stove or bathroom; they play a vital role in maintaining a healthy living environment.
Improved Air Quality
A well-installed extractor fan significantly boosts the air quality indoors. By removing excess moisture, odors, and air pollutants, it can drastically reduce the risks of mold and mildew. You know how unpleasant mold spots can be for walls or ceilings, not to mention potential health hazards. And in places like Vancouver, with our fair share of rainy days, keeping humidity in check is crucial.
Efficient Energy Usage
Did you know that newer models of extractor fans are designed to be more energy-efficient? This means that while they’re doing the heavy lifting of keeping your air fresh, they’re also being kind to your energy bill. According to a study by the Canadian Home Builders' Association, modern extractor fans use up to 50% less energy than older models.
Enhanced Home Value
If you ever think about selling your home, a functional extractor fan can be a selling point. Potential buyers appreciate the assurance of proper ventilation. It’s one less thing for them to worry about upgrading if their primary concern is moving in hassle-free.
“Good ventilation is key to a healthy home environment and can even add to the resale value of your property,” says Emily Parker, a well-regarded home renovation consultant.
Peace of Mind
Finally, there's the peace of mind knowing that your home is ventilated correctly. No more worries about lingering smells from last night's cooking or steamy bathrooms leading to damp problems. Plus, it helps maintain a comfortable temperature, especially in areas that heat up quickly.
So, there you have it. A well-installed extractor fan is more than just a breeze; it's a home essential pulling its weight in ways you might not have imagined.