Extractor Fan CFM Calculator
Determine Your Fan's Correct Sizing
Calculate the minimum CFM required for your kitchen or bathroom based on room size. This tool helps you verify if your current fan is adequate or needs replacement.
Nothing kills the mood in a kitchen or bathroom faster than a broken extractor fan. You turn it on, and all you hear is silence-or worse, a loud buzzing that sounds like it’s about to give out. The steam lingers. The smell sticks. And you’re left wondering if you need a whole new unit or if this is something you can fix yourself.
The good news? Most extractor fan problems aren’t expensive or complicated. You don’t always need to call a pro. With a few basic tools and a little patience, you can diagnose and fix the most common issues in under an hour. Here’s how.
Check the Power First
Before you take anything apart, make sure the fan isn’t just unplugged-or worse, tripped.
Start at the switch. Flip it off and on a few times. Sometimes the contact inside gets dirty or worn. If it’s a pull cord, the mechanism might be stuck. Try wiggling it gently while flipping the switch.
Next, check the circuit breaker. Go to your electrical panel and look for a tripped switch labeled "kitchen" or "bathroom." If it’s in the middle or off position, reset it. If it trips again right away, don’t keep resetting it. That means there’s a short or overload, and you’ll need an electrician.
Also, check if the fan is connected to a GFCI outlet (common in bathrooms). These outlets have a reset button. Press it. If the fan starts working, the outlet had tripped due to moisture or a minor surge.
Listen for the Sound
If the fan hums but doesn’t spin, the motor is getting power-but something’s blocking it. That’s usually one of two things: dirt or a seized bearing.
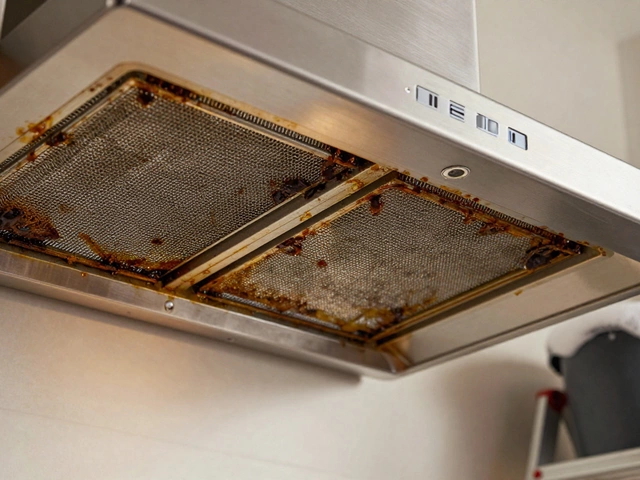
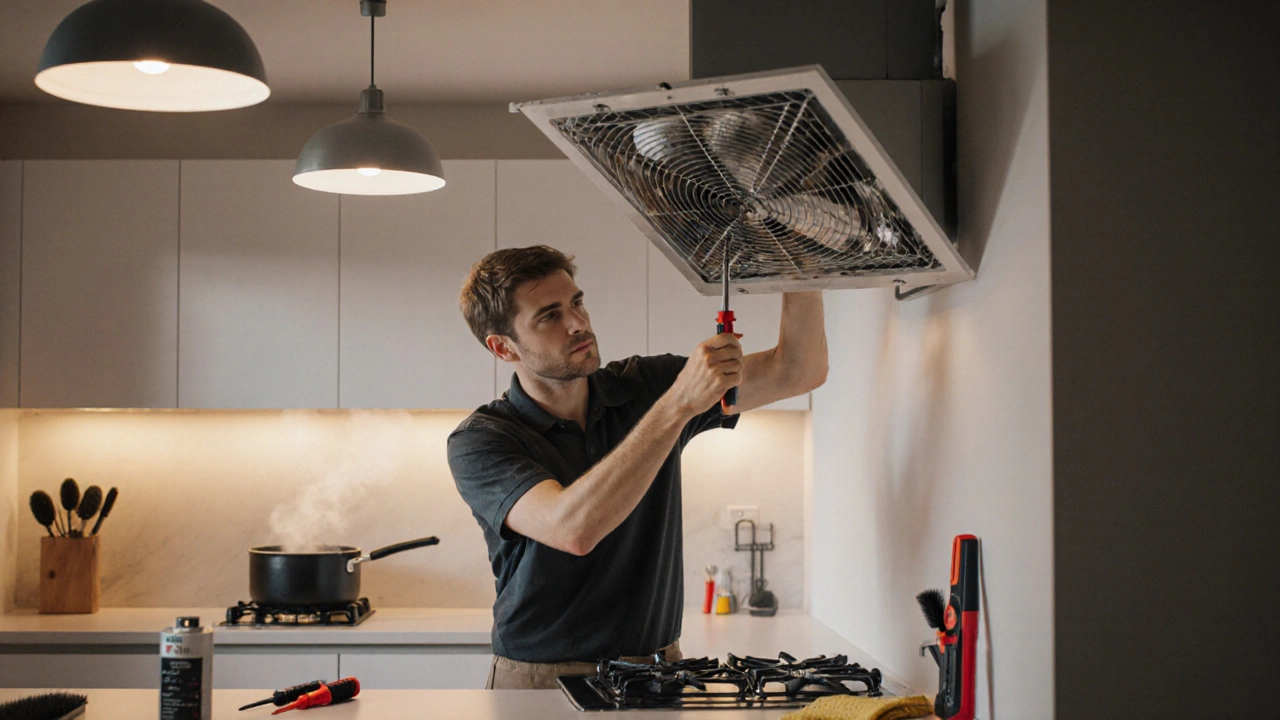
Extractor fans pull in grease, dust, and hair over time. That gunk builds up on the blades and around the motor shaft. It’s not just noisy-it’s a fire hazard. Turn off the power, remove the cover, and inspect the blades. If they’re coated in sticky residue, clean them with warm soapy water and a soft brush. Let them dry completely before reassembling.
If the blades spin freely by hand but the fan still won’t start, the motor bearings might be worn out. Try giving the shaft a gentle nudge with a screwdriver while the power is off. If it feels stiff or gritty, the motor is on its way out. You can sometimes lubricate it with a drop of lightweight oil (like 3-in-1), but this is a temporary fix. Most modern fans use sealed bearings that can’t be serviced. If it’s over five years old, replacement is usually cheaper than repair.
Is It the Capacitor?
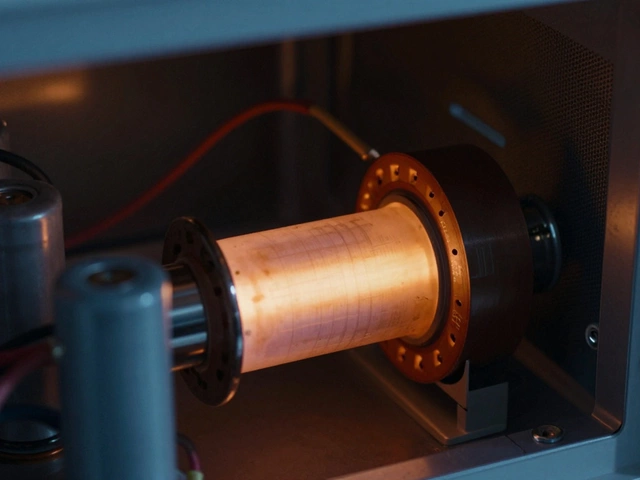
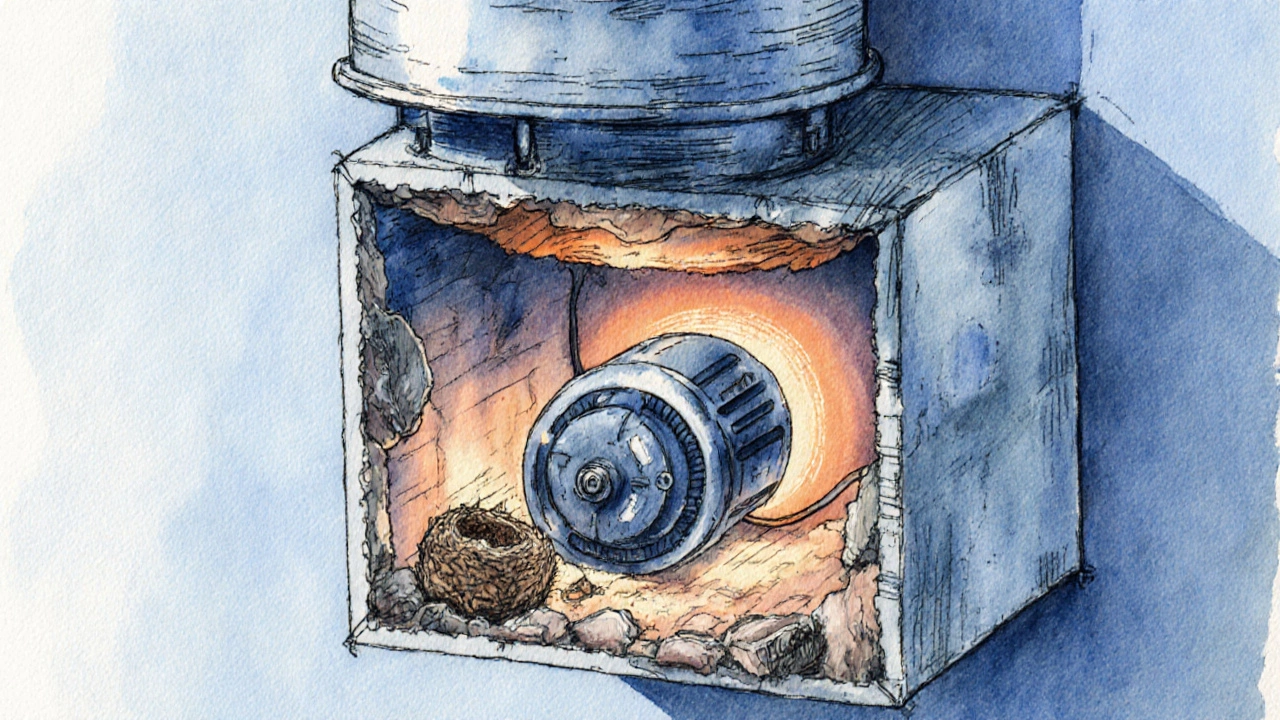
Many extractor fans use a small capacitor to help the motor start. It’s a cylindrical component, often silver or black, wired near the motor. If the fan hums but doesn’t spin, a bad capacitor is a likely culprit.
You can test it with a multimeter if you know how. Set it to capacitance mode and touch the probes to the capacitor’s terminals. Compare the reading to the value printed on the capacitor (usually between 1.5µF and 4µF). If it’s more than 10% off, replace it.
Capacitors are cheap-under $10-and easy to swap. Just take a picture of the wiring before you disconnect anything. Match the new one’s voltage and capacitance exactly. Don’t use a higher-rated capacitor; it can overload the motor.
Pro tip: Capacitors can hold a charge even after you turn off the power. Discharge it by touching the terminals with an insulated screwdriver before handling it.
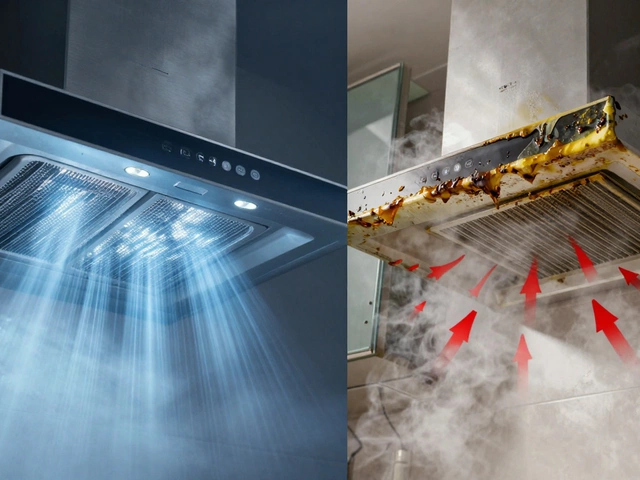
Check the Ductwork
A fan can work perfectly-but still feel weak-if the duct is blocked.
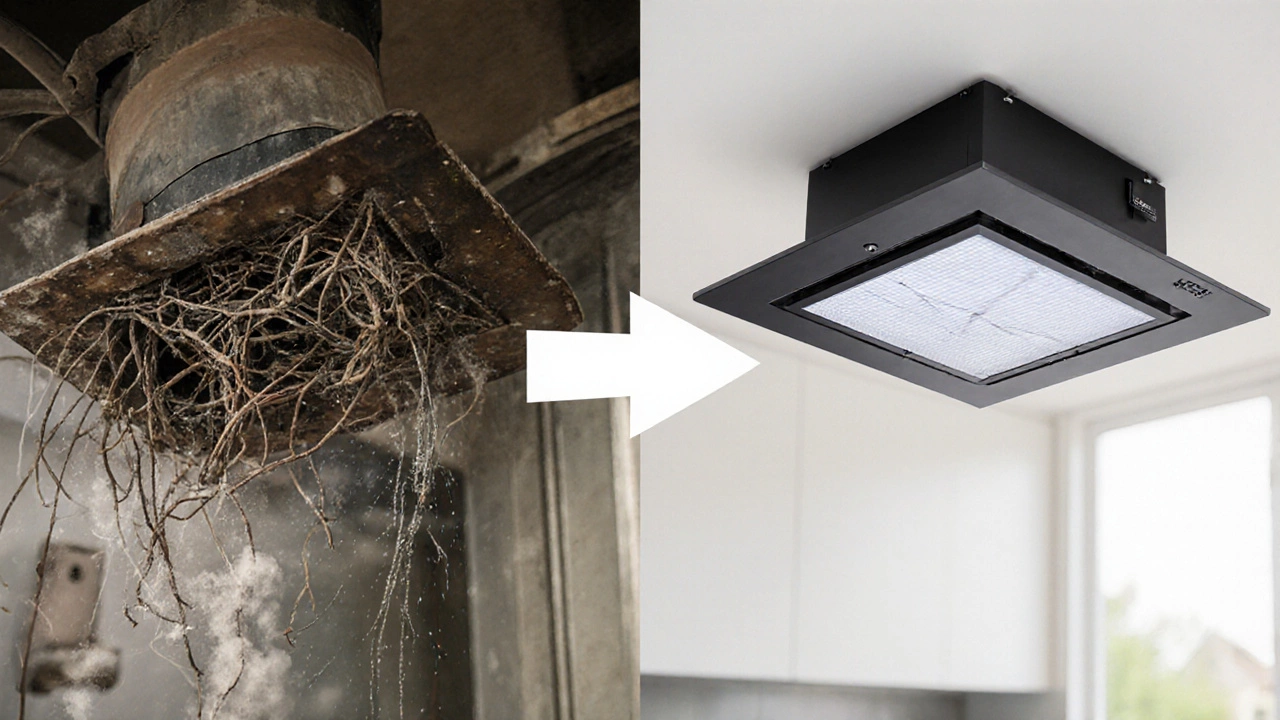
Many people install extractor fans without thinking about the vent path. The duct might be crushed behind the wall, clogged with bird nests, or blocked by snow in winter. If you have a roof vent, climb up (safely!) and check if air is actually coming out. If not, the duct is blocked.
For wall vents, disconnect the duct from the fan and turn it on. If air rushes out strongly, the problem is downstream. Use a vacuum with a long hose or a duct cleaning brush to clear out debris. Avoid using water-it can damage the duct lining.
Also check for bends. The more turns in the duct, the less airflow you get. Long, straight runs are best. If your duct has more than two 90-degree turns, consider replacing it with a shorter, smoother one.
Is the Fan the Right Size?
It’s easy to assume all extractor fans are the same. They’re not. A fan that’s too small won’t clear steam or smells. One that’s too big will be noisy and pull too much heat out in winter.
For kitchens, you need at least 100 cubic feet per minute (CFM) for every 100 square feet of space. For bathrooms, aim for 1 CFM per square foot. So a 6x8 bathroom (48 sq ft) needs at least a 50 CFM fan.
If you’ve upgraded your stove or added a steam shower, your old fan might just be underpowered. Check the label on the fan-it should list the CFM rating. If it’s below what you need, replacement is the only real solution.
Strange Noises? Here’s What They Mean
Not all fan noises are bad-but some are warning signs.
- Clicking or ticking: Usually the thermal overload protector resetting because the motor’s overheating. Clean the fan, check airflow, and make sure it’s not running too long.
- Grinding or scraping: Something’s touching the blades. Turn off the power and inspect for loose screws, bent blades, or debris caught in the housing.
- Rattling: The housing or mounting screws are loose. Tighten them. If the fan vibrates even after tightening, the motor might be unbalanced.
- Squealing: Bearings are dry or worn. Lubrication helps briefly, but replacement is likely needed.
If you hear any of these, don’t ignore them. A small noise today can turn into a full motor failure tomorrow.
When to Replace Instead of Repair
Not every problem is worth fixing. Here’s when to cut your losses:
- The fan is over 10 years old.
- It’s making loud, unusual noises that don’t go away after cleaning.
- The motor burns out more than once.
- You’re spending more than half the cost of a new unit on repairs.
- The housing is cracked or corroded.
New extractor fans are affordable. Basic models start around $50. Quiet, high-CFM units with LED lights and timers run $100-$150. Look for ones with washable grease filters and energy star ratings. Brands like Broan, Vent-A-Hood, and Zephyr are reliable and widely available.
Replacing the fan yourself is usually easy. Most units mount to the ceiling or wall with just a few screws. Turn off the power, disconnect the wires, remove the old unit, connect the new one the same way, and reattach the duct. Take a photo of the wiring before you disconnect anything.
Prevent Future Problems
Once your fan’s working again, keep it that way.
- Clean the grease filter every month if you cook often. Wash it in hot soapy water or run it through the dishwasher if it’s dishwasher-safe.
- Check the duct for blockages every six months-especially before winter.
- Run the fan for at least 15 minutes after showering or cooking. This prevents moisture buildup and mold.
- Don’t cover the fan with a towel or plastic. That’s a fire risk.
- Consider a timer switch so it runs long enough without you having to remember.
Extractor fans are simple machines-but they’re essential. A working one keeps your home dry, odor-free, and safe. Fixing it yourself saves money and gives you peace of mind. And if you’re not comfortable with electricity? Call a licensed electrician. No shame in that.