DIY Extractor Fan: Quick Fixes & Maintenance Tips
Extractor fans are the unsung heroes of kitchens and bathrooms – they pull out steam, odors, and moisture so you don’t end up with a soggy mess. When they stop working, the whole room feels stale, and the repair bill can look scary. The good news? Most fan failures are simple, cheap fixes you can do yourself. Grab a screwdriver, follow these steps, and you’ll have fresh air flowing again in no time.
Common Reasons an Extractor Fan Stops Working
Before you tear the unit apart, figure out what’s most likely causing the hiccup. A dirty motor is the number‑one culprit – dust and grime build up and make the fan motor overheat or seize. Loose wiring is another frequent issue; a knocked‑out plug or a frayed cord can cut power instantly. Finally, check the switch or the wall control – a faulty switch can make it seem like the whole fan is dead when only the trigger is broken. Spotting the right problem first saves you time and extra work.
Step‑by‑Step DIY Repair Guide
1. Turn off power. Flip the circuit breaker or remove the fuse that feeds the fan. Safety first – you don’t want a surprise shock while you’re fiddling with wires.
2. Remove the cover. Most ceiling or wall fans have a simple snap‑on or screw‑on grille. Use a flat‑head screwdriver to pop it off, then set the grille aside.
3. Clean the motor and blades. Take a soft brush or a vacuum with a narrow nozzle and gently dust the motor housing and fan blades. If the blades are greasy, wipe them with a damp cloth and let them dry completely.
4. Inspect the wiring. Look for any cracked insulation or loose connections at the terminal block. Tighten any screws and, if a wire is damaged, cut back the bad section and use a twist‑on connector to join a fresh piece.
5. Test the fan. Before re‑installing the grille, turn the power back on briefly to see if the fan spins. If it runs, great – you’re done. If it still won’t start, the motor may be burnt out and will need a replacement.
6. Re‑assemble. Snap the grille back on, secure any screws, and restore the circuit breaker. Give the fan a few minutes of run‑time to make sure it stays quiet and steady.
Most of the time, a good cleaning and a quick wiring check fixes the problem. If you find a burnt motor, note the model number on the fan housing and order a replacement part – many online stores ship the exact match for a few pounds.
Regular care keeps the fan from failing again. Wipe the grille every few months, run the fan for a minute after each shower or cooking session, and give the motor a quick vacuum once a year. With these habits, you’ll avoid costly call‑outs and keep your home breathing easy.
Do Plumbers Install Extractor Fans? What You Need to Know
- Alden Wilder
- Oct 7 2025
- 0 Comments
Find out if plumbers can install extractor fans, when to hire a plumber versus an electrician, costs, permits, and step‑by‑step DIY tips.
View More
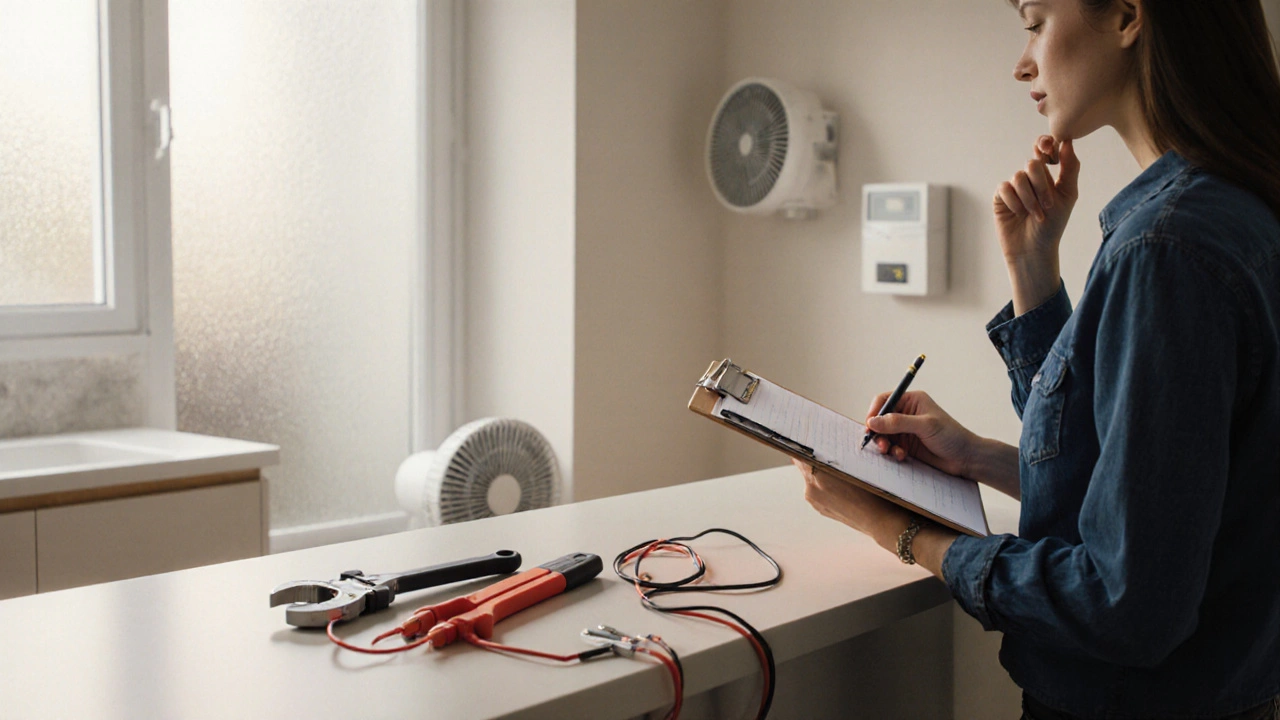
How Hard Is It to Replace an Extractor Fan? DIY Guide & Tips
- Alden Wilder
- Jul 9 2025
- 0 Comments
Thinking of swapping out your extractor fan? Discover if replacing an extractor fan is tough, what skills and tools you need, and insider tips for a smoother job.
View More
Can I Install an Extractor Fan Myself?
- Alden Wilder
- Mar 14 2025
- 0 Comments
Thinking about installing an extractor fan yourself? This long-read article delves into the process, exploring whether it's a feasible DIY project. Learn about essential tools, the importance of correct installation to avoid mold and moisture, and safety tips to consider during the project. Discover common challenges and how to tackle them. By the end, you'll know if this task is within your grasp or if a professional should handle it.
View More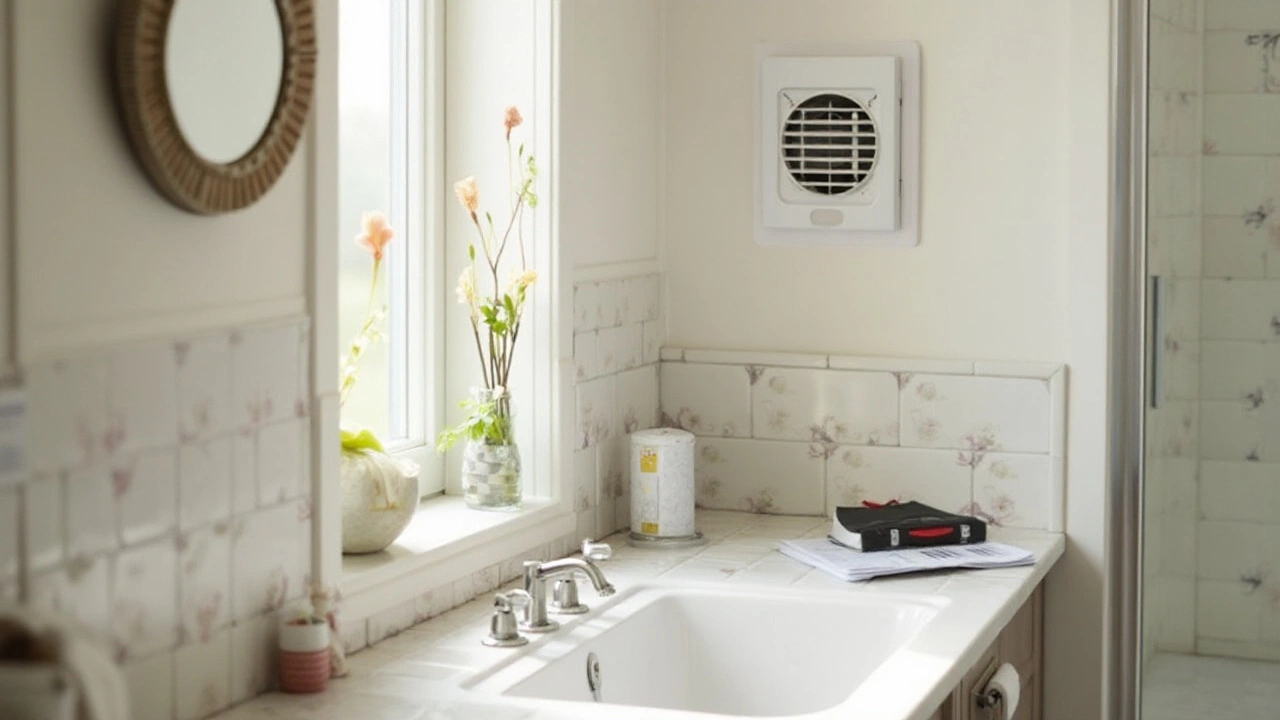
How to Easily Replace Your Bathroom Extractor Fan
- Alden Wilder
- Jan 30 2025
- 0 Comments
Replacing a bathroom extractor fan may sound daunting, but it is a straightforward process with the right guidance. This article provides a detailed guide for homeowners looking to replace their bathroom extractor fans. It covers the necessary tools, step-by-step instructions, and tips for ensuring a successful installation. Discover how upgrading your bathroom extractor fan can enhance the efficiency of ventilation and the overall atmosphere in your bathroom.
View More