Appliance Repair Description Builder
Fill in the details below to generate a professional summary for your repair technician. Clear descriptions save time and money.
Your generated description will appear here...
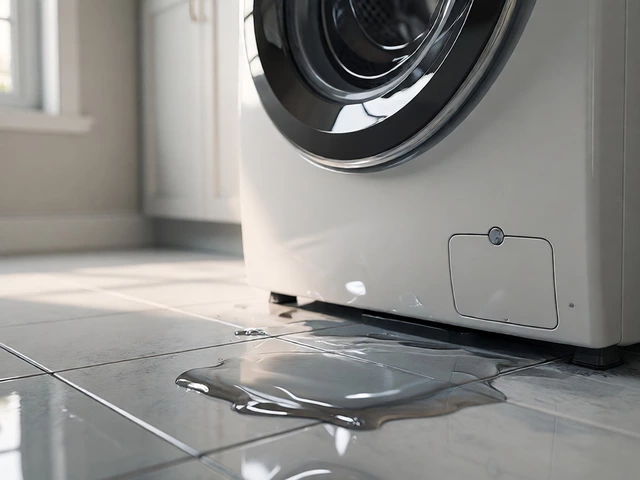
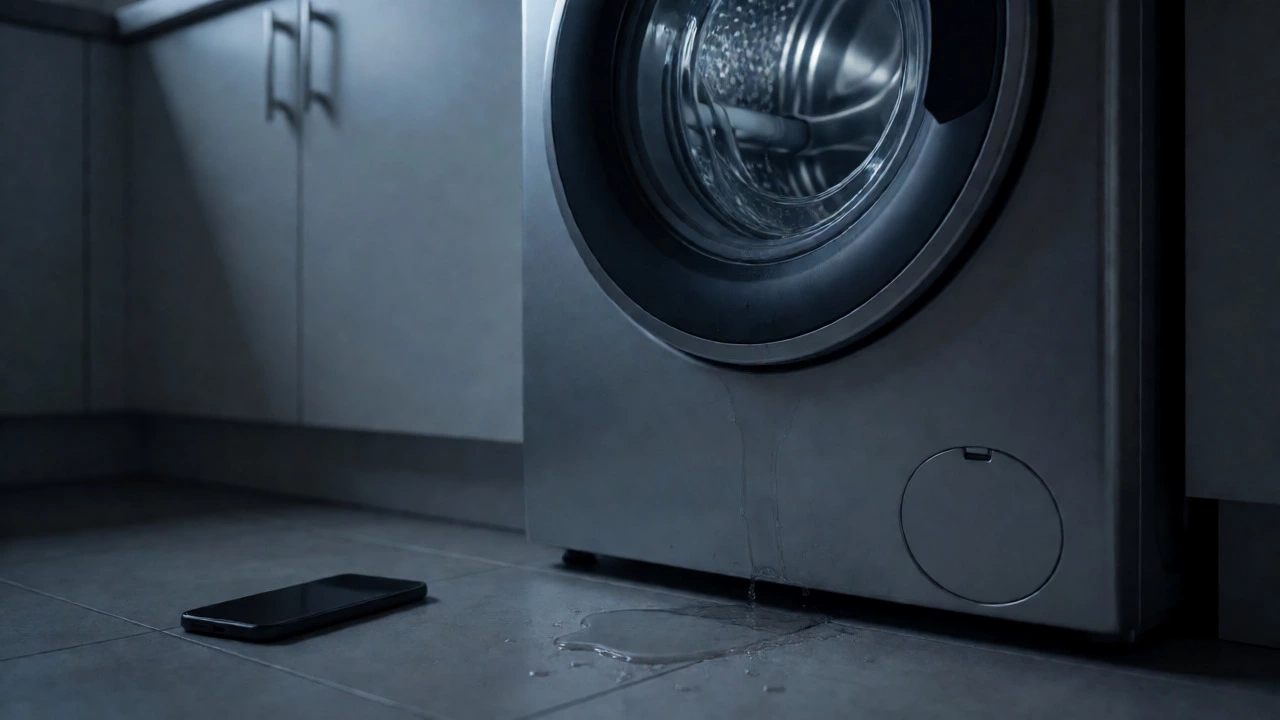
You’ve got a broken fridge humming at 3 AM or a washing machine leaking onto the kitchen floor. You call a technician, and they ask you to describe the problem. Suddenly, your mind goes blank. "It’s making a noise," you say. The tech sighs. "What kind of noise?"
Describing an appliance effectively isn’t just about being polite; it’s about saving time, money, and your sanity. When you provide clear, specific details, you help the technician diagnose the issue before they even arrive. This means they bring the right parts, charge less for labor, and fix your unit faster. Vague descriptions lead to multiple visits, wasted trips, and higher bills.
The Anatomy of a Good Appliance Description
A solid description has three layers: identification, symptom, and context. Most people skip straight to the symptom-"it won't start"-and ignore the other two. But without identification, the tech doesn’t know what they’re dealing with. Without context, they don’t know why it broke.
Identification is the foundation. It includes the brand, model number, serial number, and age. The model number is usually on a sticker inside the door frame, behind the kick plate, or under the lid. For a dishwasher, check the inner rim of the door. For a dryer, look inside the drum or on the back panel. If you can’t find it, take a photo. Don’t guess. Guessing leads to wrong parts ordered.
Symptoms are the meat of the description. Avoid words like "weird" or "funny." Be precise. Is it a grinding sound? A high-pitched squeal? A rhythmic thumping? Does it happen only during the spin cycle or all the time? Use sensory details. "It smells like burning rubber" is far more useful than "it smells bad."
Context ties it all together. Did this happen after a power outage? Did you move the appliance recently? Did you change the water filter last week? These details help technicians rule out common causes quickly.
Breaking Down Symptoms by Sense
Humans process information through senses. Leverage that when describing problems. Technicians are trained to listen for specific sounds and smell specific odors. Here’s how to translate what you experience into technical language.
Noise Descriptions
- Grinding: Usually indicates worn bearings, a jammed motor, or debris caught in the mechanism. Think metal-on-metal friction.
- Squealing: Often points to a slipping belt or dry pulleys. In dryers, this is a classic sign of a worn drive belt.
- Thumping/Banging: Suggests imbalance. In washers, this often means uneven load distribution or failed shock absorbers. In refrigerators, it could be ice buildup hitting the fan blades.
- Clicking: Frequently relates to electrical issues, such as a faulty relay or a thermostat trying to engage but failing.
- Rattling: Loose components. Check for loose screws, unsecured panels, or foreign objects (like coins) trapped in filters or drums.
Smell Descriptions
Odors are critical diagnostic clues because they indicate overheating or combustion issues.
- Burning Plastic/Rubber: Immediate danger signal. Likely an overheated motor, melting wire insulation, or a slipping belt creating excessive friction.
- Electrical/Ozone: Smells like lightning or old electronics. Indicates arcing wires or short circuits. Stop using the appliance immediately.
- Musty/Moldy: Common in front-load washers and dishwashers. Points to stagnant water, clogged drains, or mold growth in seals and gaskets.
- Gas: In gas ovens or dryers, a strong sulfur smell suggests a leak or incomplete combustion. Ventilate the area and call a professional.
Visual Cues
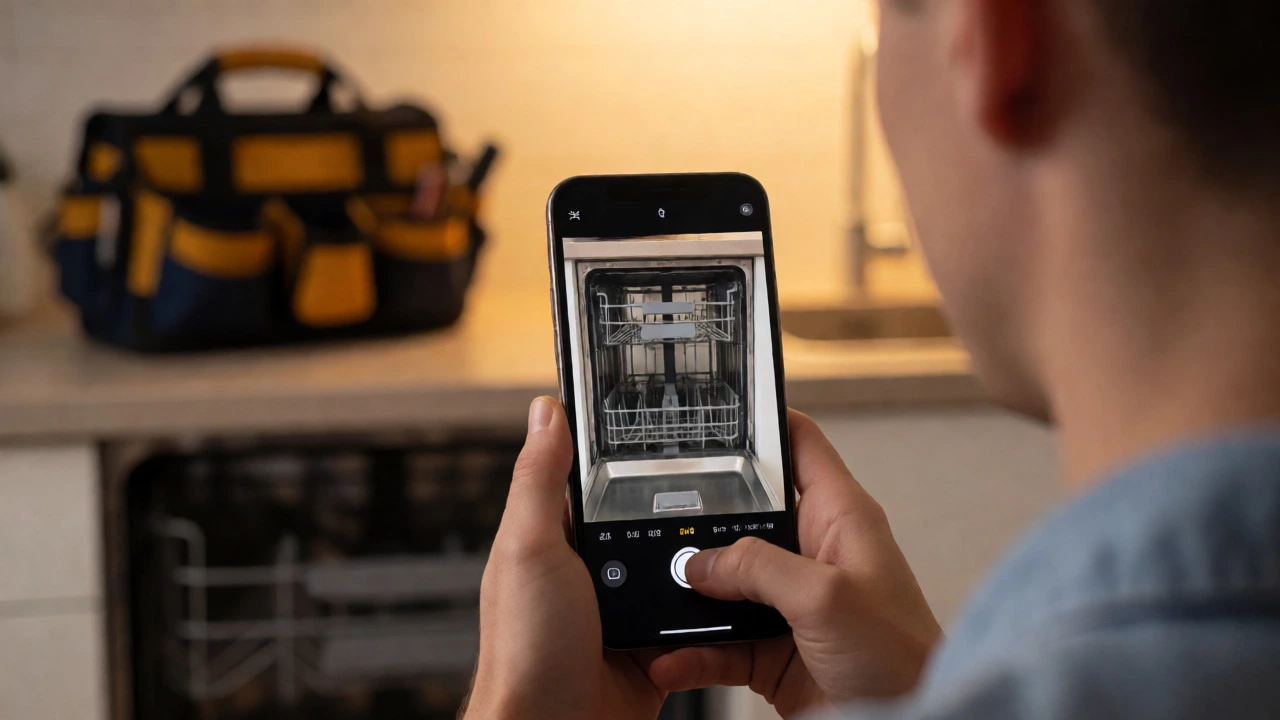
Don’t rely on memory. Take photos or videos. Show the error code if one appears on the display. Note any leaks, discoloration, or physical damage. If water is pooling, note its color. Clear water might mean a supply line leak. Brownish water could indicate rust from internal pipes. Black sludge often signals mold or degraded sealant.
Categorizing Issues by Appliance Type
Different appliances have different failure modes. Tailoring your description to the specific device helps narrow down the cause instantly.
| Appliance | Symptom | Likely Cause | Key Detail to Include |
|---|---|---|---|
| Refrigerator | Not cooling | Condenser coils dirty, compressor failure, low refrigerant | Is the freezer cold while the fridge is warm? |
| Washing Machine | Vibrating violently | Unbalanced load, broken suspension rods, shipping bolts left in | Does it walk across the floor? |
| Dishwasher | Standing water | Clogged filter, blocked drain hose, faulty pump | Did you clean the filter recently? |
| Dryer | Heat not working | Thermal fuse blown, heating element broken, vent clog | Does the drum spin but stay cold? |
| Oven | Uneven baking | Faulty bake/broil element, convection fan failure | Which rack position shows the worst results? |
The Power of Error Codes
Modern appliances are smart enough to tell you what’s wrong. If your unit has a digital display, use it. Error codes like E1, F5, or LE are standardized within brands but vary between them. Write down the exact code. Do not paraphrase it. "E-4" is not the same as "Error 4."
If the code flashes intermittently, try to catch it on video. Some codes appear only during specific cycles. For instance, a dishwasher might show a "HE" (Heater Error) code only when entering the drying phase. Mentioning the cycle stage helps the technician focus their diagnostics.
Pro Tip: Search the code online along with your model number before calling. You might find a simple reset procedure that solves the issue. However, do not assume you know the fix based on a forum post. Electrical components can be dangerous.
Preparing for the Service Call
Your description continues after you hang up the phone. How you prepare your home affects the speed of the repair. Technicians hate surprises. If they arrive and can’t access the back of the fridge because it’s crammed against a wall, they lose time moving it. That time costs you money.
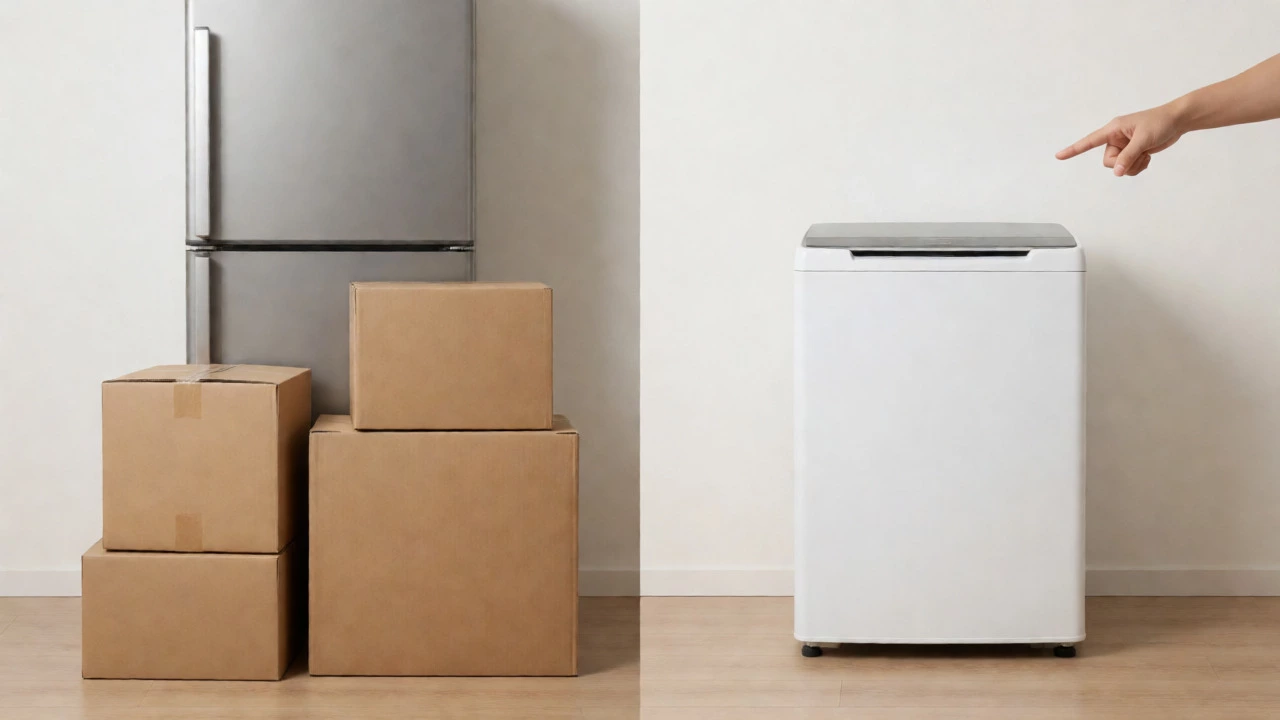
- Clear the area: Move boxes, laundry baskets, and furniture away from the appliance. Ensure there’s at least three feet of clearance around the unit.
- Check accessibility: Can the tech reach the water shut-off valve? Is the electrical outlet accessible? If the appliance is built-in, ensure the trim kit is removable or explain how it comes off.
- Gather manuals: Have the user manual handy. Even if you lost the paper copy, download the PDF to your phone. Techs often need wiring diagrams or part numbers listed in the appendix.
- Note recent changes: Did you install a new water filter? Change a detergent brand? Plug in a surge protector? These small changes can trigger unexpected behaviors.
What Not to Say
Certain phrases frustrate technicians and delay repairs. Avoid these:
- "It was working fine yesterday." True, but unhelpful. Everything breaks suddenly. Focus on the current state.
- "I think it’s the motor." Unless you’re an engineer, leave diagnosis to the pro. Your job is to report symptoms, not prescribe solutions. Misdiagnosis leads to unnecessary part replacements.
- "It makes a loud noise." Too vague. Loud how? Like a jet engine or a garbage disposal?
- "I tried fixing it myself." This is risky. If you disassembled the unit, reassemble it correctly. If you forced a part, mention it. Techs need to know if previous attempts caused additional damage.
Using Technology to Help
In Vancouver, many service providers offer app-based scheduling. Use the photo upload feature liberally. A picture of a cracked door seal speaks volumes. Record a 10-second video of the noise. Audio quality matters; put your phone near the source, not across the room.
Some advanced systems allow you to select the appliance type and symptom from dropdown menus. Choose the closest match, then add notes in the text box. Don’t leave the notes field blank. Add the model number here too, even if you selected the brand earlier. Double-check spelling. "Whirlpool" vs. "Whirpool" matters for database searches.
Finally, keep a maintenance log. If you regularly clean your dryer lint trap or descale your coffee maker, note the dates. When a breakdown occurs, you can tell the tech, "I cleaned the condenser coils three months ago," which rules out dirt as a primary cause.
Where is the model number located on most appliances?
For most major appliances, the model number is found on a sticker or metal plate. On refrigerators, check the interior side wall or door frame. Washers and dryers usually have it inside the door jamb or under the top panel. Dishwashers often hide it along the inner edge of the door. Ovens may place it on the frame visible when the door is open. Always check the manufacturer's website if you cannot locate it physically.
Should I describe the problem before or after checking the model number?
Ideally, gather both pieces of information before calling. Knowing the model number helps the dispatcher identify the correct technician and potentially stock the right parts. However, if you cannot find the model number, describe the symptoms first. The technician can guide you on where to look or schedule a visit based on the general appliance type.
What if my appliance has no error code?
Many older or simpler appliances do not have digital displays. In this case, rely heavily on sensory descriptions. Describe sounds, smells, and visual cues in detail. Note any lights that are on or off. For example, "The power light is on, but the start button does not respond" is a valuable clue even without an error code.
Can I send a video instead of describing the noise?
Yes, sending a video is highly recommended. Visuals combined with audio provide the most accurate diagnostic data. Ensure the video captures the moment the noise occurs. If the issue is intermittent, record several attempts. Label the file with your name and appliance type so the technician can easily identify it.
How does the age of the appliance affect the description?
Age provides context for wear and tear. An appliance over ten years old may suffer from general degradation, whereas a newer unit might have a manufacturing defect or installation error. Mentioning the purchase date or approximate age helps the technician decide whether repair is cost-effective compared to replacement.