Extractor Fan Repair vs. Replace Calculator
Enter the details of your fan issue below to get an instant recommendation.
Verdict
That high-pitched whine or the sudden silence when you switch on your range hood is annoying, but it doesn't always mean you need to buy a new unit. Kitchen extractor fans are mechanical devices designed to remove steam, grease, and odors from the air, and like any machine with moving parts, they wear out over time. The short answer is yes, most can be repaired, provided the damage isn't catastrophic. Whether it's a seized motor, a burnt-out capacitor, or just a buildup of grease that’s choking the blades, understanding what’s wrong saves you money and keeps your kitchen comfortable.
Quick Summary / Key Takeaways
- Most issues are fixable: Noise, weak airflow, and electrical faults often stem from cleanable clogs or replaceable components like bearings and capacitors.
- Cleaning first: Before buying parts, disassemble and clean the fan. Grease buildup is the number one cause of premature failure.
- Know when to replace: If the motor housing is cracked, the fan is older than 10-15 years, or the repair cost exceeds 50% of a new unit, replacement is usually smarter.
- Safety matters: Always unplug the unit before working on it. Electrical repairs require basic knowledge of wiring and capacitors.
- Maintenance prevents breakdowns: A monthly filter wipe-down and annual deep clean extends the life of the motor significantly.
Diagnosing the Problem: What Is Actually Wrong?
Before you grab a screwdriver, listen and look. The symptoms tell you where to focus your energy. A humming sound with no blade movement usually points to a seized motor or a stuck blade. If the fan runs but barely moves air, the issue is likely restricted airflow from dirty filters or ductwork. If it’s making a grinding noise, the bearings are likely worn out. Each symptom leads to a different repair path, so accurate diagnosis saves time and money.
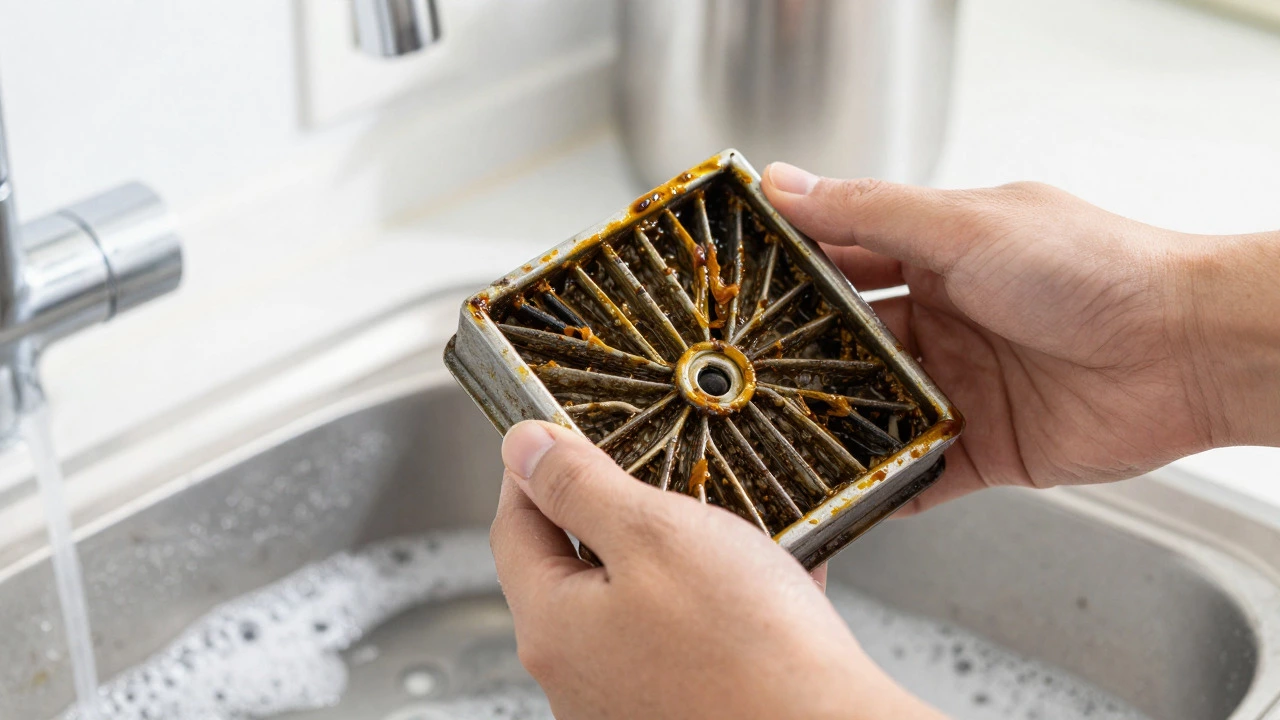
Start by checking the obvious. Are the grease filters clogged? In many cases, homeowners think the motor is dead when the fan is simply struggling against a thick layer of oil. Soak the filters in hot soapy water or a degreaser. Once they’re clean and dry, run the fan again. If performance improves, you’ve solved the problem without opening the unit. If not, move to the internal components.
Common Repair Scenarios and Solutions
Once you confirm the issue isn’t just dirt, you’ll likely encounter one of three common problems: motor failure, electrical component failure, or mechanical obstruction. Here is how to handle each.
1. Seized or Noisy Motor Bearings
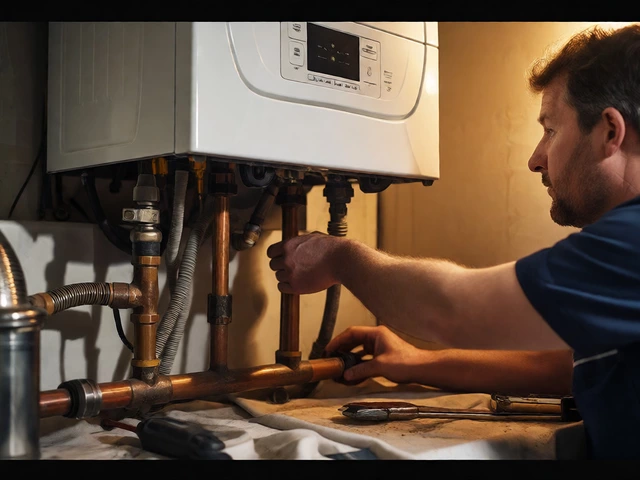
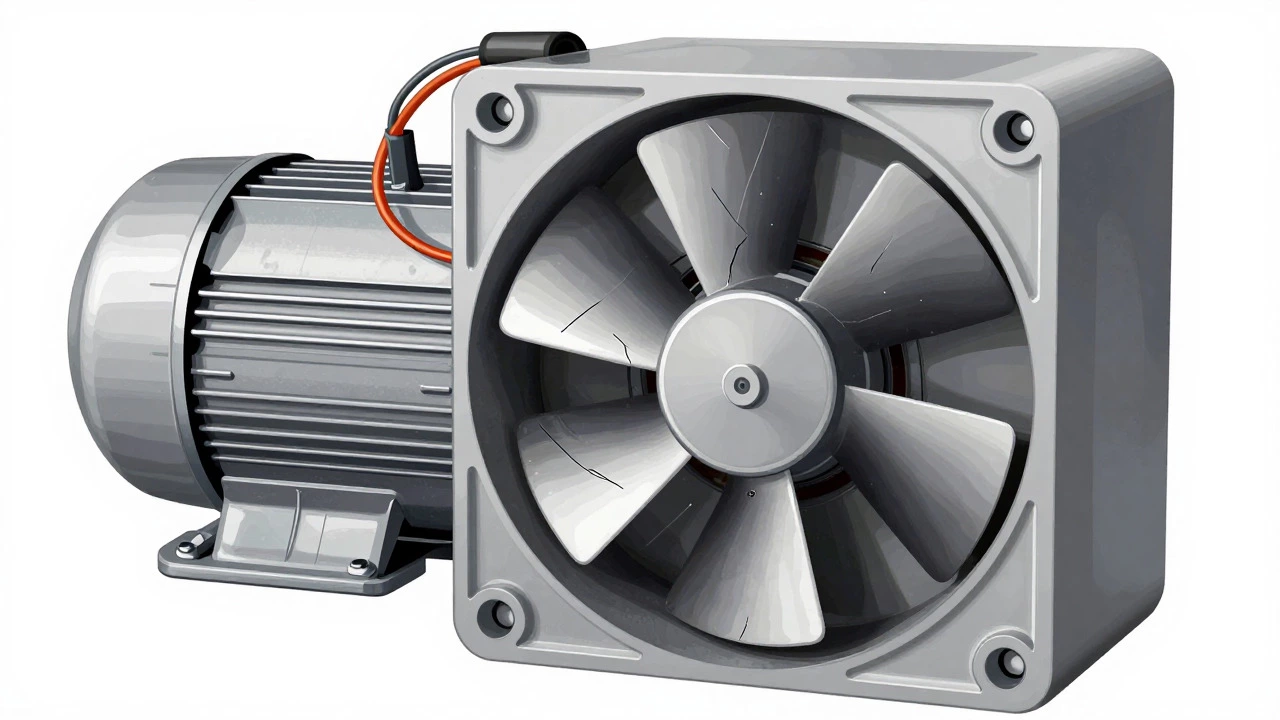
The motor spins the impeller (the blades). Over time, the lubricant dries up, and metal-on-metal contact creates friction. This results in squealing or grinding noises. For smaller inline fans, you might be able to free the shaft by gently tapping the motor casing while trying to spin the impeller by hand. If it sticks, the bearings are shot. Replacing individual bearings in small household motors is rarely worth the labor unless you have specific tools. Usually, this means replacing the entire motor assembly or the whole fan unit if the motor is integrated into the housing.
2. Failed Capacitor or Relay
Many single-speed and multi-speed fans use a capacitor to help start the motor. If the capacitor bulges, leaks, or feels warm to the touch, it has failed. You can test it with a multimeter set to capacitance mode. A bad capacitor often causes the fan to hum but not start. Replacing a capacitor is a straightforward job for anyone comfortable with basic electronics. Make sure to match the microfarad (µF) rating and voltage exactly. Similarly, if the fan has multiple speeds and only one works, the relay board might be faulty. These boards are cheap and easy to swap if you can identify the part number on the old one.
3. Broken Impeller or Blade
If a bird or piece of debris got into the duct, it could snap a blade. A broken blade creates an imbalance that shakes the entire unit. Check the impeller for cracks or missing pieces. If it’s a plastic impeller, replacement is inexpensive. If it’s metal, bending it back into shape is risky and often leads to more vibration later. Replacing the impeller assembly is the safer bet.
| Symptom | Likely Cause | Repair Difficulty | Estimated Cost (Parts) | Recommendation |
|---|---|---|---|---|
| Noise (Grinding/Squealing) | Worn Bearings | Medium-High | $30 - $80 | Replace motor or unit if >10 years old |
| Humming, No Spin | Bad Capacitor | Low-Medium | $10 - $25 | Replace capacitor immediately |
| Weak Airflow | Clogged Filters/Ducts | Low | $0 - $15 | Deep clean filters and ductwork |
| Vibration/Shaking | Broken Impeller | Medium | $20 - $60 | Replace impeller assembly |
| Total Silence | Burnt Motor/Wiring | High | $50 - $150+ | Compare cost to new unit |
Step-by-Step: How to Access the Internal Components
Once you know what needs fixing, you need to get to it. The process varies slightly between under-cabinet hoods and wall-mounted ducted units, but the principles are similar.
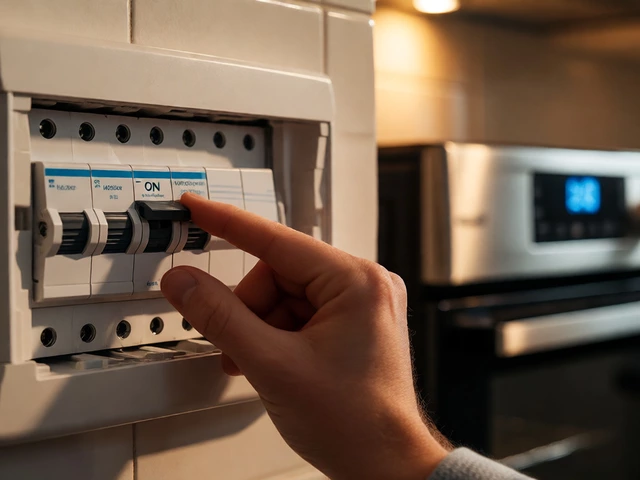
- Unplug the Unit: This is non-negotiable. Even if you think the power is off, cut the breaker to be safe. Capacitors can hold a charge.
- Remove the Grease Filters: Slide them out and set them aside. This gives you access to the top or front panel.
- Detach the Faceplate or Housing: Most units use screws hidden under the light lenses or along the edges. Use a Phillips head screwdriver. Keep track of screws; label them if necessary.
- Disconnect Wiring Carefully: Take a photo of the wire connections before unplugging anything. This makes reassembly much easier. Note which wires go to the motor, lights, and speed controls.
- Inspect and Replace: Now you can see the motor, capacitor, and impeller. Follow the specific repair steps identified in the diagnosis phase.
- Reassemble and Test: Reverse the steps. Ensure all screws are tight and wires are secure. Plug in and test at all speeds.
When Repair Isn't Worth It: The Replacement Threshold
It’s tempting to fix everything, but economics matter. If your extractor fan is more than 10 to 15 years old, the technology is outdated, and energy efficiency is poor. Newer models are quieter, use less electricity, and have better filtration systems. If the repair requires replacing the main motor, which is often the most expensive part, compare that cost to a new mid-range unit. If the repair costs more than half the price of a new fan, buy new. Additionally, if the housing is rusted or cracked, the structural integrity is compromised, making repair unsafe or ineffective.
Consider also the type of installation. If you have a ducted system, ensure the ductwork is clear during the repair. A perfectly repaired fan will still perform poorly if the duct is blocked by debris or insulation. While you’re in there, check the exterior vent flap to make sure it opens and closes freely.

Prevention: Extending the Life of Your Fan
The best repair is the one you never need. Regular maintenance is simple and takes little time.
- Weekly Wipe-Down: Wipe the outside and the light lenses with a damp cloth to prevent grease buildup.
- Monthly Filter Cleaning: Remove the grease filters and wash them in hot soapy water. Let them dry completely before putting them back. Wet filters can rust or mold.
- Annual Deep Clean: Open the unit (if accessible) and vacuum the interior surfaces. Check the motor for dust accumulation. Use a soft brush to clear debris from the impeller blades.
- Check the Duct: Every year, look at the exterior vent. Clear away leaves, nests, or snow that might block airflow.
By keeping the fan clean, you reduce the strain on the motor. A clean fan runs cooler and lasts longer. It also maintains its airflow capacity, ensuring your kitchen stays fresh and odor-free.
Frequently Asked Questions
How long do kitchen extractor fans last?
With proper maintenance, a quality extractor fan can last 10 to 15 years. Neglecting cleaning can shorten this lifespan to 5-7 years due to motor overheating and bearing wear.
Is it safe to repair an extractor fan myself?
Yes, for most mechanical issues like cleaning or replacing a capacitor, it is safe if you follow basic electrical safety rules. However, if you are unsure about wiring or handling high-voltage components, hire a professional electrician.
What is the most common reason for extractor fan failure?
The most common cause is grease and dust buildup. This restricts airflow, causing the motor to work harder and overheat, which eventually leads to bearing failure or motor burnout.
Can I replace just the motor in my range hood?
In some models, yes. Manufacturers often sell motor assemblies as spare parts. However, for older or budget units, the motor may be integrated into the housing, requiring a full unit replacement. Check the model number for available parts before deciding.
Why does my extractor fan smell like burning when it starts?
A burning smell usually indicates that the motor windings are overheating due to friction or lack of lubrication. Turn it off immediately to prevent fire hazards. This is a sign that the bearings are failing or the motor is nearing end-of-life.