Boiler Replacement Mess & Disruption Estimator
Answer a few questions about your specific situation to predict how "messy" your boiler swap will be and what preparations you should make.
Disruption Assessment
Calculating...Recommended Preparations
Picture this: You’re dreading the day your old boiler finally gives up. It’s not just about losing heat; it’s the fear of turning your pristine living room into a construction zone. Dust everywhere, pipes leaking on the floor, and technicians tracking mud across your carpet. Is replacing a boiler really that messy? The short answer is no, not if you hire professionals who know what they’re doing. But "messy" is subjective, and understanding exactly what happens during a swap helps you prepare mentally and physically.
Most homeowners worry about water damage or drywall destruction. In reality, modern boiler replacements are surprisingly clean operations compared to full bathroom renovations or kitchen remodels. However, there are specific stages where dirt and debris are inevitable. Knowing these stages lets you protect your space effectively without overreacting or under-preparing.
The Reality of Removal
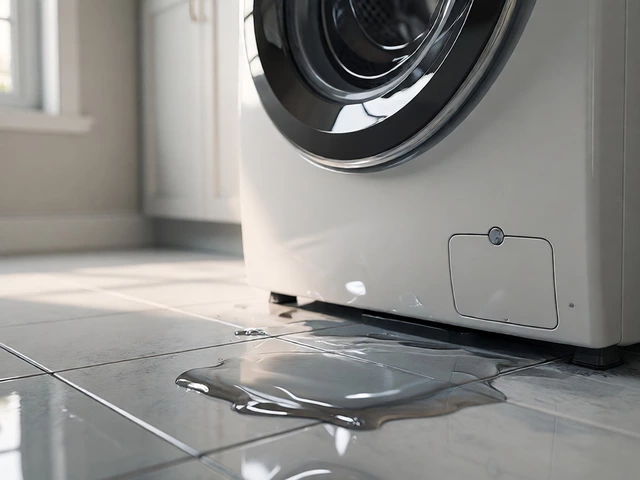
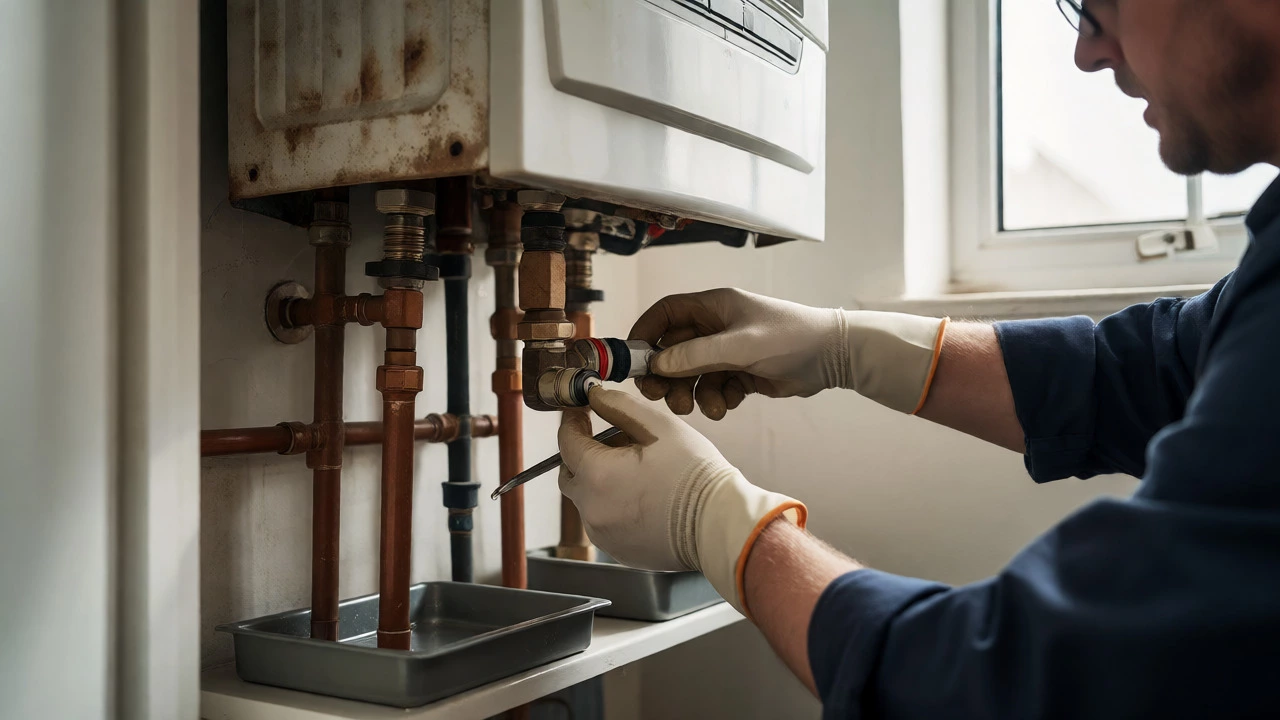
The first phase involves disconnecting the old boiler from the gas line, water supply, and flue system. This step often causes the most anxiety because people imagine gallons of stagnant water flooding their basement or utility closet. Here’s the truth: a competent engineer drains the system carefully. They use catch trays and wet vacuums. You might see a few drops, maybe a small puddle if valves are seized, but it’s rarely catastrophic.
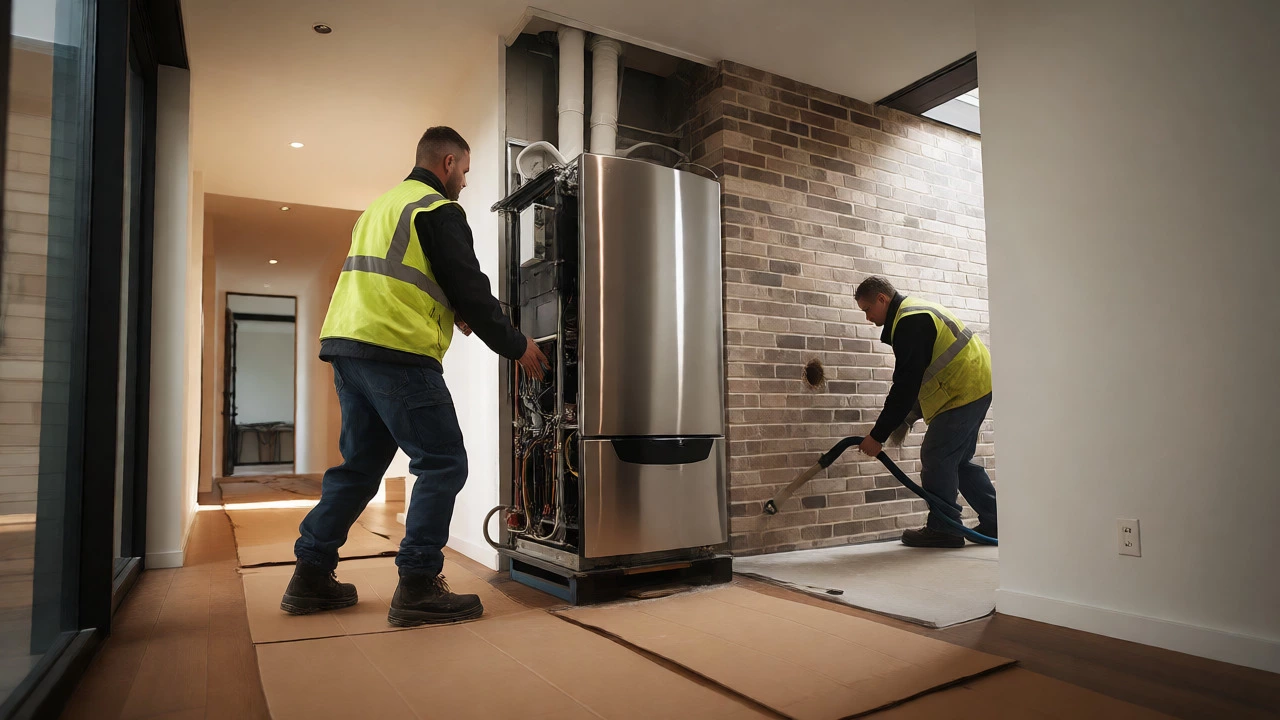
The physical removal of the unit itself can be awkward. Boilers are heavy-often weighing between 100 to 300 pounds depending on the model. Moving them out requires careful maneuvering through hallways and staircases. This is where scuffs on baseboards or minor scratches on floors happen. It’s not "mess" in the sense of grime, but rather mechanical wear and tear. If your path to the exit is narrow, expect some friction points. Technicians usually lay down protective sheets, but corners get bumped. It’s part of the logistics, not negligence.
Preparation Saves Your Sanity
You don’t need to move out, but you do need to clear the area. Think of it as clearing space for a large appliance delivery. Remove any clutter from the utility cupboard or basement corner where the new unit will sit. This includes cleaning supplies, old paint cans, or stored boxes. Why? Because technicians need elbow room to work safely and efficiently. A cramped workspace leads to rushed jobs and higher chances of accidental spills.
- Protect the Path: Lay down drop cloths or cardboard from the entry door to the boiler location. This protects carpets and hardwood from boot prints and potential tool drops.
- Cover Furniture: If the boiler is in an open-plan area, cover nearby furniture with plastic sheeting. Even if the techs are careful, dust from drilling or cutting pipes can settle.
- Secure Pets and Kids: This isn’t just about safety. Having curious children or dogs weaving around legs while someone carries a heavy pipe adds risk and slows down the process.
One often overlooked aspect is access to the exterior wall. Most boilers vent outside via a flue pipe. If your current flue needs resizing or rerouting, the installer must drill through the external masonry. This creates brick dust. Yes, it’s gritty and gets everywhere. But again, professional installers use vacuum attachments at the drill bit source to capture 90% of the dust before it hits your air filter. Ask them specifically about their dust extraction methods before they start.
The Installation Process: Clean by Design
Once the old unit is gone, the new boiler goes in. Modern installations are modular. Pipes are pre-cut or measured precisely on-site using digital tools, reducing waste. Unlike older plumbing eras where lead soldering created toxic fumes and messy flux residues, today’s methods rely on compression fittings or press-fit technology. These are cleaner, faster, and leave minimal residue.
However, connecting the gas line always carries a slight risk of odor or minor leaks during testing. This isn't messiness, but it can feel unsettling. Ensure the technician performs a proper pressure test. You shouldn't smell gas lingering after they leave. If you do, ask for clarification immediately. It’s usually just residual scent from the connection point, not an active leak.
Wiring and electrical connections are neat affairs. New boilers come with standardized harnesses. There’s no spaghetti junction of wires unless the previous setup was hacked together poorly. If you find yourself untangling a bird's nest of cables, it might indicate poor prior maintenance, which could add time-and thus, presence-in your home.
What About the Waste?
This is where many DIY enthusiasts underestimate the cleanup. Removing an old boiler generates significant waste: copper pipes, brass fittings, insulation sleeves, packaging materials, and the unit itself. A reputable company hauls all this away. Check your contract. Does it include disposal fees? Some low-cost quotes exclude removal, leaving you with a bulky metal box on your curb or in your garage. Verify this upfront to avoid surprise clutter.
| Stage | Expected Debris | Mitigation Strategy |
|---|---|---|
| Draining Old System | Small puddles, damp rags | Towels ready, wet vac available |
| Removal & Transport | Dust, minor floor scuffs | Drop cloths, shoe covers |
| Flue Drilling | Brick/concrete dust | Vacuum attachment, sealed doors |
| Pipe Fitting | Offcuts, thread sealant | Sweeping mat, contained workspace |
| Final Testing | Minimal | Standard wipe-down |
Does the Location Matter?
A lot depends on where your boiler lives. A ground-floor utility room with direct exterior access is the dream scenario. Minimal disruption, easy ventilation, straightforward waste removal. Conversely, a loft conversion boiler presents challenges. Carrying parts up narrow stairs increases the risk of bumping walls and ceilings. Dust control is harder when working overhead. Expect slightly more cleanup time here.
Basement installs have their own quirks. Moisture levels can affect how quickly dust settles. If your basement is prone to humidity, ensure the installer uses dehumidifiers if necessary to prevent mold growth on fresh drywall patches. Also, check ceiling height. Low ceilings restrict movement, making it harder to keep tools organized and off the floor.
Post-Installation Cleanup
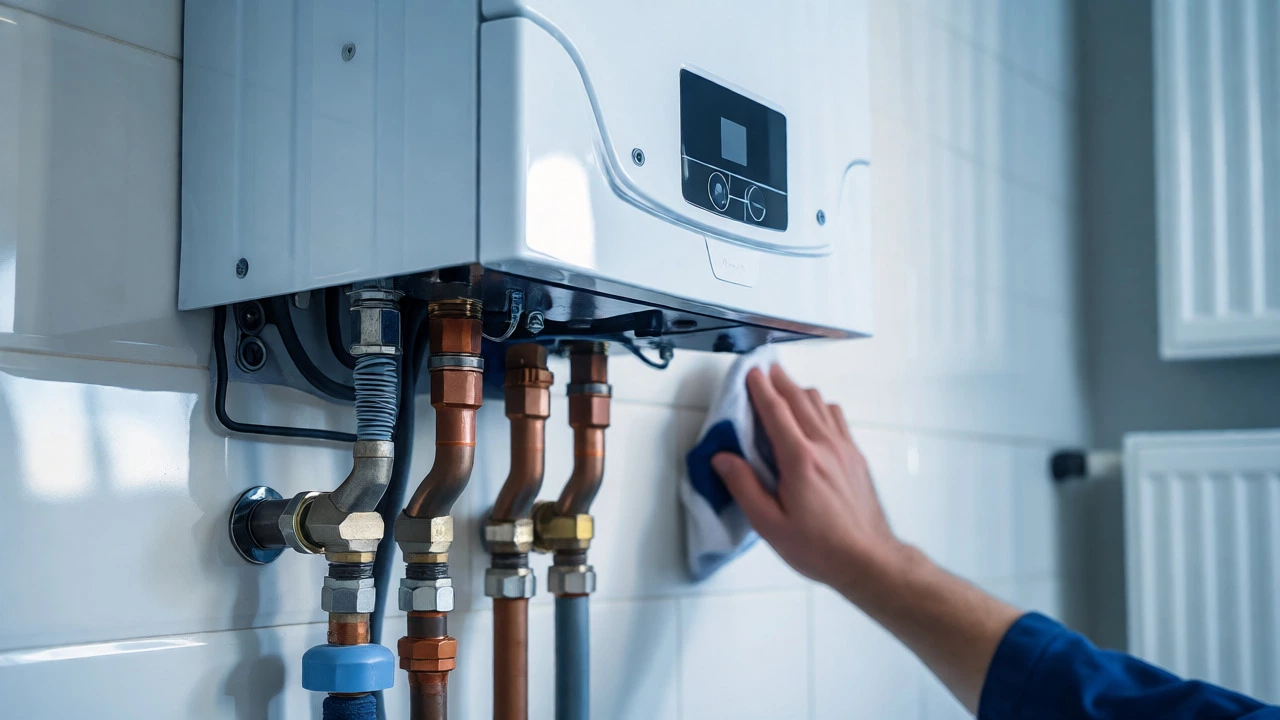
When the techs pack up, they should leave the site cleaner than they found it. This is a key indicator of professionalism. Look for swept floors, removed packaging, and wiped-down surfaces. If you notice stray screws or pipe tape left behind, speak up. It’s a minor detail, but it reflects attention to care.
Run the system yourself once they leave. Listen for unusual noises. Check radiators for air locks (bleeding them might release a tiny bit of dirty water, so keep a towel handy). This final check ensures everything works smoothly and confirms that the "mess" phase is truly over.
How long does a boiler replacement take?
A standard like-for-like replacement typically takes 4 to 8 hours. Complex jobs involving moving the boiler to a different location or upgrading pipework can take 1 to 2 days. Duration affects how long your home is in a state of transition.
Will I lose hot water during the replacement?
Yes, you will be without central heating and hot water for the duration of the installation. Plan ahead by boiling kettles for tea or coffee and having bottled water available. If the job extends overnight, consider staying elsewhere or using portable electric heaters.
Do I need to bleed my radiators after a new boiler is installed?
Usually, yes. The system is drained and refilled, which introduces air into the loops. Bleeding radiators removes trapped air, ensuring efficient heat distribution. Have a radiator key and towels ready for this quick post-install task.
Can I stay in the house during the replacement?
Absolutely. Unless the noise level bothers you, there’s no need to leave. Just ensure pets and young children are kept away from the work area for safety reasons. The work is noisy but not hazardous to breathe-in if proper ventilation is used.
What happens to the old boiler?
Reputable installers remove and dispose of the old unit responsibly. Many recycle components like copper and steel. Confirm this service is included in your quote to avoid having to arrange separate disposal.