Electric Oven Diagnostic Flowchart
Select the primary symptom you are experiencing with your electric oven.
Diagnosis Complete
Your dinner is late, the timer is ticking, and the electric oven isn't heating up. It’s a frustrating scenario that strikes fear into any home cook. Before you call a technician or order a replacement unit, take a breath. Most electric oven problems are not catastrophic failures. They are often simple glitches involving tripped breakers, dirty contacts, or minor sensor errors that you can diagnose yourself in under ten minutes.
Identifying the root cause of an appliance failure requires a logical approach. You need to move from the easiest, most common fixes to the more complex internal components. This guide walks you through the diagnostic process for standard residential electric ovens, helping you save money and time by pinpointing exactly what is wrong before it gets worse.
The Power Supply Check: Is Electricity Actually Reaching the Unit?
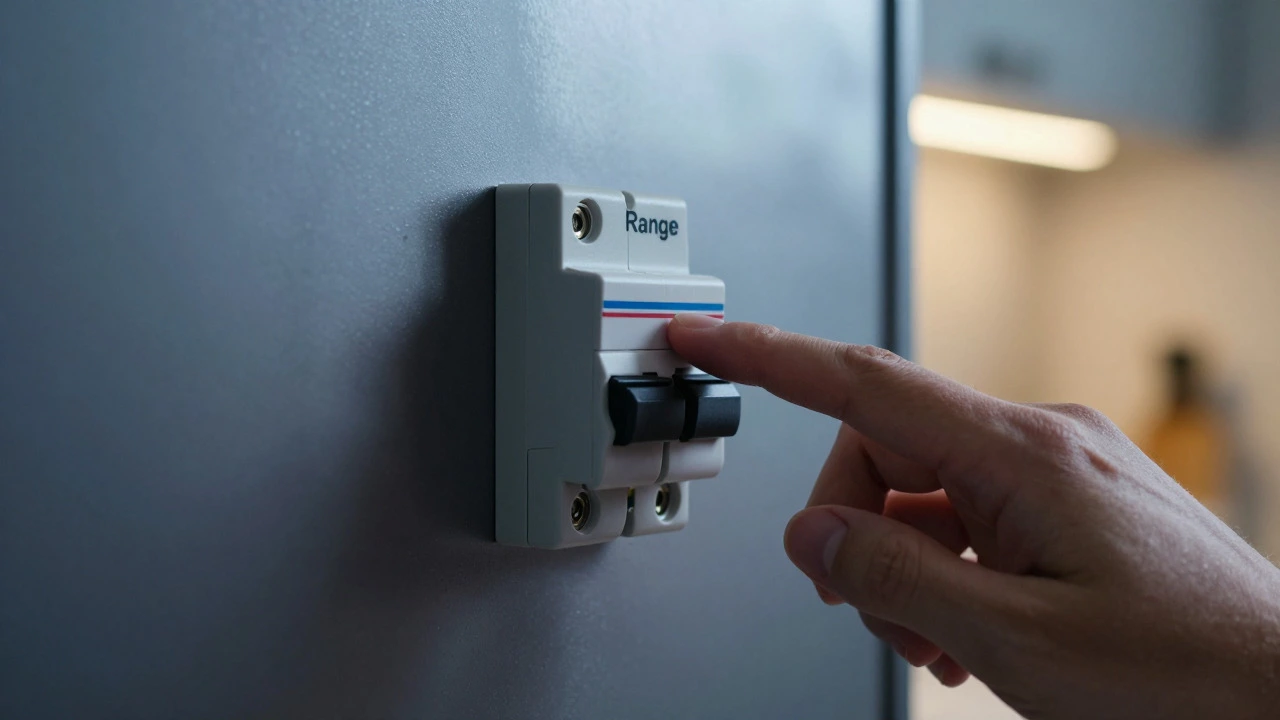
Before inspecting internal parts, verify that the oven is receiving power. An electric oven typically requires a dedicated 240-volt circuit, which is different from your standard 120-volt outlets. If the breaker trips, the entire unit goes dead-no lights, no display, no heat.
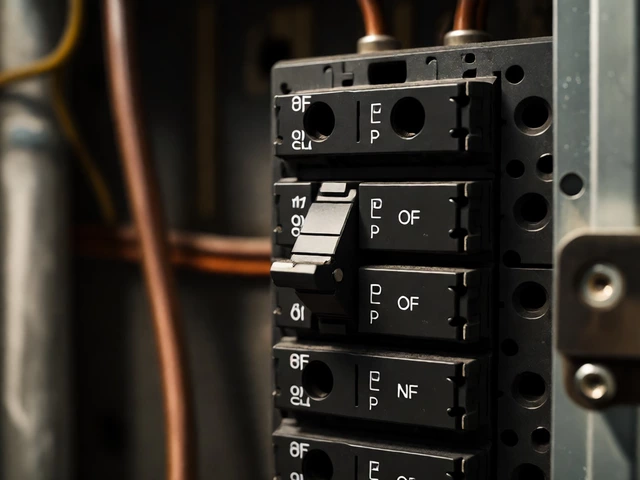
- Check the Circuit Breaker: Go to your main electrical panel. Look for a double-pole breaker labeled "Range" or "Oven." If it is in the middle (tripped) position, flip it fully off, then back on. If it trips again immediately, you have a short circuit inside the oven or the wiring, and you should stop there and call a professional.
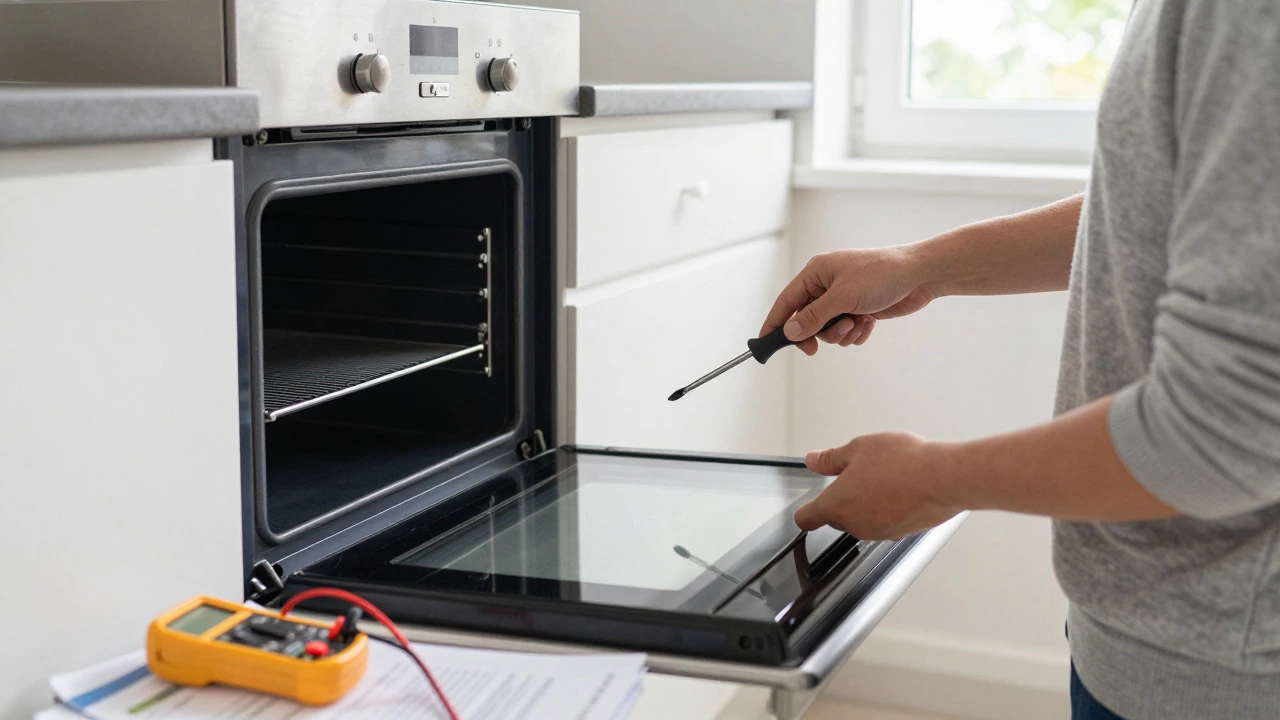
- Inspect the Door Switch: Many modern ovens cut power to the heating elements when the door opens. If the door switch is stuck or broken, the oven might think the door is open even when it’s closed. Listen for a distinct click when you close the door. If the interior light doesn’t turn off when the door shuts, this switch could be interfering with the heating cycle.
- Test the Control Board Fuse: Inside the control panel, there is often a thermal fuse or a glass fuse protecting the electronic control board. If this blows, the oven loses all power. You can test continuity with a multimeter. If the fuse is blown, replace it, but investigate why it blew (e.g., overheating) before powering up again.
Diagnosing Heating Element Failures
If the oven has power (lights work, display is on) but won’t get hot, the issue usually lies with the heating elements. Electric ovens use two primary types of elements: the bake element (bottom) and the broil element (top). Some models also have a convection fan heater.
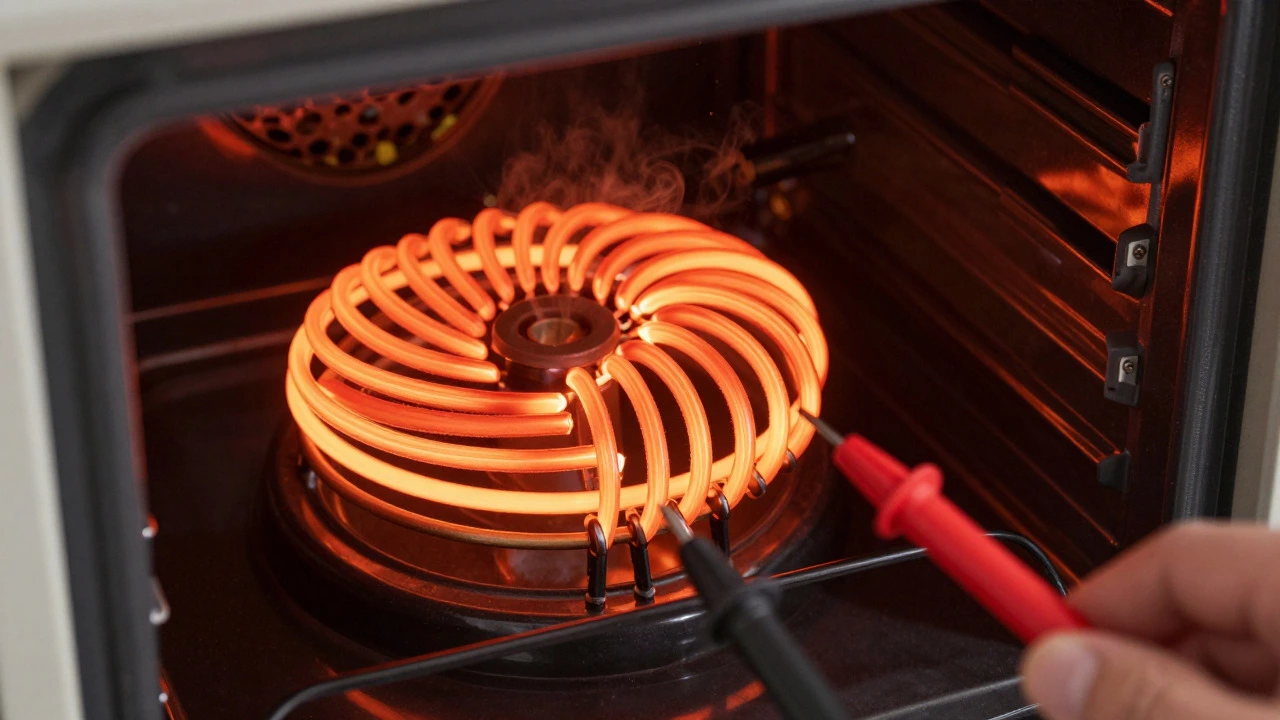
Bake Element is the primary heating source located at the bottom of the oven cavity, responsible for raising the ambient temperature during baking modes. Visually inspect the bake element for blisters, holes, or blackened spots. While some discoloration is normal, physical breaks indicate failure. However, visual inspection isn't enough. The best way to confirm a bad element is using a multimeter set to resistance (ohms).
- Unplug the oven or turn off the breaker.
- Remove the element mounting brackets.
- Place the multimeter probes on the two terminals of the element.
- A working element should read between 10 and 30 ohms. If it reads infinite resistance (OL), the filament is broken, and the element needs replacement.
The Broil Element is a high-intensity heating coil located at the top of the oven, used for searing and browning food surfaces. Test this similarly. Note that if the broil element works but the bake element does not, the problem is isolated to the bake circuit, likely the element itself or the relay on the control board.
Temperature Sensor and Thermostat Issues
Does the oven heat up, but the temperature seems off? Food burns at 350°F, or the oven never reaches the set temperature? This points to a sensing issue. Modern electric ovens use a Oven Temperature Sensor is a thermistor probe located in the oven cavity that monitors internal temperature and sends data to the control board. It looks like a small metal rod protruding from the back wall of the oven.
To test the sensor, measure its resistance while the oven is cold. It should read approximately 108.3 ohms at room temperature (70°F). As the oven heats up, the resistance increases. If the reading is far off (e.g., 10 ohms or infinite), the sensor is faulty. A failing sensor causes the control board to misjudge the heat, leading to inconsistent cooking results.
In older models, a mechanical Thermostat is a bi-metallic strip mechanism that physically switches power to heating elements based on temperature expansion. regulates the heat. These can fail due to worn springs or corroded contacts. If your oven has a dial rather than digital controls, and the temperature fluctuates wildly, the thermostat may need adjustment or replacement.
Control Board and Relay Malfunctions
If the elements and sensors check out, the brain of the operation-the Electronic Control Board is the central processing unit of the oven that interprets user inputs and manages power distribution to heating elements and fans-might be the culprit. The control board uses relays to send voltage to the heating elements. Over time, these relays can stick open or closed.
Signs of a failing control board include:
- Error codes displayed on the screen (e.g., F9, E06, H9). Consult your owner’s manual for specific code meanings.
- The oven runs continuously without turning off.
- No response from buttons or knobs despite having power.
- Burning smell coming from behind the control panel.
To diagnose a relay failure, you can listen for a clicking sound when the oven calls for heat. If you don’t hear a click, but the element is good, the relay on the board may not be engaging. Alternatively, use a multimeter to check for voltage at the element terminals when the oven is set to heat. If 240 volts is present at the board output but not reaching the element, the wiring or terminal blocks might be loose or corroded. If no voltage leaves the board, the control board is likely defective.
Door Seal and Insulation Problems
Sometimes the oven is working perfectly, but it can’t retain heat. Check the Oven Door Gasket is a heat-resistant rubber or silicone seal around the oven door that prevents hot air from escaping. Look for tears, gaps, or hardening. A simple test is to place a dollar bill in the door latch area and close the door. If you can pull the bill out easily, the seal is compromised. Heat loss forces the oven to run longer, wasting energy and causing uneven cooking.
Additionally, inspect the insulation around the oven cavity. In rare cases, especially in older units, insulation material can degrade or shift, exposing wiring or reducing thermal efficiency. If you notice scorch marks on the exterior or excessive heat radiating from the sides, the insulation may need professional attention.
When to Call a Professional Technician
While many issues are DIY-friendly, safety is paramount. Electricity and heat are dangerous combinations. Call a licensed appliance repair technician if:
- You suspect a gas leak (if converting from gas) or smell burning plastic/wiring.
- The circuit breaker trips repeatedly after resetting.
- You are uncomfortable working with 240-volt circuits.
- The control board displays error codes that persist after a power reset.
- The oven is under warranty, as DIY repairs may void coverage.
Professional technicians have specialized tools like clamp meters and thermal cameras to diagnose intermittent faults that are hard to catch with basic testing. They also ensure that replacements meet local electrical codes.
Why does my electric oven make a buzzing noise?
A buzzing noise often comes from the heating elements expanding as they heat up, which is normal. However, a loud or persistent buzz can indicate a loose wire connection, a failing relay on the control board, or a problem with the convection fan motor. If the noise changes pitch or stops when the oven cools, it’s likely thermal expansion. If it continues, inspect the wiring connections.
How do I reset my electric oven?
To reset most electric ovens, turn off the power at the circuit breaker for about one minute, then turn it back on. This clears temporary glitches in the electronic control board. For some models, holding down the "Cancel" or "Off" button for three seconds also resets the control panel. Refer to your user manual for model-specific reset procedures.
Can I replace an oven heating element myself?
Yes, replacing a heating element is generally a straightforward DIY task. You’ll need a screwdriver and possibly a socket wrench. Ensure the power is off before removing the old element. Match the wattage and voltage rating of the new element to the original. Tighten mounting screws securely to prevent arcing.
What does it mean if my oven display is blank?
A blank display usually indicates a power supply issue. Check the circuit breaker first. If power is reaching the outlet, the problem could be a blown fuse on the control board, a failed control board itself, or a loose wire connection in the terminal block. Testing voltage at the terminal block will help isolate whether the issue is upstream (breaker/wiring) or downstream (board/fuse).
Why is my oven taking too long to preheat?
Slow preheating can be caused by a weak bake element, a faulty temperature sensor, or poor door seals allowing heat to escape. If the element glows but doesn’t get very hot, it may be nearing the end of its life. Clean the oven thoroughly, as heavy grease buildup can insulate the cavity and slow heat transfer.