Key Takeaways
- Start with the thermostat setting - the simplest fix for cold water.
- Resetting the unit can clear electronic glitches.
- Inspect the dip tube and heating element; sediment buildup is a common villain.
- Gas‑powered heaters need a safe check of the gas valve and pilot light.
- When DIY steps don’t bring back hot water, call a licensed technician to avoid safety hazards.
When your showers turn icy, the likely culprit is a water heater - a household appliance that heats water for domestic use. A cold‑water output can be frustrating, especially in winter, but most issues are fixable without tearing down walls. This guide walks you through the most common reasons a water heater serves cold water water heater and shows exactly how to troubleshoot each one safely.
Why Is My Water Heater Giving Cold Water?
Before you start unscrewing panels, understand the typical failure points. Below is a quick snapshot of the main culprits and what they look like in practice:
| Cause | Symptom | Typical Fix |
|---|---|---|
| Thermostat set too low | Water lukewarm at every tap | Adjust thermostat to 120‑140°F |
| Faulty heating element (electric) | Only the top tank is hot | Replace the element |
| Clogged dip tube | Cold water mixes with hot at faucet | Replace dip tube |
| Gas valve or pilot light off (gas) | No heat at all, clicking sound | Relight pilot or replace valve |
| Heavy sediment buildup | Water takes longer to heat, strange noises | Flush the tank |
| Failed temperature sensor | Inconsistent water temperature | Swap the sensor |
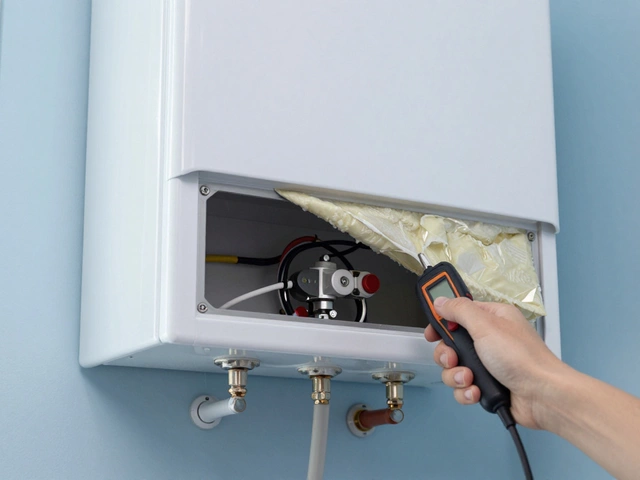
Safety First: What to Do Before You Start
Working on a water heater involves electricity, gas, and hot water - all of which can cause injuries. Follow these precautions:
- Turn off the power at the breaker (electric) or set the gas valve to off.
- Shut off the cold‑water supply to the heater.
- Let the tank cool for at least 30 minutes; hot water can cause burns.
- Wear gloves and safety glasses.
- If you smell gas, ventilate the area and call a professional immediately.
Tools and Materials You’ll Need
Gather these items before you climb onto the heater:
- Screwdriver set (Phillips and flat‑head)
- Adjustable wrench
- Multimeter (for electric units)
- Garden hose (for flushing)
- Replacement dip tube, heating element, or temperature sensor (as needed)
- Bucket and towels for catching stray water
Step‑by‑Step Troubleshooting
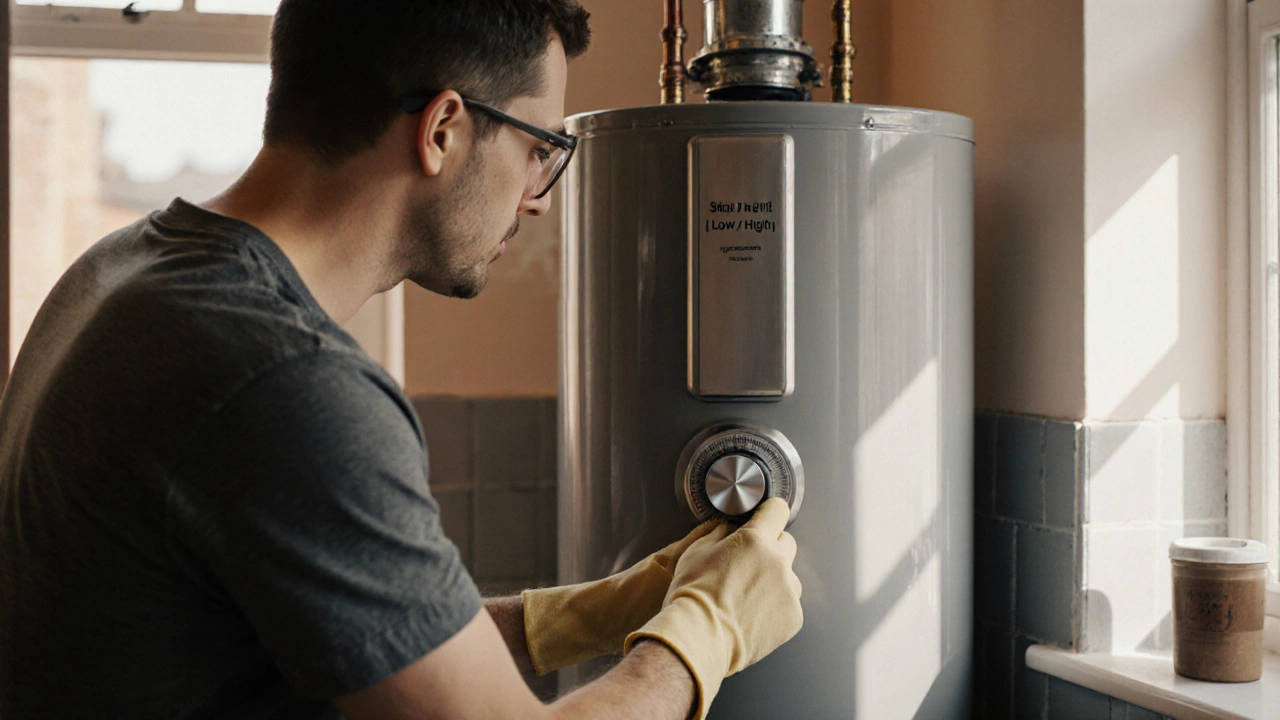
- Check the thermostat setting. Locate the thermostat control on the front panel. Most models have a dial labeled "Low" and "High" or a digital display. Set the temperature between 120°F and 140°F (49‑60°C). If the dial was far below this range, a quick turn can restore hot water.
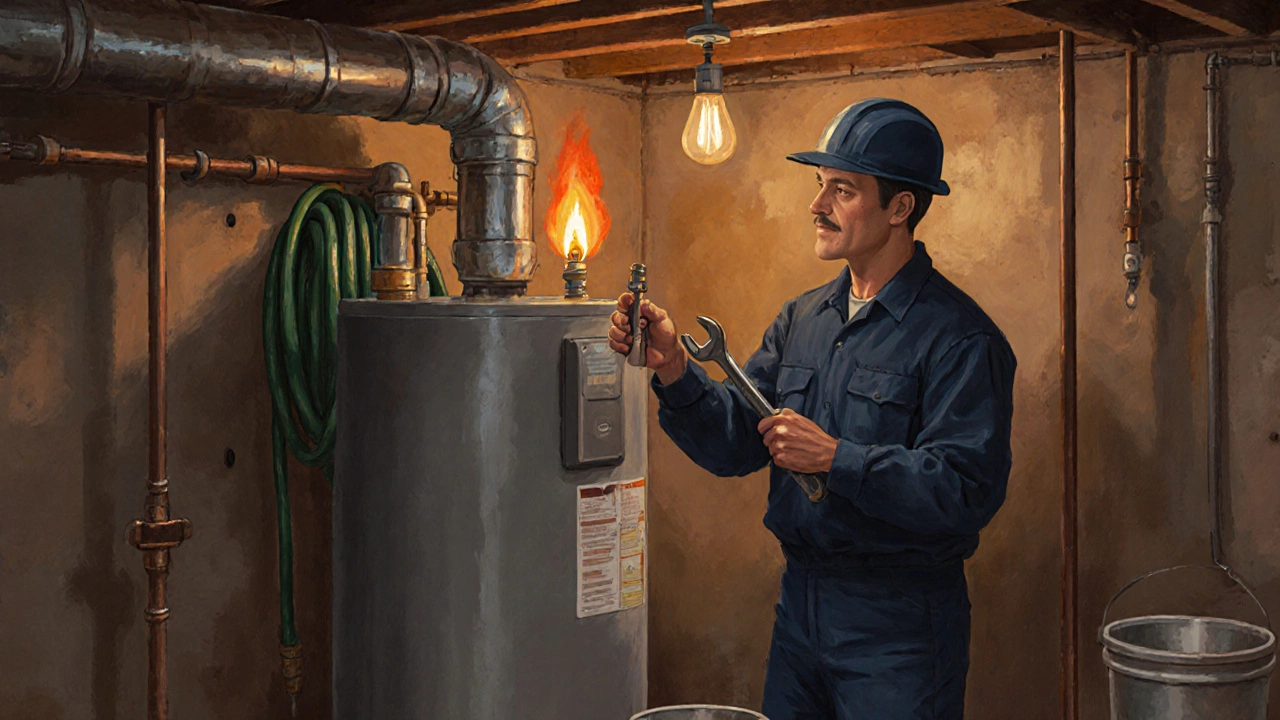
- Reset the water heater. Electric units often have a reset button - a safety switch that trips when the element overheats. Press it firmly; you may hear a click. For gas models, locate the pilot light - the small flame that ignites the main burner. If it’s out, follow the manufacturer’s relighting procedure.
- Inspect the dip tube. The dip tube carries cold water to the bottom of the tank, allowing hot water to rise to the top. Over time, it can crack or disintegrate. To check, turn off the cold‑water inlet, disconnect the supply line, and look inside the tank’s opening. If you see mushy plastic or reduced water flow, replace the dip tube with a new dip tube kit - a plastic tube that fits the tank’s inlet.
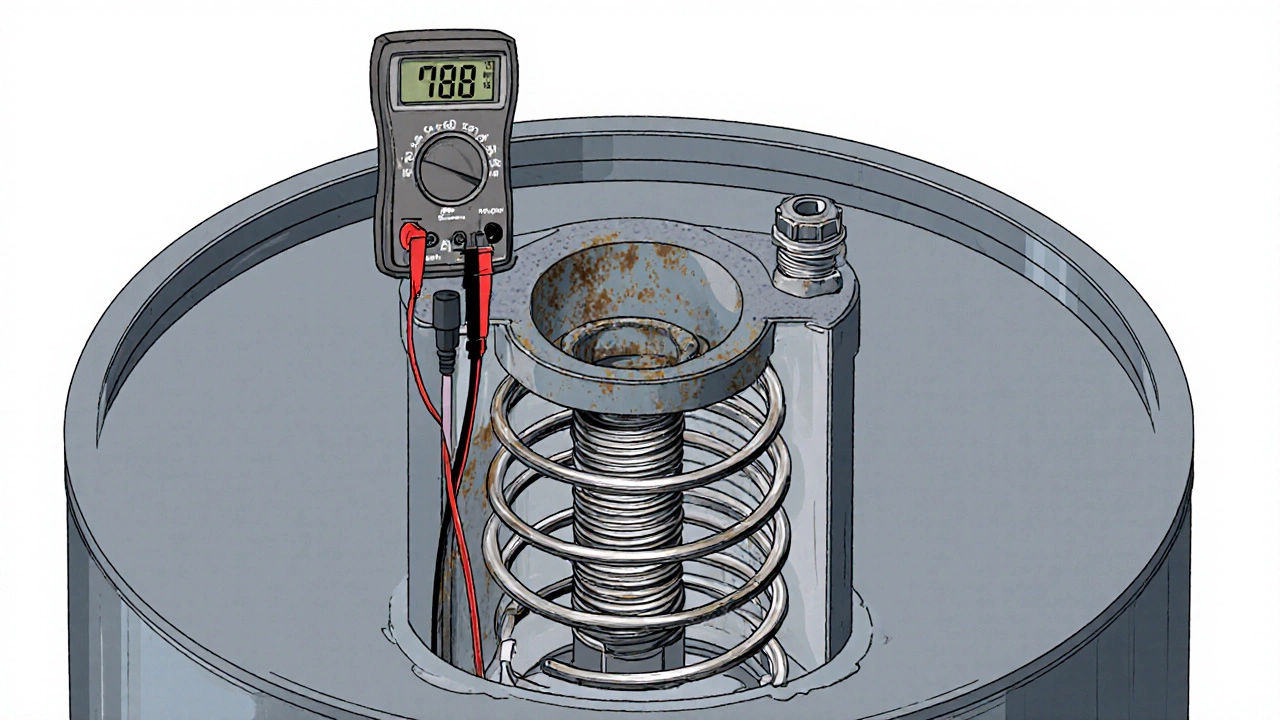
- Test the heating element (electric). With power still off, remove the access panel and locate the two heating elements (upper and lower). Use a multimeter set to ohms; each element should read between 10‑30Ω. A reading of infinite resistance means the element is broken and must be swapped out. Remove the screws, pull the element out, and install the new heating element - a metal coil that converts electricity into heat.
- Examine the gas valve (gas‑powered). The gas valve controls fuel flow to the burner. If the valve is stuck closed, the burner won’t ignite. Rotate the valve knob to the "on" position and listen for a soft hissing sound. If there’s no sound, the valve may be faulty and should be replaced by a licensed plumber.
- Flush out sediment. Sediment builds up from minerals in the water supply, especially in hard‑water areas like Vancouver. Connect a garden hose to the drain valve at the tank’s bottom, open the valve, and let the water run until it’s clear. This process removes insulating layers that keep the heating element or burner from working efficiently.
- Check the anode rod. The anode rod - a sacrificial metal rod that prevents corrosion inside the tank corrodes over time, allowing rust to form and affect heat transfer. Unscrew the rod from the top of the tank; if it’s more than 50% worn, replace it with a new one.
- Inspect the temperature sensor. Modern units use a sensor to regulate heat. A faulty sensor can send wrong readings to the control board, causing it to stay off. Test the sensor’s resistance with a multimeter; refer to the manufacturer’s spec sheet (typically 1kΩ at 75°F). If out of range, swap it for a new temperature sensor - a probe that measures water temperature for the heater’s control system.
- Restore power and test. Turn the breaker back on, open the cold‑water inlet, and run a hot tap. Warm water should start flowing within a few minutes. If the problem persists, you’ve likely exhausted the DIY fixes and should contact a professional.
When to Call a Professional
Even the best DIYer should know limits. Call a licensed plumber or HVAC technician if you encounter any of these red flags:
- Smell of gas or a hissing sound you can’t stop.
- Repeated tripping of the reset button.
- Corroded or leaking tank.
- Electrical components feel hot to the touch.
- You’re uncomfortable handling gas lines or high‑voltage wiring.
Professional service not only ensures safety but also keeps your warranty intact.
Preventive Maintenance Tips
A few simple habits can keep your water heater singing for years:
- Flush the tank annually to remove sediment.
- Inspect the anode rod every 2‑3 years.
- Check thermostat settings seasonally.
- Set the temperature to 120°F to save energy and prevent scalding.
- Schedule a professional inspection before winter hits.
Frequently Asked Questions
Why is my water heater only warm at the top of the faucet?
A warm‑top, cold‑bottom situation usually means a broken heating element (electric) or a clogged dip tube. The element may have burned out, or the dip tube might be cracked, letting cold water mix in before it reaches the top.
Can I replace a water heater thermostat myself?
Yes, if you turn off power and follow the manufacturer’s wiring diagram. Most thermostats are simple two‑wire components that screw into the control box. If the heater is gas‑powered, you’ll also need to verify the gas valve after replacement.
How often should I flush my water heater?
At least once a year in areas with hard water. If you have a water softener, twice a year is a good rule of thumb. Flushing removes sediment that insulates the heating element and reduces efficiency.
What temperature setting is safest for a family?
Set the thermostat to 120°F (49°C). This temperature kills most harmful bacteria while minimizing the risk of scald burns, especially for children and seniors.
My gas water heater won’t light - what should I check first?
First, verify the gas valve is open. Then, check the pilot light - if it’s out, follow the manufacturer’s relighting steps. If the pilot won’t stay lit, the thermocouple may be dirty or faulty and needs cleaning or replacement.