DIY Electric Oven Replacement Readiness Check
Answer these questions honestly to assess your readiness. Electricity is unforgiving—when in doubt, call a pro.
Staring at a broken electric oven is frustrating enough. The idea of hauling out the old unit and wrestling with a new one adds another layer of stress. But here is the real question: do you actually need to call a pro, or can you handle this swap yourself?
The short answer is yes, you can replace an electric oven yourself, but only if you respect the electricity involved. This isn't like swapping out a toaster. We are talking about 240-volt circuits that can deliver a lethal shock if handled incorrectly. If you have never worked with household wiring, your confidence might be higher than your competence. That gap is where accidents happen.
This guide breaks down exactly what goes into replacing an electric oven is a major kitchen appliance that requires dedicated high-voltage electrical connections for heating elements and controls. It typically operates on 240 volts in North America and involves complex internal circuitry for temperature regulation and cooking modes. so you can decide if you are up for the task. We will cover the tools, the safety steps, the physical removal, and the critical wiring details.
Assessing Your Skill Level and Risk
Before you buy a new oven, look at your past experience. Have you ever changed a light switch? Replaced a receptacle? If those tasks make you nervous, an oven replacement is likely too big a leap. An oven connection is a permanent fixture tied directly to your home's main breaker panel.
Consider these red flags that suggest you should hire an electrician:
- You live in an older home (pre-1980) with knob-and-tube wiring or aluminum wiring.
- Your current oven outlet looks burnt, melted, or has loose screws.
- You are unsure which breaker controls the oven circuit.
- You have never used a multimeter to test for voltage.
If none of those apply, and you are comfortable turning off power at the main panel and verifying it is dead, you might save $150 to $300 on labor by doing it yourself. Just remember: electricity doesn't care how careful you think you are. It only cares about physics.
Gathering the Right Tools and Materials
You cannot wing this job with a screwdriver from your junk drawer. Proper tools reduce risk and make the job faster. Here is what you need before you start:
| Tool/Material | Purpose | Why It Matters |
|---|---|---|
| Non-contact voltage tester | Verify power is off | Safety first. Never trust a label alone. |
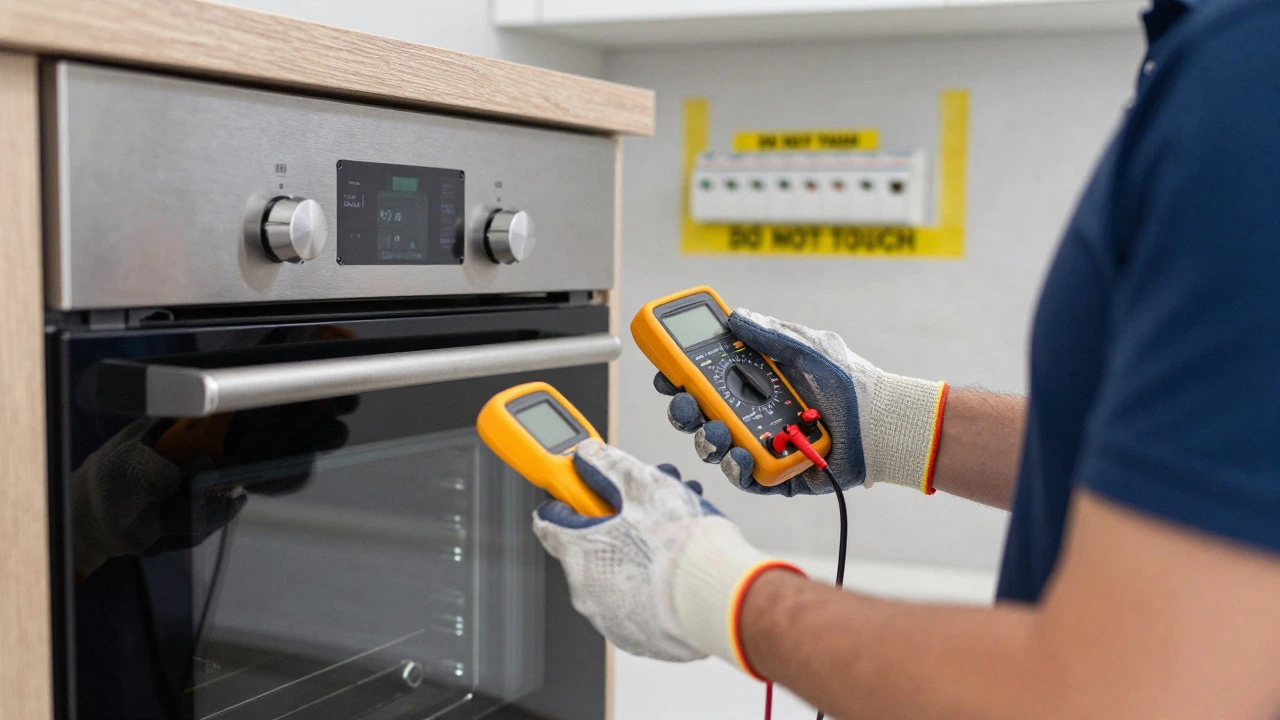
| Multimeter | Confirm zero voltage | Double-checks the non-contact tester. |
| Phillips and flathead screwdrivers | Remove panels and terminals | Needed for both old and new unit assembly. |
| Nut driver set (1/4" and 5/16") | Tighten terminal screws | Oven terminals require significant torque. |
| Wire strippers | Clean wire ends | Ensures good contact without damaging strands. |
| Work gloves | Protect hands | Ovens are heavy and have sharp edges. |
Do not skip the multimeter. A non-contact tester is great for a quick check, but a multimeter gives you definitive proof that the wires are dead. Also, grab a flashlight. The space behind an oven is dark, cramped, and full of dust bunnies that love to hide loose connections.
Step 1: Preparing the Old Oven for Removal
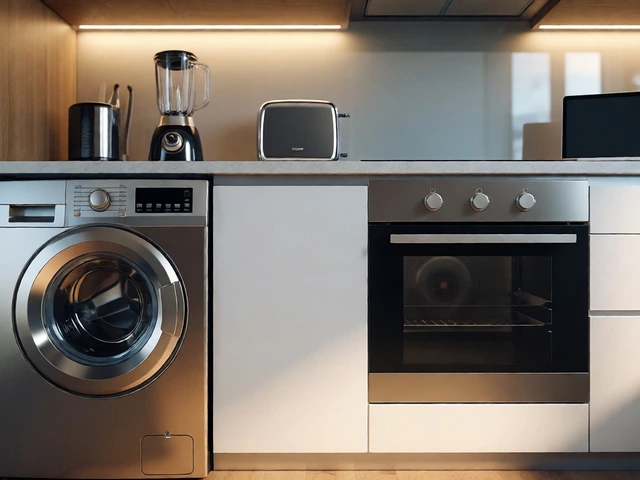
Start by clearing the area around the oven. Remove any pots, pans, or racks that might block your movement. If your oven is slide-in style, it likely sits flush against the counter. Freestanding models usually have legs that allow them to pull out easily. Slide-in ovens often have a lip that rests on the countertop, making extraction tricky.
For slide-in ovens, you may need to remove the bottom broiler drawer first. This exposes the mounting brackets or allows the oven to slide forward slightly. Check the manufacturer's manual for specific release mechanisms. Some modern ovens have hidden latches under the door hinge covers.
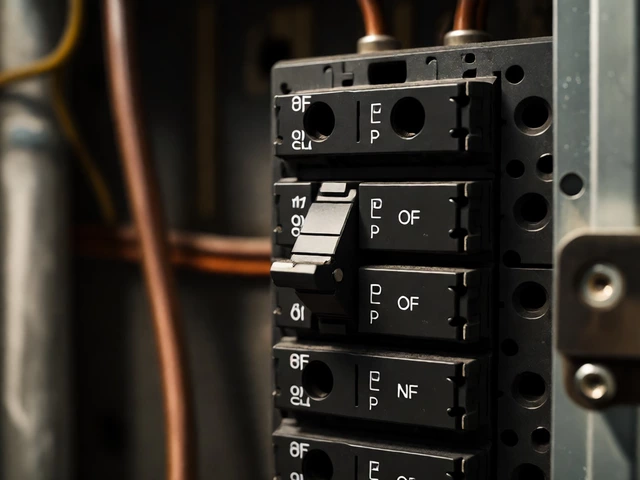
Once the oven is accessible, unplug it if it uses a standard plug. Most hardwired ovens do not have plugs. In that case, you must go to the breaker panel. Locate the double-pole breaker labeled "Oven" or "Range." Flip it to the OFF position. Put a piece of tape over it and write "DO NOT TOUCH" on it. This prevents someone from accidentally restoring power while you are working.
Step 2: Disconnecting the Electrical Supply
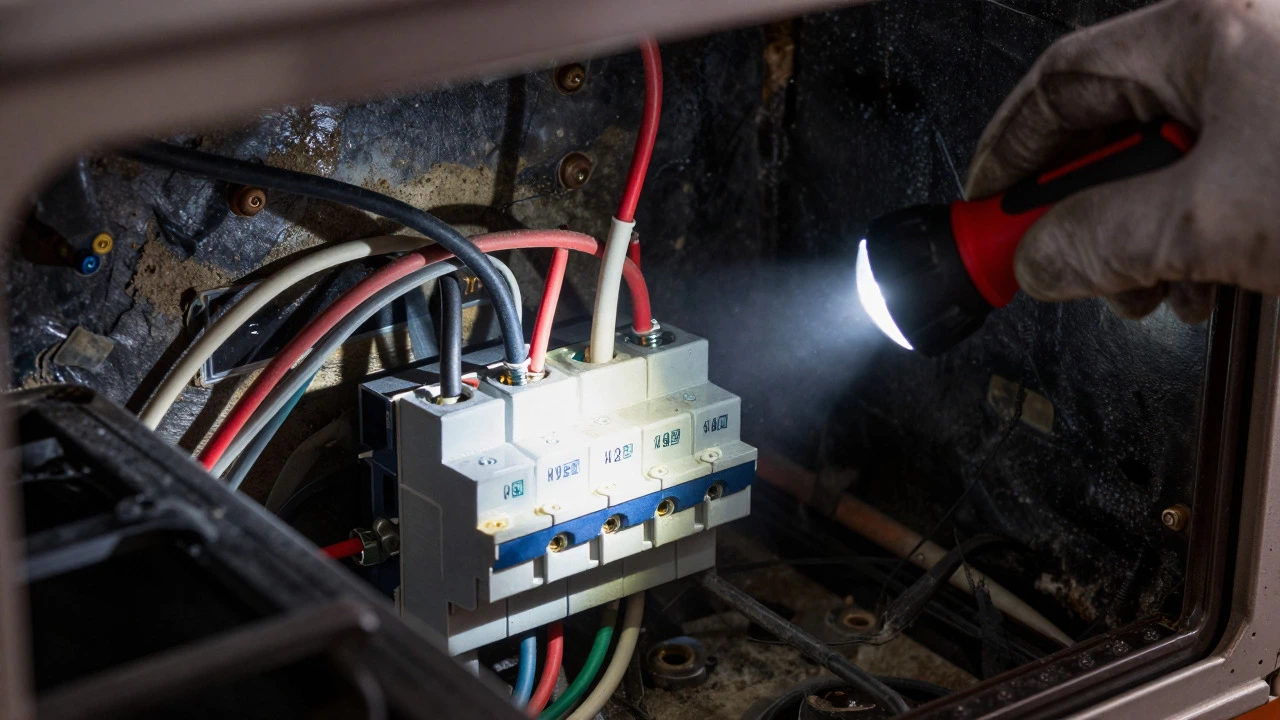
This is the most critical step. Go back to the oven and open the access panel. This is usually located behind the oven or on the side near the floor. Remove the screws holding the panel in place and set it aside.
Inside, you will see three or four thick wires connected to terminal screws. These wires carry 240 volts. Even though the breaker is off, treat them as live until proven otherwise. Use your non-contact tester on each wire. Then, use your multimeter to test between each pair of wires. You should read zero volts everywhere.
If you confirm the power is off, take a photo of the wiring configuration with your phone. This is your reference map. Note which color wire goes to which terminal. Typically, you will see two hot wires (black and red), a neutral wire (white), and a ground wire (green or bare copper). However, older installations might vary. Do not assume standard coloring applies.
Loosen the terminal screws carefully. Keep the wires separated so they don't fall back into the wall cavity. Label each wire with painter's tape if you want extra insurance. Gently pull the wires out of the junction box. Now, disconnect the gas line if you have a dual-fuel range, but since we are focusing on electric ovens, you are done with utilities.
Step 3: Removing the Old Oven
With the electrical disconnected, the oven is just a heavy metal box. Enlist a helper. Ovens weigh between 80 and 120 pounds. Trying to move one alone risks dropping it on your foot or damaging your flooring.
Lift the oven straight up and out. Avoid dragging it across the floor. If you have hardwood floors, lay down cardboard or a moving blanket to protect the finish. Once the old oven is out, inspect the wall cavity. Look for signs of heat damage, rodent nests, or loose insulation. Clean out any debris. This is also a good time to check the junction box itself. If the box is cracked or the wires inside look frayed, stop and call an electrician.
Step 4: Installing the New Oven
Bring the new oven into position. Before sliding it all the way in, connect the electrical wires. Refer to the photo you took earlier and the new oven's installation manual. Match the colors: black to black, red to red, white to white, and green/bare to green/bare.
Strip about 3/4 inch of insulation from each wire end if needed. Insert the wire into the correct terminal slot. Tighten the screw firmly. Give each wire a gentle tug to ensure it is secure. Loose connections cause arcing, which leads to fires. Double-check every connection.
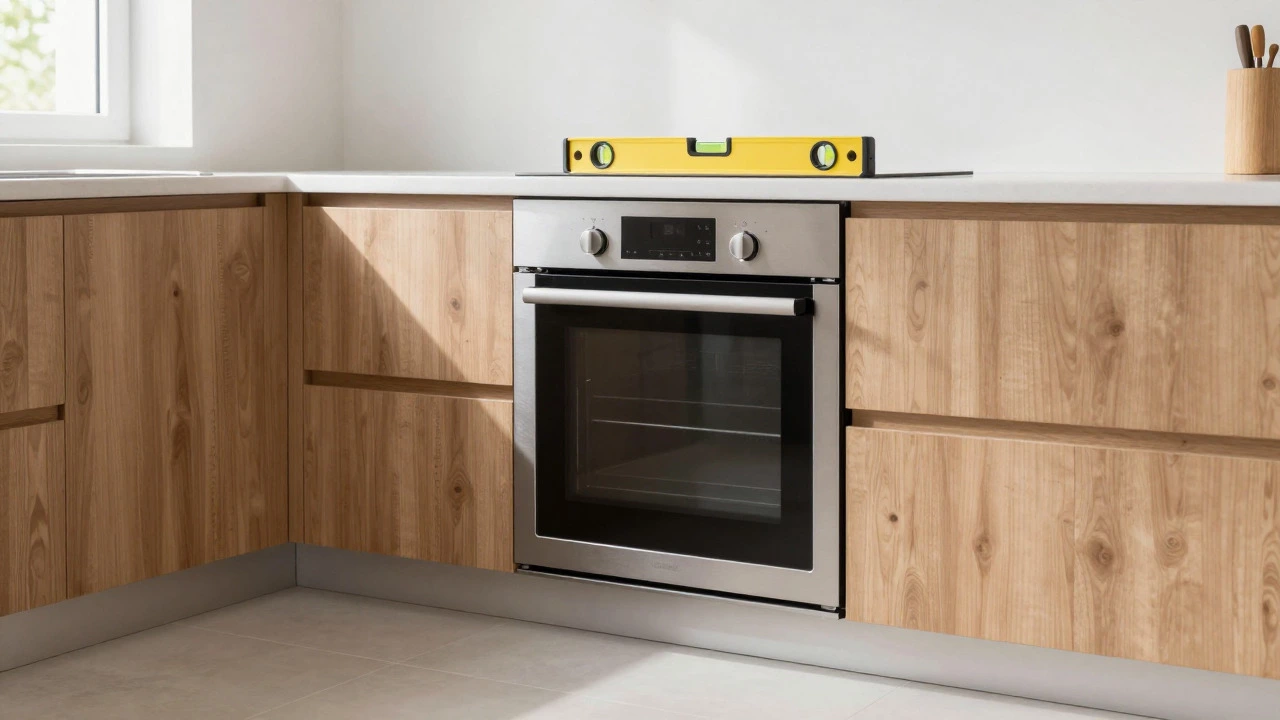
Slide the oven into the cabinet. Ensure it sits level. Use a bubble level on top of the oven. Adjust the feet if necessary. Most ovens have adjustable leveling legs at the front. Lock the nuts once the height is correct. An uneven oven can affect cooking performance and door alignment.
Reattach the access panel. Secure it with the screws. Make sure no wires are pinched behind the panel.
Step 5: Testing and Final Checks
Go back to the breaker panel. Remove the tape and flip the breaker back ON. Return to the oven. Turn on a bake cycle at 350°F. Listen for the click of the relay engaging. Feel for warmth after 10 minutes. Check the display for error codes. Most modern ovens run a self-diagnostic on first power-up.
If the oven does not heat, turn it off immediately. Check the breaker again. If it tripped, there is a short circuit. Inspect your connections. If everything looks good but it still won't work, the issue might be with the new oven's internal components. Contact the manufacturer's support line.
Once the oven heats properly, let it cool down. Run the self-clean cycle if recommended by the manufacturer to burn off any factory residues. This step is optional but helps eliminate initial odors.
When to Call a Professional
Even if you feel confident, some scenarios demand professional help. If your home uses a 3-wire system (no neutral) and your new oven requires a 4-wire connection, you need an electrician to update the circuit. Mixing these systems can void warranties and create hazards.
Also, consider hiring a pro if you are installing a smart oven with Wi-Fi capabilities. While the electrical part is the same, troubleshooting connectivity issues later might be easier if the installer documented the setup correctly. Some manufacturers offer free installation services with purchase. Take advantage of that if you are unsure.
Replacing an electric oven is a manageable DIY project for those with basic electrical skills. The key is patience and respect for safety protocols. Rushing through the wiring stage is the fastest way to turn a simple upgrade into a dangerous situation. Take your time, verify every step, and enjoy your new cooking appliance.
How much does it cost to replace an electric oven yourself?
The primary cost is the price of the new oven, which ranges from $500 to $2,000+ depending on features. If you already own the necessary tools, there are no additional costs. If you need to buy a multimeter or nut drivers, expect to spend $50-$100. Compare this to professional installation fees, which typically range from $150 to $300, to see your potential savings.
Do I need a permit to replace an electric oven?
In most jurisdictions, replacing an existing appliance with a similar one does not require a building permit, provided you are not altering the electrical circuit or adding new outlets. However, if you are upgrading from a 3-wire to a 4-wire system or changing the amperage rating, local codes may require a permit and inspection. Check with your local electrical authority to be sure.
What if my new oven doesn't fit the cutout?
Measure the width, height, and depth of your existing opening before buying. Standard widths are 30 inches, but depths vary significantly. Slide-in ovens are shallower than freestanding models. If the new oven is wider, you may need to modify the cabinetry, which is a carpentry job. If it is narrower, you might need filler panels to maintain a clean look.
Is it safe to touch the wires after turning off the breaker?
Only after you have verified with a multimeter that there is zero voltage. Breakers can fail, labels can be wrong, and cross-connected circuits exist. Always test each wire individually against ground and against each other. Assume wires are live until proven dead by measurement, not just by visual inspection.
Can I install an induction cooktop instead of an electric oven?
An induction cooktop replaces the stovetop, not the oven. They are separate appliances. If you want induction cooking, you would replace the cooktop portion of a range or install a standalone induction cooktop above an existing electric oven. Induction cooktops require their own dedicated 240-volt circuit and specific mounting hardware.