Replace Extractor Fan Motor – Step‑by‑Step Guide for Homeowners
When you replace extractor fan motor, you are removing a faulty motor from an extractor fan and installing a new one to bring back proper ventilation. Also known as fan motor swap, this task is common in kitchens and bathrooms where airflow matters. Understanding the core parts and safety basics makes the job smoother and cheaper than calling a pro.
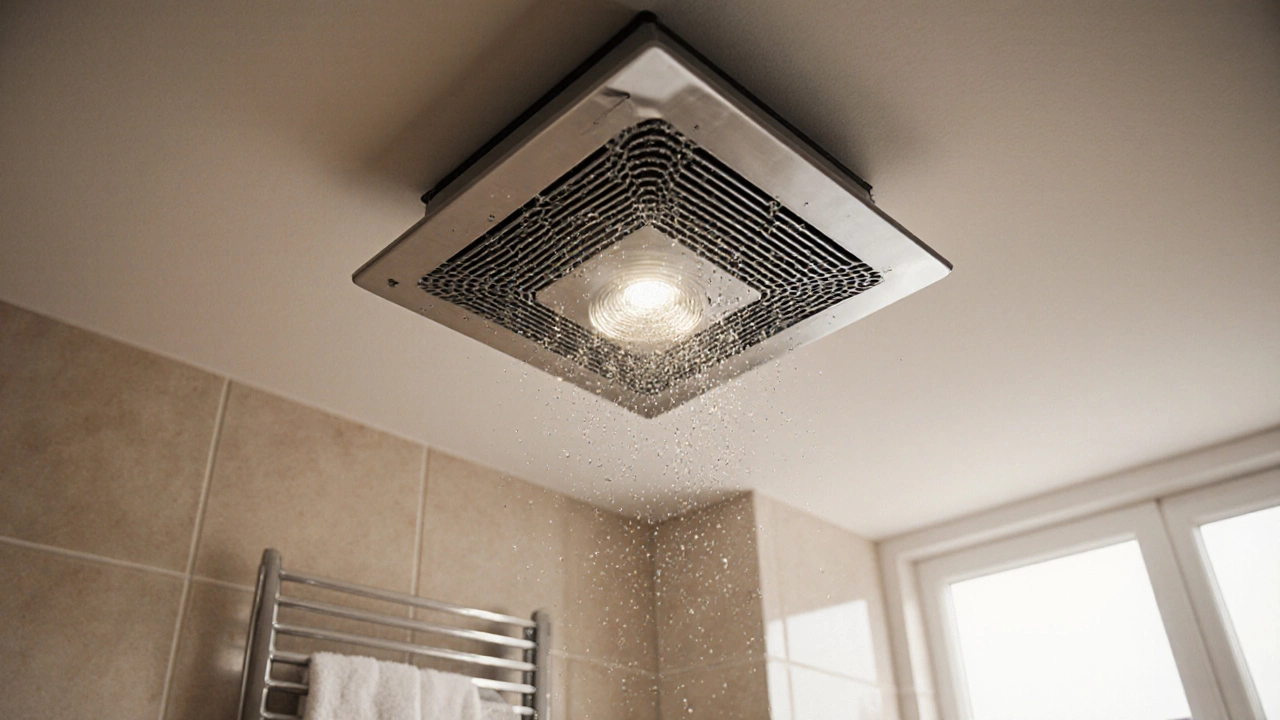
First, get to know the extractor fan, a device that pulls moist or smelly air out of a room and pushes it outside. It’s usually mounted on a wall or ceiling and consists of a housing, a motor, and a duct. The motor, the heart of the fan that spins the blades translates electricity into airflow. A well‑functioning motor keeps humidity low, prevents mold, and stops lingering cooking odors. When the motor fails, the fan may still spin slowly or stop completely, signaling the need for replacement.
What You’ll Need Before You Start
Gather the right DIY tools, screwdrivers, a voltage tester, pliers, and possibly a drill. A flat‑head or Phillips screwdriver fits most fan screws; a voltage tester confirms the power is off; and a wrench helps detach the duct if it’s clamped. You’ll also want a replacement motor that matches the original model’s voltage (120 V or 230 V) and horsepower. Keep the old motor on hand for reference – it shows you the wiring layout and mounting style.
Safety is non‑negotiable. Turn off the circuit breaker for the fan’s power line, then double‑check with the tester. Even if the fan is wired to a switch, the breaker ensures no hidden voltage surprises you. Wearing gloves protects your hands from sharp edges, and safety glasses shield your eyes from dust when you remove the housing.
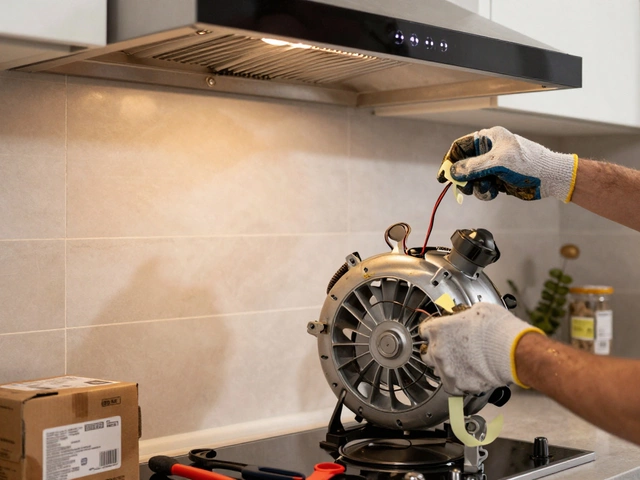
Now, if you need to replace extractor fan motor, follow these practical steps. First, remove the fan grille. Most grilles clip or screw off; a gentle wiggle releases them without breaking the plastic. Next, locate the motor housing screws – usually two or three – and unscrew them. Carefully pull the motor out, noting the wire colors: black (live), white (neutral), and green or bare (ground). If the wires are connected with push‑in terminals, press the release tabs before pulling the wires apart.
With the old motor out, compare it to the new one. Check the mounting bracket, shaft size, and connector type. If the new motor uses a different bracket, you may need to transfer the old bracket onto the replacement – a simple trade‑off that saves you a custom part. Attach the new motor, reconnect the wires to the matching terminals, and secure the motor housing with the screws you removed earlier.
Reinstall the grille, restore power at the breaker, and test the fan. A smooth, steady hum means the motor runs correctly. If you hear a humming noise without blade movement, double‑check the wiring and ensure the motor’s capacitor (if present) is properly seated. A quick visual inspection often reveals a loose connection.
Beyond the motor, consider the overall ventilation system, the ductwork that carries stale air outside. A clogged duct can make a brand‑new motor work harder, shortening its life. While you have the fan open, inspect the duct for dust, grease, or bird nests, and clean or replace it if needed. A clean path improves airflow and reduces noise.
When the job feels beyond your comfort zone, call an electrician. Replacing a motor involves live wires, and a licensed pro ensures the work meets local codes. However, for most homeowners with basic tools and a bit of patience, the DIY route saves time and money.Below you’ll find a collection of articles that dive deeper into related topics – from troubleshooting a fan that won’t start, to choosing the right motor size for a new installation. Use them as a reference while you work, and you’ll be confident that your extractor fan returns to full performance.
How to Replace an Extractor Fan Motor - Step‑by‑Step DIY Guide
- Alden Wilder
- Oct 14 2025
- 0 Comments
Learn how to replace an extractor fan motor step by step. This DIY guide covers troubleshooting, parts selection, safety, installation tips, and common pitfalls.
View More-
Can You Service a Boiler Yourself? Safety, Risks, and What You Can Actually Do
Mar 22, 2026 -

What Is the Common Problem for a Pressure Cooker?
Mar 8, 2026 -

How Much Does Best Buy Geek Squad Charge for Laptop Repair in 2026?
Mar 12, 2026 -
What Happens If You Keep Resetting the Water Heater?
Mar 1, 2026 -
How to Replace Kitchen Extractor Fan Motor: A Step-by-Step Guide
Mar 23, 2026