Extractor Fan Motor Compatibility Checker
Check Your Motor Compatibility
Ensure your replacement motor matches your fan's specifications for voltage, RPM, and shaft diameter.
Quick Takeaways
- Identify the fan model and motor specs before buying a replacement.
- Turn off power at the circuit breaker and confirm with a tester.
- Remove the fan housing, disconnect wiring, and note the motor orientation.
- Swap the old motor with a new one that matches voltage, speed (RPM), and shaft size.
- Reassemble, restore power, and test for smooth airflow and low noise.
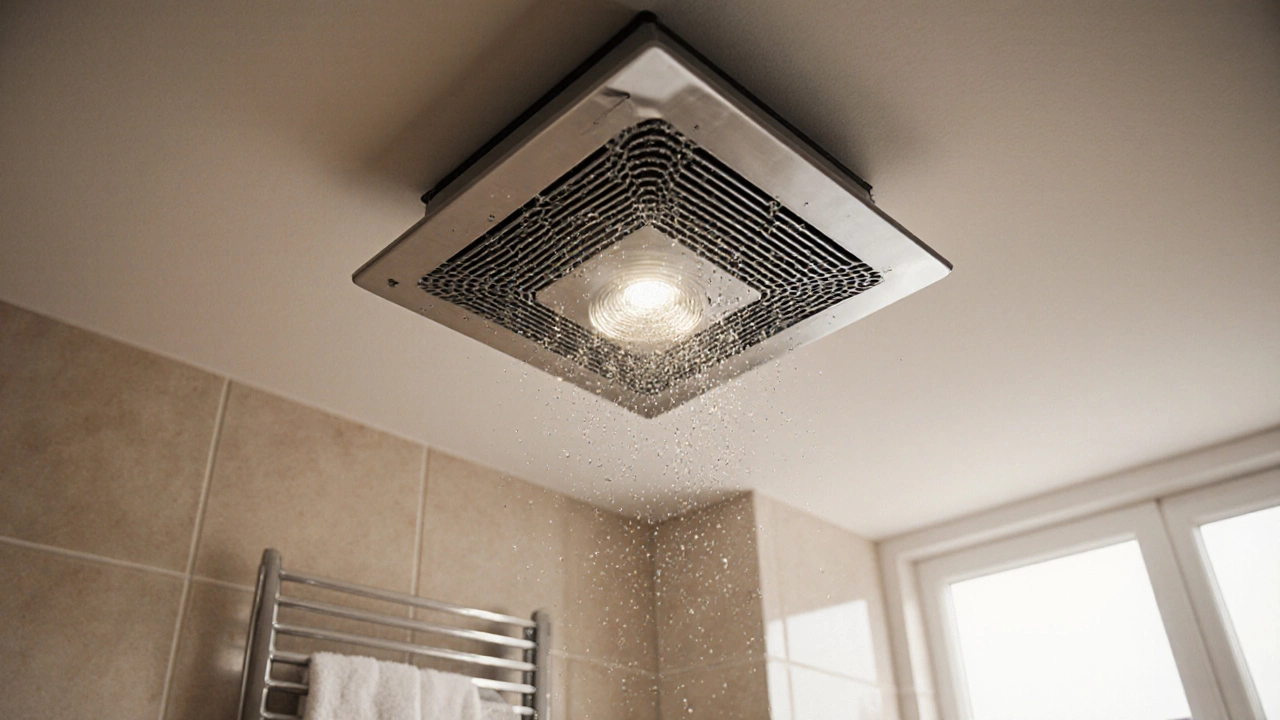
When a kitchen or bathroom ventilation unit starts humming loudly, losing speed, or stops working altogether, the culprit is often the extractor fan motor the electric component that drives the fan blades. Replacing this motor yourself can save a hefty service bill, but you need a clear roadmap to avoid damaging the fan or the home’s electrical system.
This guide walks you through every decision point and hands‑on step, from confirming that the motor is really the problem to wiring the new unit safely. Whether you’re fixing a modest bathroom exhaust or a high‑capacity kitchen hood, the process is fundamentally the same.
Understanding the Core Parts
Before you start unscrewing anything, get familiar with the main components you’ll see inside an extractor fan. Recognizing each part helps you troubleshoot and ensures you buy the right replacement.
- Extractor fan the complete ventilation assembly usually installed in a ceiling or wall
- Motor provides rotational force to spin the fan blades (the part you’ll replace)
- Fan blade moves air through the duct when turned by the motor
- Housing protects internal parts and directs airflow
- Capacitor stores a small electric charge to help start the motor
- Wiring connects the motor to the home’s electrical supply
- Switch the wall or pull‑chain control that powers the fan
- Circuit breaker protects the circuit from overload during installation
When to Replace the Motor vs. Other Parts
Not every fan failure points to a busted motor. Use these quick checks to rule out common culprits first:
- Noise but still spins: The motor may be fine; try cleaning the fan blade and housing.
- No spin at all: Test the power at the switch and breaker. If voltage is present, the motor likely needs replacement.
- Intermittent operation: A failing capacitor can cause starting issues. Swap the capacitor before ordering a motor.
- Visible burning or smell: This usually means the motor windings are damaged - replace it.
If you’ve confirmed that the motor is the weak link, move on to the next section.

Choosing the Right Replacement Motor
Every extractor fan model specifies motor attributes such as voltage, amperage, RPM, shaft diameter, and mounting style. Installing a mismatched motor can cause overheating, noise, or reduced airflow.
| Type | Voltage (V) | Speed (RPM) | Shaft Diameter (mm) | Typical Applications |
|---|---|---|---|---|
| AC Single‑Phase | 120 | 1400-1800 | 6 | Standard bathroom fans |
| AC Single‑Phase (High‑Torque) | 120 | 1000-1300 | 6 | Heavy‑duty kitchen hoods |
| DC Brushless | 12-24 | 1500-2000 | 4 | Energy‑efficient models |
To find the exact part number, locate the fan’s nameplate (usually on the housing or inside the motor compartment). Note the model, voltage, and RPM. Then search the manufacturer’s catalog or reputable parts suppliers. Buying a motor that matches all three specs avoids the need for adapters or rewiring.
Tools and Materials You’ll Need
- Phillips and flat‑head screwdrivers (½‑inch and ¼‑inch)
- Adjustable wrench
- Non‑contact voltage tester
- Wire strippers and electrical tape
- Replacement motor matching the specs
- New capacitor (optional but recommended)
- Dust mask and safety glasses
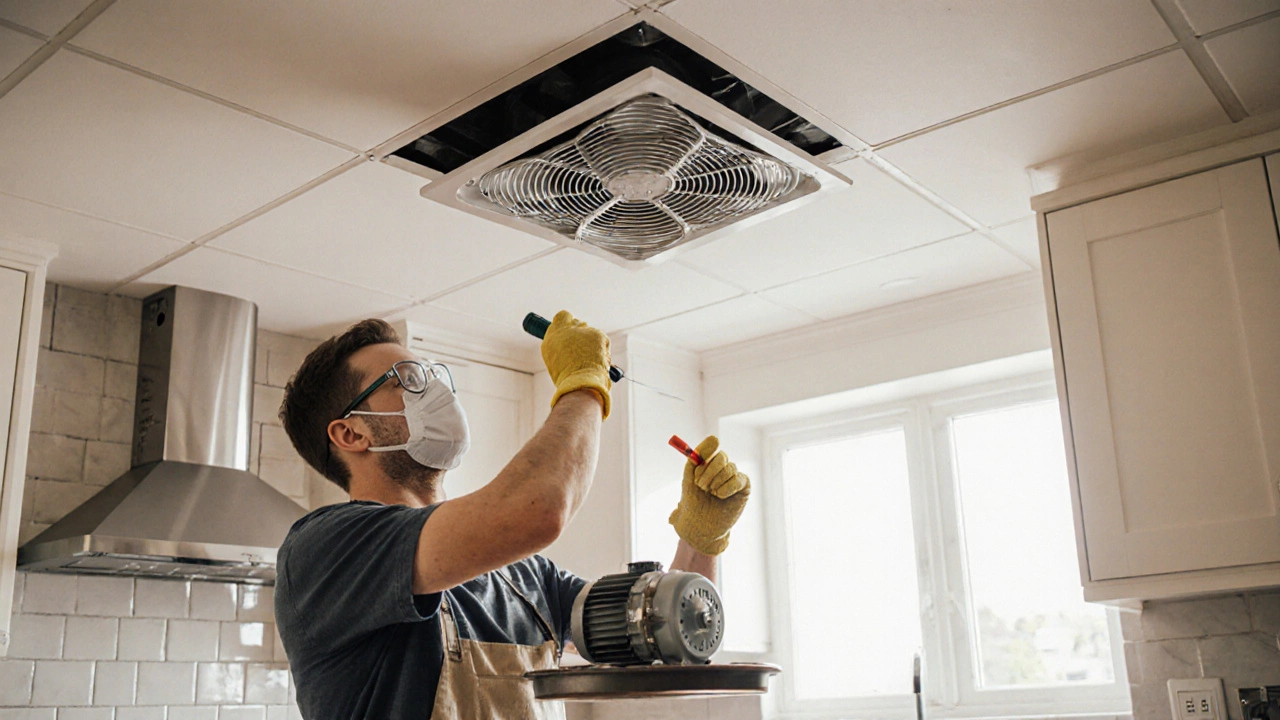
Step‑by‑Step Replacement Process
- Shut off power. Flip the circuit breaker for the fan’s circuit. Verify the wires are dead with a non‑contact tester.
- Remove the fan housing. Most bathroom fans are secured with 3-4 screws around the perimeter. Unscrew them, then gently pull the housing away to expose the motor and wiring.
- Document wiring connections. Take a quick photo or label each wire (e.g., “black‑live”, “white‑neutral”). This prevents mix‑ups later.
- Detach the motor. The motor is usually bolted to a mounting bracket. Remove the bolts, then slide the motor out of the housing. Note the direction of the shaft - most motors have an arrow indicating rotation.
- Swap the capacitor (optional). If the old capacitor looks bulged or leaky, replace it now. Capacitors are typically mounted on a small metal clip; disconnect the wires and snap the new one in.
- Install the new motor. Align the shaft with the fan blade’s hub, re‑attach any coupling if present, and bolt the motor to the bracket using the original bolts. Ensure the motor’s rotation arrow matches the blade’s direction.
- Reconnect wiring. Follow the photo you took earlier. Tighten wire nuts and wrap each connection with electrical tape for extra safety.
- Re‑mount the housing. Slip the housing back onto the ceiling or wall opening, then reinstall the screws you removed.
- Restore power and test. Turn the breaker back on, then switch the fan on. Listen for a steady hum and feel for airflow at the vent. If the fan stalls or makes grinding noises, double‑check the motor orientation and blade coupling.
That’s it - a fully functional fan with a fresh motor. Most DIYers finish within 45-60 minutes, even if it’s their first time.
Common Pitfalls and How to Avoid Them
- Skipping the voltage check: Some homes have 240V kitchen hoods. Installing a 120V motor can fry the wiring.
- Forgetting to secure the capacitor: A loose capacitor can cause arcing and fire hazards.
- Reversing motor direction: If the motor spins opposite the blade’s design, airflow is reversed, and the fan may be noisy.
- Over‑tightening screws: Stripping the housing screws can crack the ceiling tile, leading to costly repairs.
Checklist Before You Finish
- Power off at breaker verified?
- All wiring connections match the photo or labels?
- Motor shaft aligns with blade hub and rotates the right way?
- Capacitor securely clipped and insulated?
- Housing firmly re‑installed with all screws tightened?
- Fan runs quietly and provides strong airflow?
When to Call a Professional
If you encounter any of these situations, it’s wiser to let a licensed electrician finish the job:
- The fan is wired to a dedicated 240V circuit.
- You see burnt marks or melted insulation on any wires.
- The motor mount is corroded and won’t hold the new motor securely.
- You lack a voltage tester or feel uncomfortable working with electricity.
Frequently Asked Questions
How long does a replacement motor typically last?
A quality residential motor, when kept clean and operating within its voltage rating, usually lasts 7‑10 years. Regular cleaning of the fan blades and housing can extend its life.
Can I use a DC motor in a fan that originally had an AC motor?
Only if the fan’s control board is designed for DC power. Swapping to a different motor type often requires a new controller, so stick with the same AC specification unless you upgrade the whole unit.
Do I need to replace the fan blade when I change the motor?
Not necessarily. As long as the blade is in good condition and matches the motor’s shaft size, you can keep it. Replace only if it’s cracked, warped, or heavily fouled with grease.
What safety gear should I wear during the replacement?
A dust mask, safety glasses, and insulated gloves are advisable. The fan housing can hold debris, and the wiring may have sharp edges.
Is it worth repairing an old fan versus buying a new one?
If the housing and ductwork are still in good shape, repairing the motor usually costs under $50 in parts, compared to $150‑$300 for a new fan. However, newer models may be quieter and more energy‑efficient.
By following this guide, you can confidently replace extractor fan motor yourself, avoid expensive service calls, and keep your home’s air moving smoothly. Remember to keep the power off, double‑check each connection, and enjoy the fresh, quiet airflow once you’re done.