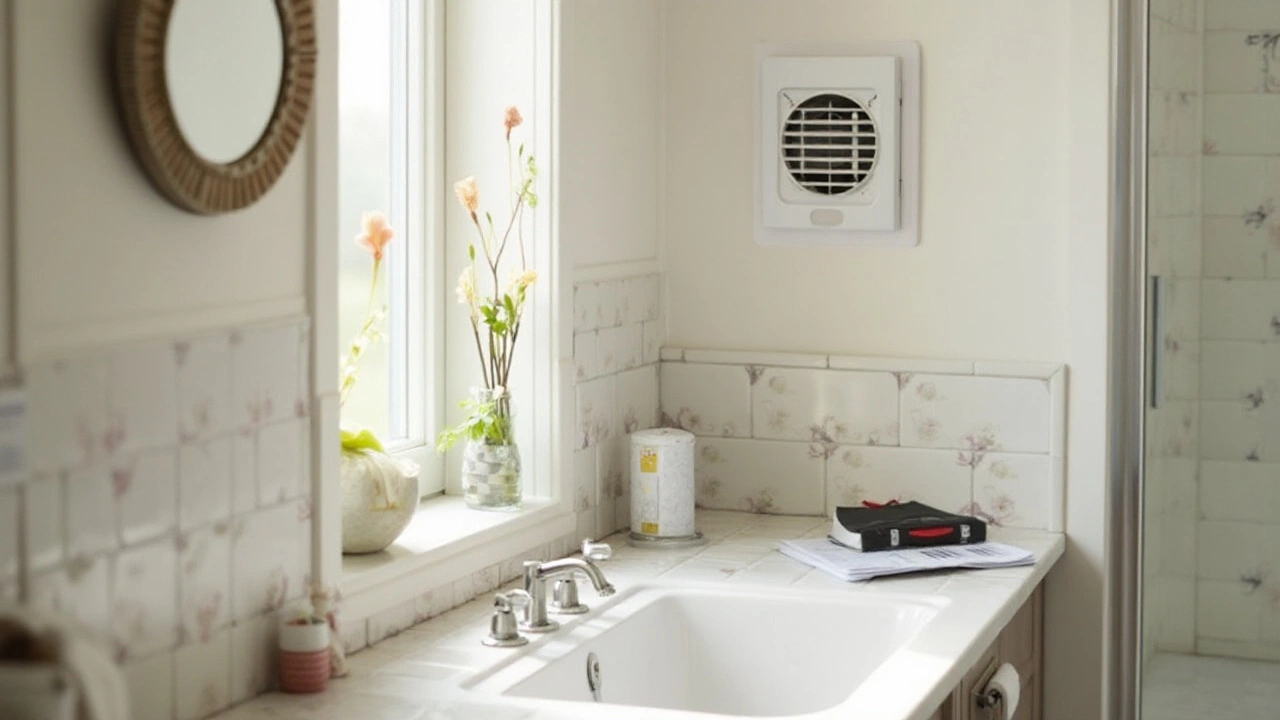
How to Install a Bathroom Fan: Step‑by‑Step Guide
Getting a bathroom fan fitted yourself can save you time and money. You don’t need an electrician if you follow the basics and stay safe. Below is a straight‑forward plan that takes you from picking the right fan to testing it for good airflow.
Choose the Right Fan and Gather Tools
First, pick a fan that matches your bathroom size. Look for the CFM rating (cubic feet per minute) on the box – a 50‑sq ft bathroom usually needs about 80 CFM. Make sure the model has a sealed motor, which reduces noise.
Grab these tools: drill with screwdriver bits, drywall saw, wire strippers, voltage tester, measuring tape, pencil, and a helper ladder if the vent runs through the roof. You’ll also need a short piece of conduit or flexible duct, and a vent cover for outdoors.
Plan the Location and Cut the Opening
Most fans go in the ceiling, centered over the shower or tub. Use a stud finder to avoid joists. Mark the fan’s outline on the ceiling, then cut a clean hole with the drywall saw. If your ceiling has insulation, gently push it aside – you’ll need a clear path for the duct.
Run the duct to the nearest exterior wall or roof vent. Keep the duct as straight as possible; each bend cuts airflow. Secure the duct with metal clamps so it won’t vibrate.
Wire the Fan Safely
Turn off power at the breaker before touching any wires. Use the voltage tester to confirm the circuit is dead. Most fans have three wires: live (black), neutral (white), and ground (green or bare). Connect them to the matching house wires using wire nuts, then tuck the connections into the ceiling cavity.
If you don’t have an existing wiring box, install a waterproof electrical box near the fan housing. This protects the connections from moisture.
Mount the Fan and Finish Up
Lift the fan into the ceiling hole and secure it with the supplied screws. Make sure it sits level – an uneven fan can rattle when it runs. Attach the duct to the fan’s outlet, seal the joint with foil tape (not duct tape), and snap the vent cover onto the outside wall.
Turn the breaker back on and power up the fan. You should hear a steady, low hum and feel air moving out the vent. If the fan doesn’t run, double‑check the wiring and make sure the switch is on.
Finally, clean the fan grilles every few months. Dust builds up and reduces airflow, which can make the fan seem quiet but actually work less efficiently.
Installing a bathroom fan isn’t rocket science – just follow these steps, stay safe, and you’ll enjoy a drier, mold‑free bathroom in no time.
How to Easily Replace Your Bathroom Extractor Fan
- Alden Wilder
- Jan 30 2025
- 0 Comments
Replacing a bathroom extractor fan may sound daunting, but it is a straightforward process with the right guidance. This article provides a detailed guide for homeowners looking to replace their bathroom extractor fans. It covers the necessary tools, step-by-step instructions, and tips for ensuring a successful installation. Discover how upgrading your bathroom extractor fan can enhance the efficiency of ventilation and the overall atmosphere in your bathroom.
View More-

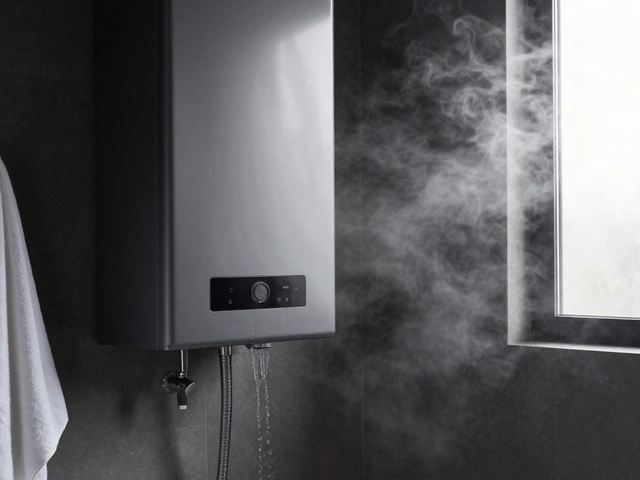
Why Is My Hot Water Running Cold? Common Causes and Quick Fixes
Mar 19, 2026 -
Can You Shower with a Broken Boiler? What You Need to Know
Mar 4, 2026 -
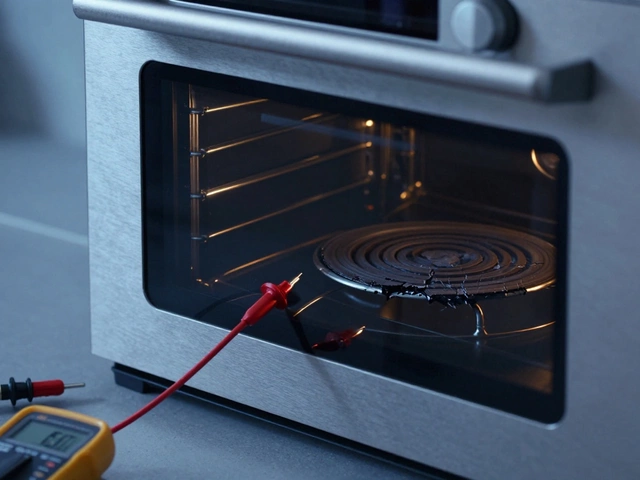
Why Is There No Heat Coming Out of My Oven? Simple Fixes You Can Try Today
Mar 9, 2026 -
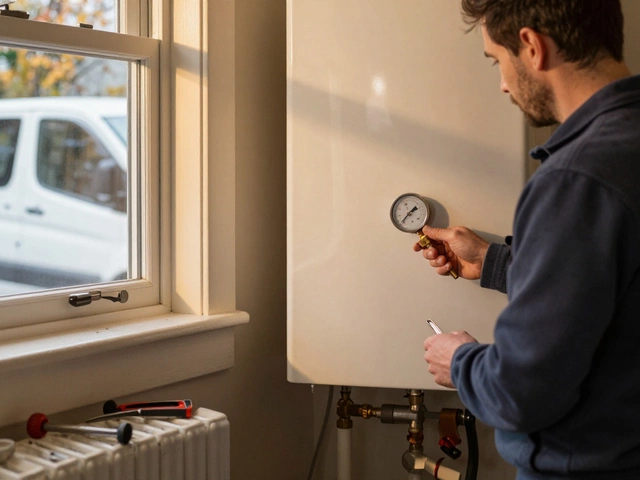
Can You Service a Boiler Yourself? Safety, Risks, and What You Can Actually Do
Mar 22, 2026 -

How Much Does Best Buy Geek Squad Charge for Laptop Repair in 2026?
Mar 12, 2026