Fan Replacement: Simple Steps, Costs & DIY Tips
Ever heard that annoying hum or saw a fan wobble and thought, "I need a new one?" You’re not alone. Replacing a fan—whether it’s an extractor in the kitchen, a bathroom vent, or a ceiling fan—doesn’t have to be a nightmare. In this guide we’ll tell you when a fan really needs swapping, how much you’ll likely spend, and what you can do yourself without breaking a sweat.
When Should You Replace a Fan?
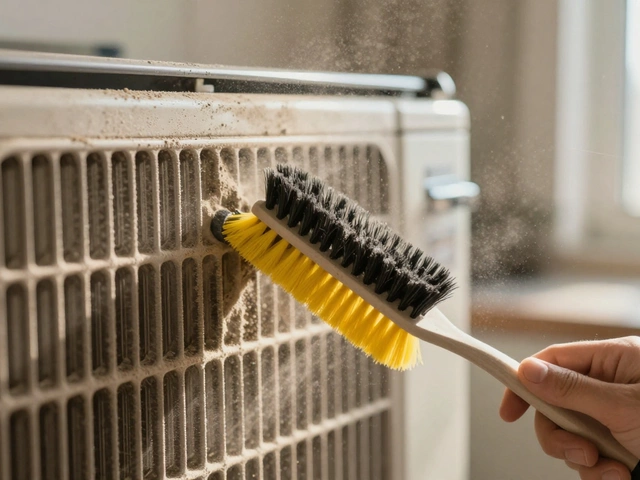
First, figure out if the fan is actually dead or just a little dirty. Turn it off, pull the cover, and look for dust, bent blades, or a loose wire. If the motor hums but the blades don’t spin, that’s a sign the motor may be burnt out. Other red flags include a rattling noise, a burning smell, or intermittent operation. When you spot any of these, it’s time to replace.
Cost is another factor. A basic extractor fan for a bathroom can run $30‑$70, while a heavy‑duty kitchen hood might cost $100‑$250. If you’re paying more than twice the fan’s price in repair bills, swapping it out usually makes sense.
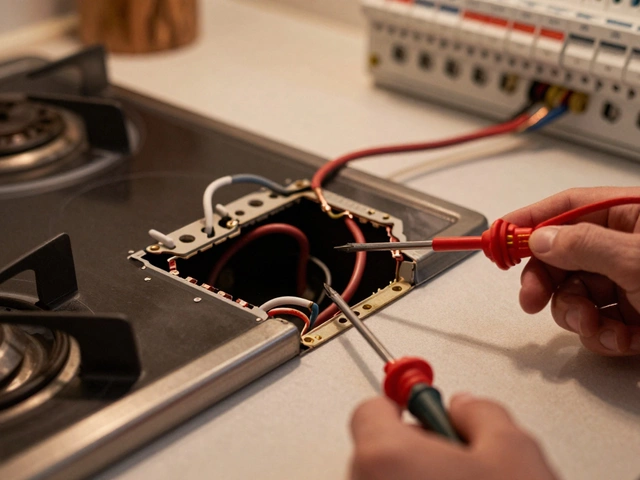
DIY Replacement – Tools & Safety
Most fans are designed to be swapped by a homeowner with a few tools: a screwdriver set, a drill (optional), wire nuts, and a flashlight. Before you start, turn off power at the circuit breaker—never rely on just pulling the plug. Use a voltage tester to double‑check the wires are dead.
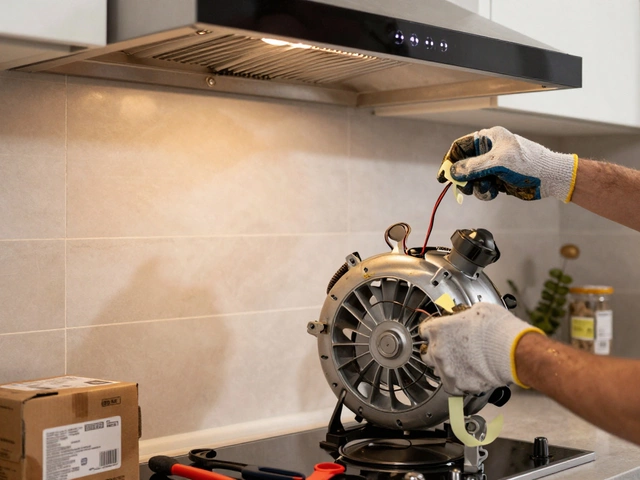
Next, remove the old unit. For a wall‑mounted extractor, unscrew the housing, disconnect the wiring, and pull it away. Ceiling fans usually have a mounting bracket; loosen the screws, support the motor, then detach the wires. Keep the old wiring tips handy; you’ll need them to attach the new fan.
Hook up the new fan the same way the old one was wired: black (live) to live, white (neutral) to neutral, and green or bare copper (ground) to ground. Twist the wire nuts securely and tuck the wires into the box. Screw the new fan into place, re‑attach any covers, and turn the power back on. Test the fan—if it runs smoothly and quietly, you’ve finished.
If anything feels shaky, or the fan still doesn’t work, stop and call an electrician. Working with electricity is easy to mess up, and a professional can save you from a costly mistake.
In summary, a fan replacement is usually straightforward. Spot the warning signs, weigh the cost, gather a few tools, shut off power, and follow the wiring steps. When you do it right, you’ll have fresh airflow in no time and avoid future breakdowns. Need a hand? Our team at Weymouth Appliance Repair Services can handle any fan swap—just give us a call.

Who Would Replace an Extractor Fan?
- Alden Wilder
- Feb 5 2025
- 0 Comments
Replacing an extractor fan might seem daunting, but who exactly should handle this task? This article delves into the ins and outs of extractor fan replacement, offering practical tips on when you might DIY and when to call in a pro. You'll learn about the importance of proper ventilation and some surprising facts about extractor fans. By the end, you'll know precisely how to proceed if your fan goes bust. Stay informed and keep your home fresh and airy.
View More-
Do You Need an Electrician to Replace an Electric Hob?
Mar 15, 2026 -
Do Appliances Need to Be Serviced? The Real Truth Behind Maintenance
Mar 16, 2026 -
Can You Service a Boiler Yourself? Safety, Risks, and What You Can Actually Do
Mar 22, 2026 -
How to Replace Kitchen Extractor Fan Motor: A Step-by-Step Guide
Mar 23, 2026 -

How Much Does Best Buy Geek Squad Charge for Laptop Repair in 2026?
Mar 12, 2026