Extractor Fan Installation – Simple Steps to Get Your Fan Working
If your bathroom or kitchen feels like a sauna, it’s probably time for a new extractor fan. Installing one isn’t rocket science, but you do need the right tools and a safe approach. Below you’ll find everything you need to know, from prepping the spot to testing the final result.
Tools and Safety First
Before you start, gather these basics: a screwdriver set, drill, wire strippers, voltage tester, stud finder, sealant (silicone works well), and a ladder if the fan sits high. Turn off the electricity at the breaker – no one wants a surprise shock. If you’re working with a hard‑wired fan, double‑check that the wires are dead with a tester.
Wear safety glasses and gloves. If the ceiling has plaster or the wall contains insulation, make a small test hole to see what you’re dealing with. This helps avoid nasty surprises like hidden pipes or ducts.
Step‑by‑Step Installation Process
1. Choose the right spot. An extractor works best near the source of steam or odor. For bathrooms, aim for the middle of the wall or ceiling, about 200mm from the edge. Make sure the location lines up with an existing vent or a spot where you can cut a new duct to the outside.
2. Mark and cut the opening. Hold the fan’s mounting frame against the wall or ceiling and trace its outline. Use a drywall saw or a keyhole cutter to create the hole. Keep the cut clean; a tidy opening makes sealing easier.
3. Fit the duct. Connect the fan’s duct to the opening in the back of the unit. Secure it with duct tape or a clamp. Run the duct to the outside wall or roof vent, keeping bends to a minimum – each bend reduces airflow.
4. Wire the fan. Most fans have three wires: live (brown), neutral (blue), and earth (green/yellow). Match them to the house wiring, using wire nuts and a bit of electrical tape. If the fan includes a built‑in timer or humidity sensor, follow the manufacturer’s wiring diagram precisely.
5. Secure the fan. Slide the fan into the opening and tighten the mounting screws. Check that it sits level and the grille sits flush with the wall or ceiling.
6. Seal and finish. Apply a thin bead of silicone around the fan’s perimeter to stop drafts and moisture leaks. Smooth it with a fingertip and let it cure per the product instructions.
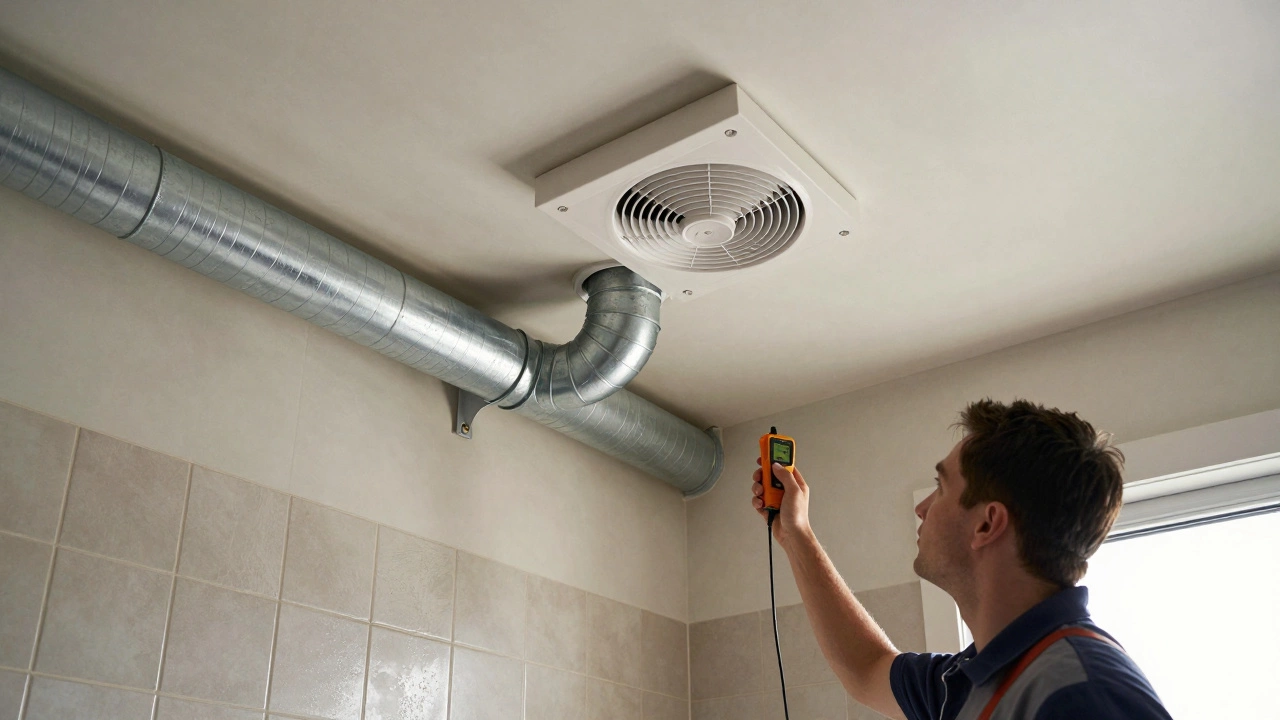
7. Test it out. Restore power at the breaker and turn the fan on. Feel for airflow at the grille and listen for any rattling. If the fan runs silently and pulls air efficiently, you’re done.
Even if each step seems simple, some homes have quirks – like old wiring or limited space for ducts. When the job feels beyond your comfort zone, calling a qualified electrician or a local extractor fan specialist saves time and keeps everything up to code.
With the right preparation, a new extractor fan can be installed in under an hour. You’ll notice the difference immediately: less humidity, fewer mold worries, and a fresher kitchen after cooking. Keep this guide handy, and you’ll have a reliable fan without the hassle of a pricey service call.
Who Installs Extractor Fans? Here’s Who You Need to Call
- Alden Wilder
- Jan 26 2026
- 0 Comments
Who installs extractor fans? Electricians and HVAC pros handle most installations. Learn when to repair vs. replace, what to ask a pro, and why DIY can lead to costly mold damage.
View More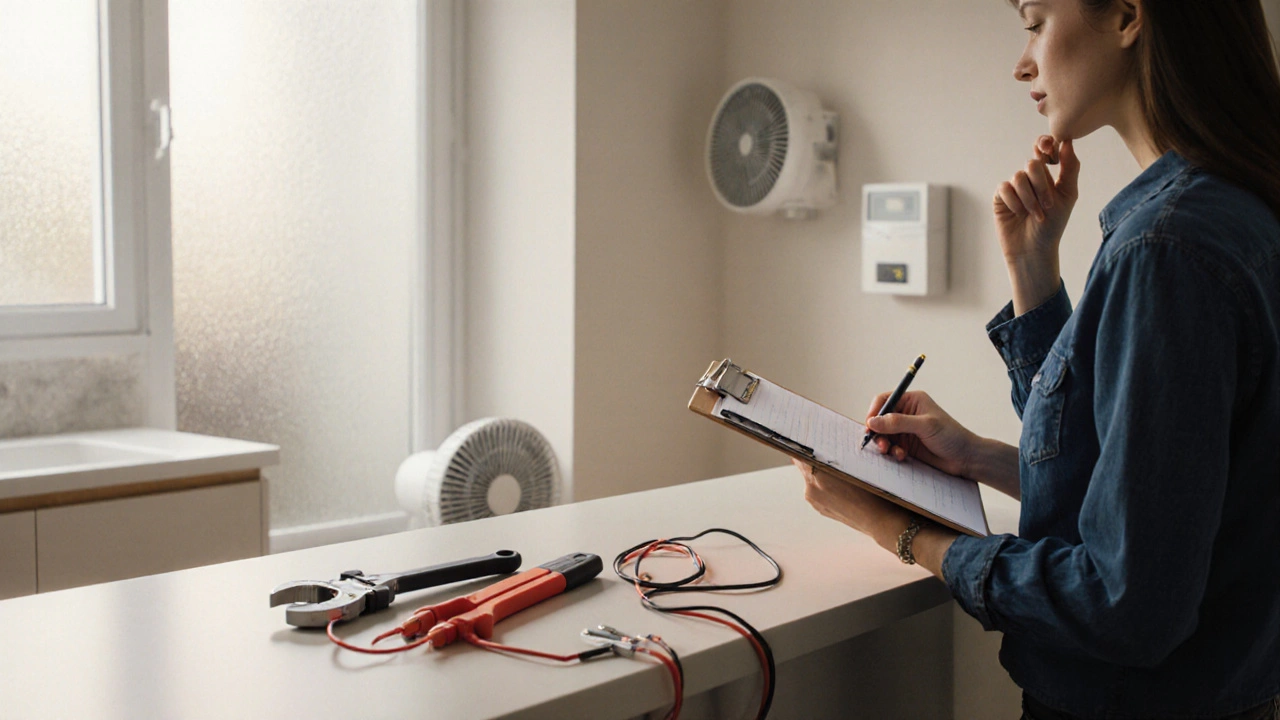
Do Plumbers Install Extractor Fans? What You Need to Know
- Alden Wilder
- Oct 7 2025
- 0 Comments
Find out if plumbers can install extractor fans, when to hire a plumber versus an electrician, costs, permits, and step‑by‑step DIY tips.
View More
Can I Install an Extractor Fan Myself?
- Alden Wilder
- Mar 14 2025
- 0 Comments
Thinking about installing an extractor fan yourself? This long-read article delves into the process, exploring whether it's a feasible DIY project. Learn about essential tools, the importance of correct installation to avoid mold and moisture, and safety tips to consider during the project. Discover common challenges and how to tackle them. By the end, you'll know if this task is within your grasp or if a professional should handle it.
View More-
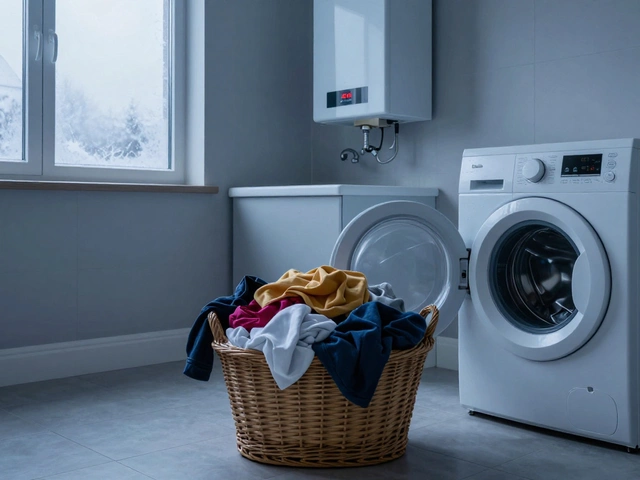
Can You Use a Washing Machine With a Broken Boiler?
Apr 4, 2026 -

Oven Element vs. Thermostat: How to Tell Which One is Broken
Apr 9, 2026 -
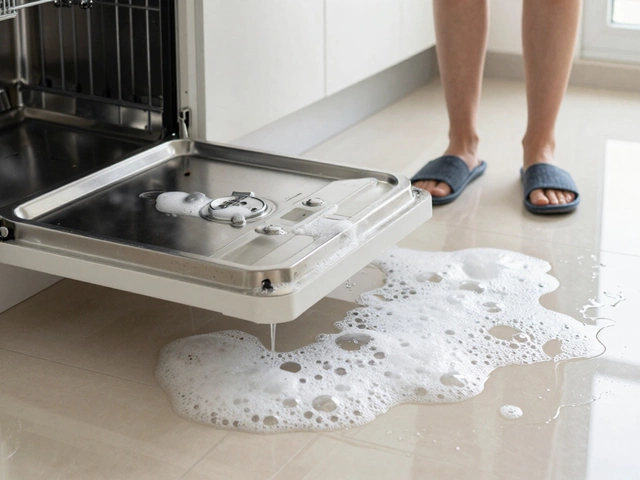
Is it Worth Repairing a 4-Year-Old Dishwasher? Cost vs. Replacement Guide
Apr 6, 2026 -

Replacing a Gas Hob: Do You Need a Certified Gas Engineer?
Apr 12, 2026 -

Is it Safe to Take Your Laptop to a Repair Shop? How to Protect Your Data
Apr 5, 2026