Extractor Fan Guide: Fix, Replace & Keep It Running Smoothly
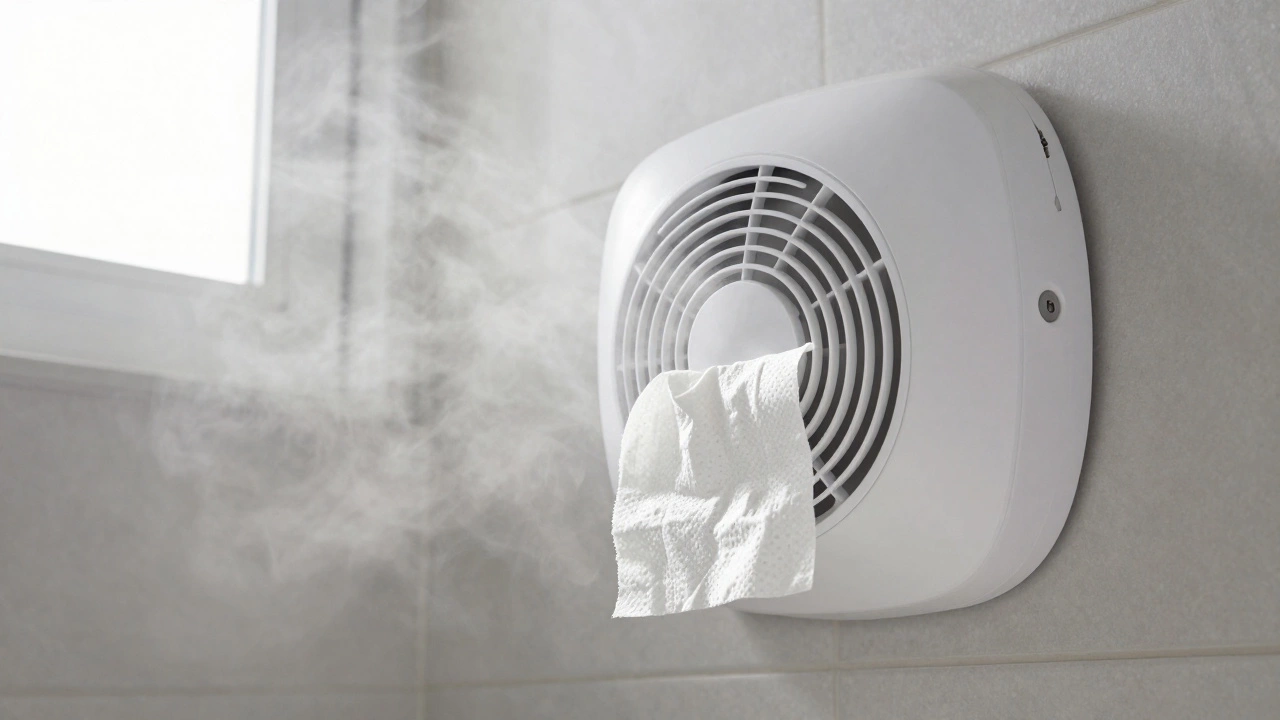
If your bathroom or kitchen fan has stopped pulling air, you’re not alone. An extractor fan can quit with a noisy motor, a clogged vent, or a simple wiring glitch. The good news? Most problems are easy to spot, and many can be solved without calling an electrician.
Common Reasons an Extractor Fan Stops Working
First, check the power. A tripped circuit breaker or a loose plug is often the culprit. If the fan still won’t spin, listen for a humming sound. A humming motor usually means the fan blades are stuck—maybe from grease, dust, or a broken blade.
Next, inspect the fan housing. Over time, lint and grime build up inside the vent, reducing airflow and overheating the motor. Pull the cover off (most have a few screws) and give everything a good clean with a brush or vacuum.
Another frequent issue is the switch. Switches wear out, especially in damp bathrooms. Flip the switch on and off a few times while the fan is on; if it flickers, the switch may need replacement.
Finally, look at the wiring. Loose connections can cause intermittent operation. Turn off the electricity at the fuse box, unscrew the fan’s terminal block, and make sure each wire is snug. If you see any burnt marks or frayed insulation, it’s safer to call a professional.
Step‑by‑Step DIY Replacement
When cleaning and basic fixes don’t work, you might need a new fan. Here’s a quick rundown:
1. Gather tools. You’ll need a screwdriver, drill (if you have to cut a new opening), a ladder, and safety gloves.
2. Turn off the power. Never work on a fan while it’s still live. Switch off the breaker that controls the circuit.
3. Remove the old unit. Unscrew the mounting brackets and pull the fan out. Disconnect the wires—note which color goes where or take a photo.
4. Prep the opening. If the new fan is bigger or smaller, you may need to adjust the cut‑out. Use a jigsaw or a keyhole saw, then sand the edges smooth.
5. Wire the new fan. Connect the live (brown or red), neutral (blue or black), and earth (green/yellow) wires to the matching terminals. Tighten the screws firmly.
6. Secure the fan. Place the new unit into the ceiling or wall opening and fasten it with the supplied brackets. Make sure it’s level so the airflow stays even.
7. Test it. Switch the breaker back on and turn the fan on. You should hear a steady hum and see air moving. If it’s quiet or doesn’t start, double‑check the wiring.
Most homeowners can finish this job in under an hour, especially with the step‑by‑step guide from our article “How Hard Is It to Replace an Extractor Fan? DIY Guide & Tips”. If you hit a snag—like a tripped safety switch or a motor that won’t spin—even after these steps, it’s time to call in a pro.
At Weymouth Appliance Repair Services, our technicians have years of experience fixing and replacing extractor fans across Weymouth and the UK. We can troubleshoot stubborn issues, handle electrical work safely, and ensure your fan runs efficiently for years.
Don’t let a silent fan leave moisture and mold to grow in your home. Follow the quick fixes above, give your fan a thorough clean, and replace it when needed. And if you ever feel unsure, give us a call—we’ll get your fan back to working order fast and affordably.
How to Check if an Extractor Fan Is Working Properly
- Alden Wilder
- Feb 2 2026
- 0 Comments
Learn how to test your extractor fan for proper airflow, check for blockages, and spot signs it needs repair or replacement. Avoid mold and moisture damage with these simple steps.
View More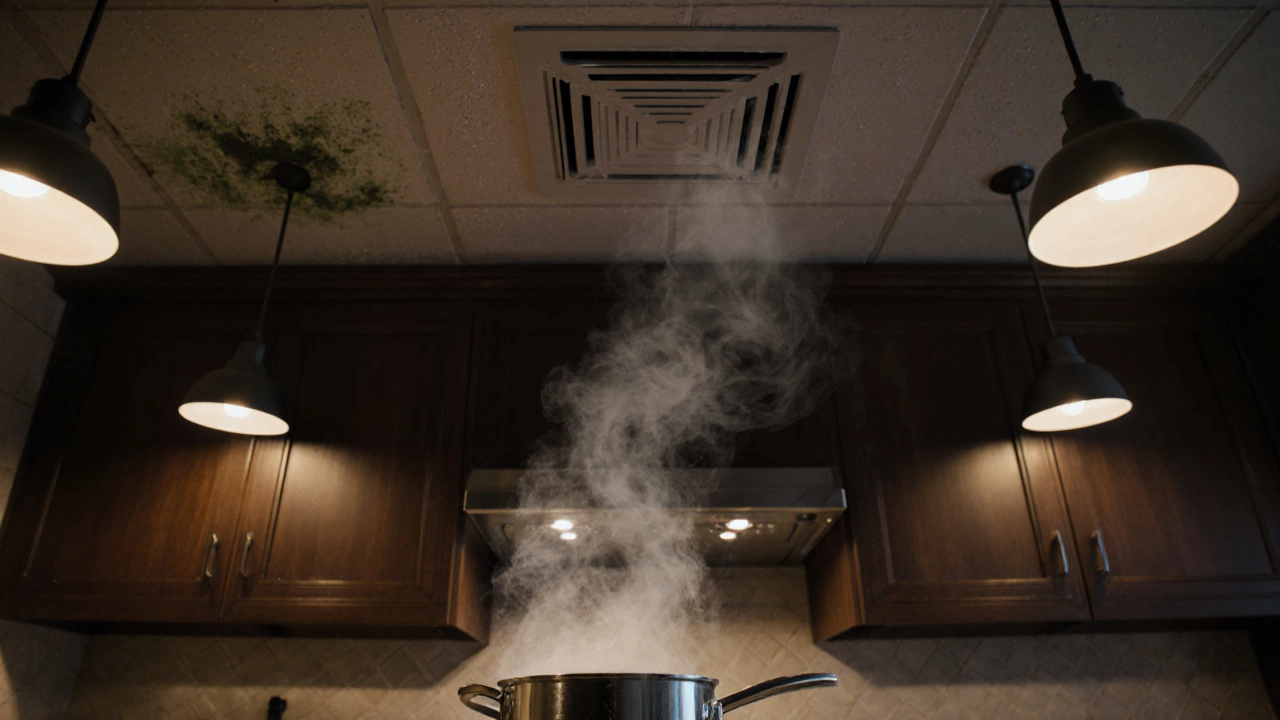
What Happens When You Skip an Extractor Fan? Risks and Fixes
- Alden Wilder
- Oct 25 2025
- 0 Comments
Skipping an extractor fan leads to mold, odors, higher energy bills, and possible code violations. Learn the risks, health impacts, and practical fixes for a healthier kitchen.
View More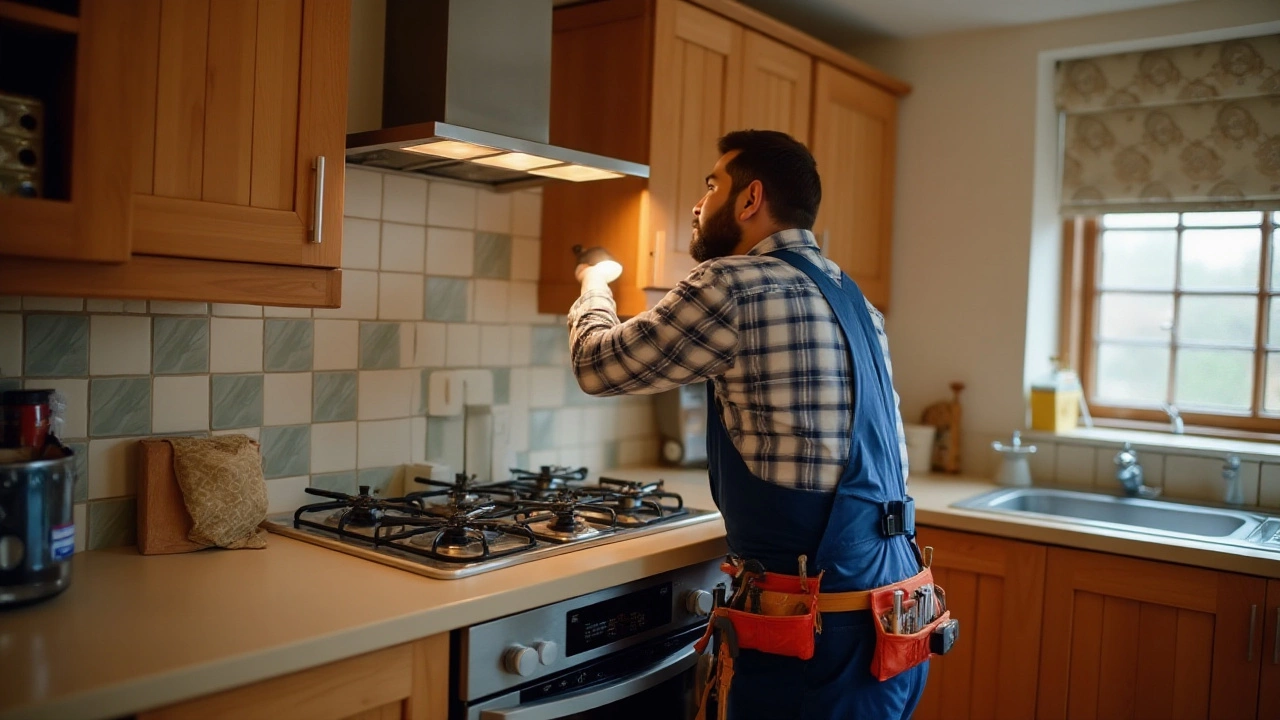
Can a Plumber Install an Extractor Fan? Essential Tips and Insights
- Alden Wilder
- Oct 23 2024
- 0 Comments
Plumbers are skilled professionals well-versed in handling various aspects of home improvements, including the installation of extractor fans. This article delves into the capabilities of plumbers in fitting these essential home devices, providing practical advice and insights. Whether it's for a kitchen or bathroom, understanding the role plumbers can play in enhancing ventilation systems is key. Homeowners will find useful tips on what to expect when hiring a plumber for this task and considerations to keep in mind. Explore this guide to ensure your installation is smooth and efficient.
View More-
Can You Use a Washing Machine With a Broken Boiler?
Apr 4, 2026 -

Is it Safe to Take Your Laptop to a Repair Shop? How to Protect Your Data
Apr 5, 2026 -
Is it Worth Repairing a 4-Year-Old Dishwasher? Cost vs. Replacement Guide
Apr 6, 2026 -

Oven Element vs. Thermostat: How to Tell Which One is Broken
Apr 9, 2026