Kitchen Extractor Fan Troubleshooter
Follow this guided diagnostic process to identify why your kitchen extractor fan isn't working properly. Answer each question honestly to receive a tailored recommendation.
Step 1: What is the main symptom?
Step 2: Have you cleaned the filters recently?
Grease buildup is the cause of ~60% of "broken" fans. If you haven't cleaned them in over a month, do so now before proceeding.
Step 3: Safety & Power Check
Ensure the circuit breaker is OFF before opening any panels. Use a non-contact voltage tester to confirm power is cut.
Step 4: Component Test
Symptom: Silent Fan
Check the wall switch or control panel buttons. Do they feel sticky or unresponsive?
Symptom: Humming, No Spin
This usually indicates a failed starting capacitor. Visually inspect the capacitor (small cylinder near motor). Is it bulging or leaking?
Symptom: Weak Suction
Go outside to the vent cap. Does the flap open fully when the fan is on high?
Symptom: Grinding/Rattling Noise
Turn off the fan. Can you see any loose parts or debris inside the housing? Do the blades spin freely by hand (when powered off)?
Symptom: Intermittent Operation
Does the fan work on some speed settings but not others?
Diagnosis Complete
Recommended Action:
There is nothing quite as frustrating as standing over a stove, watching steam billow up, only to realize your kitchen extractor fan is dead silent. Or worse, it’s humming loudly but doing absolutely nothing to clear the air. Before you call a technician or rip out the entire unit, you need to know if the problem is mechanical, electrical, or just simple dirt buildup. Testing a fan isn’t rocket science, but it does require a systematic approach to avoid replacing parts that are actually fine.
The Quick Health Check: Is It Power or Dirt?
Most people assume their fan is broken when it stops working. In reality, about 60% of "broken" fans are just clogged with grease. Grease acts like glue on the fan blades and the motor shaft, preventing rotation even if the motor has power. Start here before touching any tools.
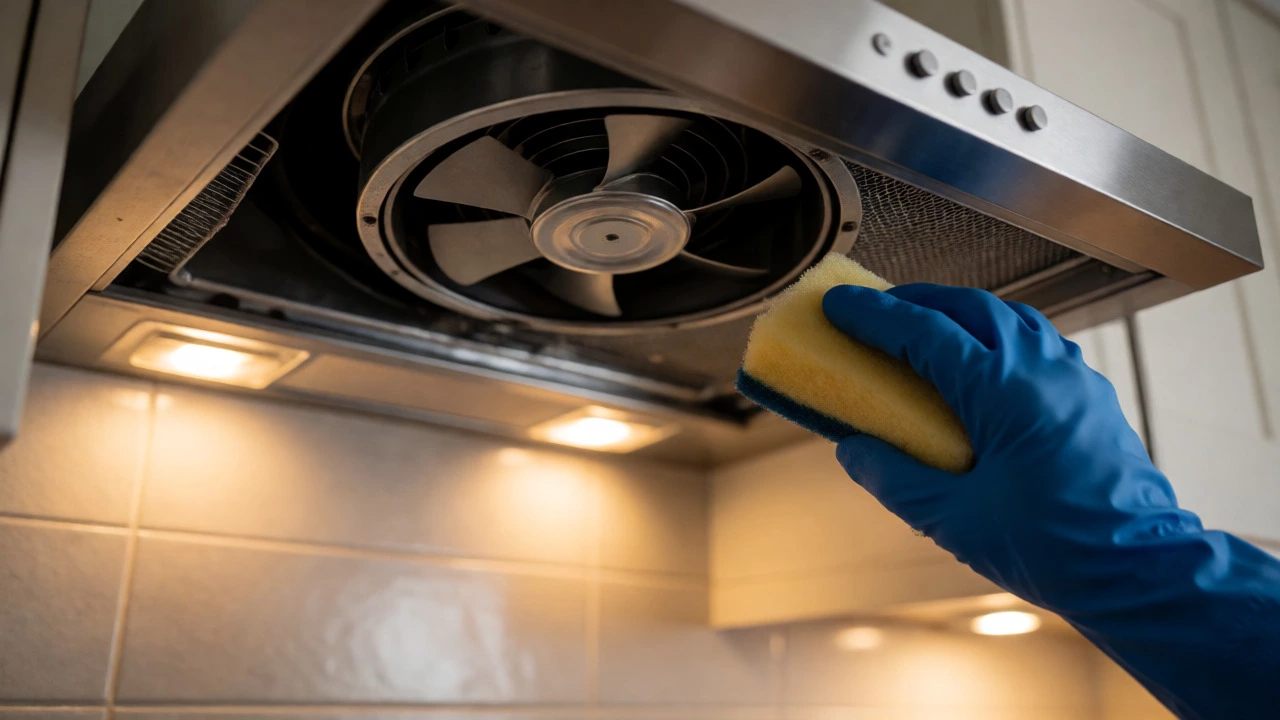
Turn off the fan at the switch. If you have a wall-mounted switch, flip it off; if it’s on the hood itself, press the stop button. Then, remove the filters. Most modern hoods use aluminum mesh filters that pop right out. Soak them in hot water with degreasing dish soap for twenty minutes. While they soak, look inside the hood. Can you see the fan wheel? If it’s coated in thick, yellowish sludge, that’s likely your culprit. Clean the visible areas with a non-abrasive scrubber and warm soapy water. Once dry, put the filters back and try turning the fan on again. If it spins freely now, you saved yourself a repair bill.
Safety First: The Electrical Reality
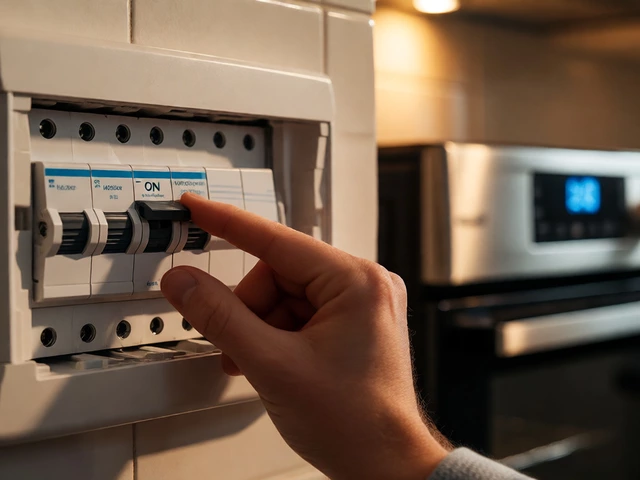
If cleaning didn’t work, you need to investigate the electronics. But electricity doesn’t care how experienced you are-it will shock you if you’re careless. Before opening any panels, go to your home’s circuit breaker box. Find the breaker labeled "Kitchen," "Range Hood," or similar. Flip it to the OFF position. Do not rely solely on the wall switch; switches can fail internally while still passing current.
To be absolutely sure the power is gone, use a non-contact voltage tester. Hold the tip near the wires inside the hood’s access panel. If the tester lights up or beeps, the breaker didn’t cut the power completely, or there’s a mislabeled circuit. Keep the breaker off until you are ready to test specific components.
Testing the Switches and Controls
Once you’ve confirmed the power is off and cleaned the unit, let’s look at the control interface. Many fans use push-button switches or touch-sensitive panels. Push buttons can get stuck due to grease infiltration or mechanical wear. Touch panels can suffer from moisture damage or sensor failure.
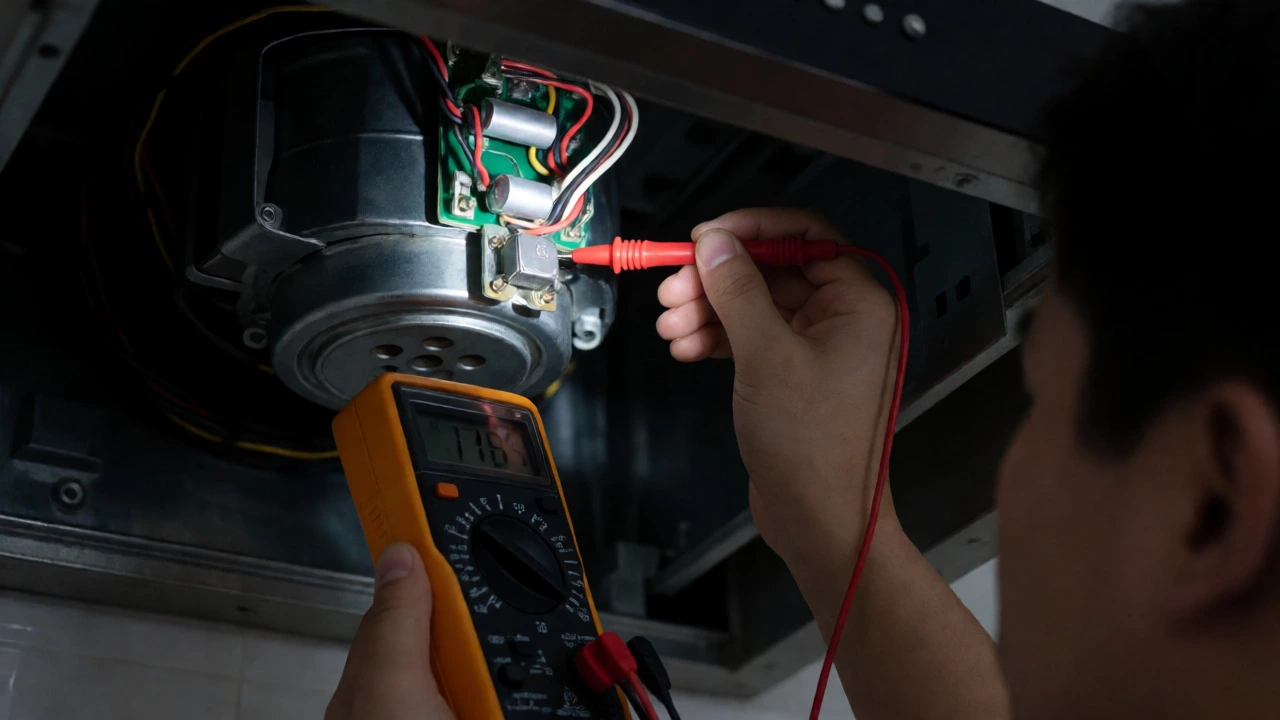
Multimeter is a handheld electronic measuring instrument that measures several electrical properties such as current, voltage, and resistance. Set your multimeter to the continuity setting (usually indicated by a diode symbol or sound wave icon). This mode checks if electricity can flow through a component uninterrupted. You’ll need to access the wiring behind the control panel. Disconnect the wire leading to the switch terminal. Place one probe on each terminal of the switch. Press the switch button. If the meter beeps or shows close to zero ohms, the switch is working. If it stays silent or shows infinite resistance (often displayed as "OL" or "1"), the switch is faulty and needs replacement.
| Component | Test Method | Signs of Failure |
|---|---|---|
| Wall/Hood Switch | Continuity test with multimeter | No beep when pressed; intermittent connection |
| Capacitor | Visual inspection & capacitance measurement | Bulging top, leaking fluid, low microfarad reading |
| Fan Motor | Resistance check & manual spin test | Open circuit (OL); seized shaft; burning smell |
| Thermal Fuse | Continuity test | Broken internal filament; no continuity |
Diagnosing the Capacitor: The Silent Killer
If the switch works but the fan won’t start-or starts slowly and hums-the capacitor is often the suspect. The capacitor is a passive two-terminal electrical component used to store energy electrostatically in an electric field gives the motor the initial jolt of power needed to start spinning. When capacitors fail, they don’t always burn out visibly.
Locate the capacitor. It usually looks like a small silver or black cylinder attached to the motor housing. First, perform a visual check. Look for bulging at the top, leaking oil, or burnt marks. If you see any of these, replace it immediately. If it looks fine visually, you need to test its capacitance. Discharge the capacitor first by shorting its terminals with an insulated screwdriver (you might hear a small spark-this is normal). Set your multimeter to capacitance mode (look for "F" or "µF"). Connect the probes to the terminals. Compare the reading to the value printed on the side of the capacitor (e.g., 5µF). If the reading is more than 10-15% lower than the rated value, the capacitor is weak and should be replaced. They are inexpensive and easy to swap, provided you match the microfarad rating exactly.
Checking the Motor and Thermal Fuse
If the switch and capacitor check out, we move to the heart of the system: the motor. With the power still off, disconnect the motor leads. Use your multimeter to check for continuity between the common terminal and the run/start terminals. You should get a low resistance reading (typically between 5 and 50 ohms, depending on the model). If you get "OL" (open loop), the internal winding is broken, and the motor is dead. If you get near zero ohms, you might have a short circuit.
Also, check the thermal fuse. This safety device cuts power if the motor overheats. It’s usually embedded in the motor windings or attached to the casing. Test it for continuity. If it’s blown, the motor might be salvageable, but you must identify why it overheated (blocked vents, bad bearings) before installing a new fuse, or it will blow again instantly.
Assessing Airflow and Ductwork
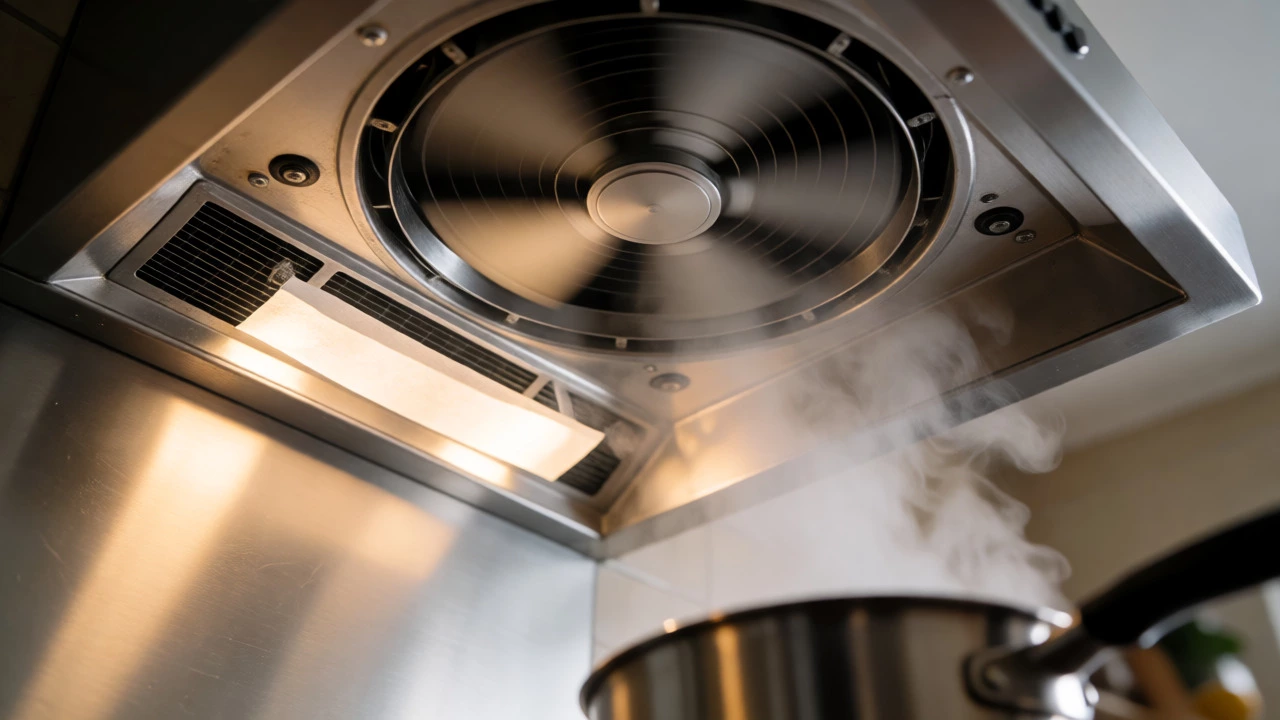
Sometimes the fan runs perfectly, but the kitchen still smells like burnt toast. This points to airflow issues rather than electrical ones. Turn the fan on high speed. Go to the exterior vent cap outside your house. Does the flap open fully? If the flap barely moves, you have a blockage in the ductwork. Common culprits include bird nests, accumulated lint, or crushed flexible ducting.
Inside the kitchen, hold a strip of tissue paper near the intake grille. It should be pulled firmly against the grille. If it flutters weakly, the suction is compromised. Check the damper inside the hood. This is a flap that opens when the fan is on to let air out and closes when off to keep cold air out. If the damper is stuck closed by grease, air can’t escape, causing backpressure and poor performance. Lubricate the hinge with a silicone-based lubricant if necessary.
When to Call a Professional
You’ve cleaned the filters, tested the switch, checked the capacitor, and verified the motor windings. If the fan still refuses to operate correctly, it might be time to bring in a pro. Specifically, if you suspect issues with the main control board (the computer chip that manages lights and speeds), or if the motor requires specialized rewinding, DIY repairs can become cost-prohibitive. Also, if your home is older and lacks a dedicated ground wire, electrical upgrades might be needed to safely install a new fan.
Why does my extractor fan make a loud humming noise but not spin?
This is almost always a failed starting capacitor. The capacitor provides the torque needed to start the motor's rotation. Without it, the motor tries to turn but gets stuck, resulting in a hum. Replace the capacitor with one of the same microfarad (µF) rating.
Can I clean my extractor fan filter in the dishwasher?
Yes, most aluminum mesh filters are dishwasher safe. Place them on the top rack to prevent warping from the heating element. However, charcoal filters (used in recirculating hoods) cannot be washed; they must be replaced every 3-6 months as they lose effectiveness.
How do I know if my thermal fuse is blown?
Use a multimeter set to continuity mode. With the power disconnected, place probes on both ends of the thermal fuse. If the meter beeps or shows low resistance, the fuse is good. If it shows no reaction or infinite resistance, the fuse is blown and needs replacement.
Is it dangerous to run a noisy extractor fan?
Generally, no, but excessive noise can indicate failing bearings or loose parts. Loose parts can vibrate against the motor housing, potentially causing friction and heat. If the noise is grinding or metallic, shut it down to prevent permanent motor damage.
What size capacitor do I need for my range hood?
Check the label on the old capacitor. It will state the microfarad (µF) rating (e.g., 4.5µF, 5µF, 7.5µF). Always replace with the exact same µF rating. Using a higher rating can overheat the motor; using a lower one may prevent it from starting.