When your Washing Machine is a household appliance that cleans clothes by tumbling them in water and detergent starts making strange noises, leaks, or just won’t spin, the first thought is often to call a pro. But many common issues can be tackled at home with a bit of patience and the right know‑how. This guide walks you through the whole process - from safety prep to diagnosing the culprit, fixing it, and testing the results - so you can decide if a DIY washing machine repair is within reach.
Is DIY Repair Worth It?
Before you grab a screwdriver, ask yourself three quick questions:
- Is the problem covered by your warranty? If it’s still under manufacturer coverage, opening the unit could void it.
- Do you have basic tools and a safe workspace? A sturdy pair of gloves, a set of screwdrivers, and a clear area on the floor are essential.
- Is the issue listed among the most common, easy‑fix problems? Things like a blocked Drain Hose carries waste water from the machine to the household drain or a worn Belt connects the motor to the drum, allowing it to turn usually don’t need a specialist.
If you answered yes to most of these, you’re a good candidate for a DIY fix. Otherwise, it might be smarter to schedule a service call.
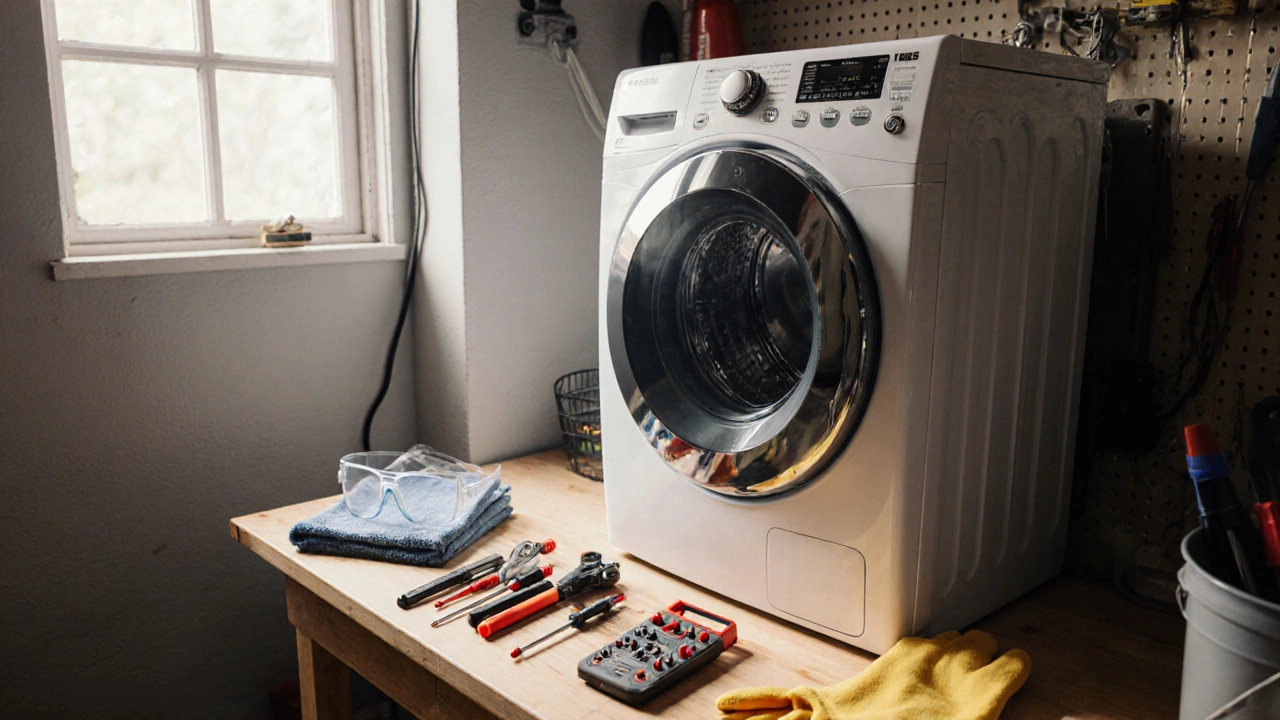
Essential Tools and Safety Gear
Having the right kit not only speeds up the job but also keeps you safe. Here’s a concise checklist you can keep in your garage:
- Adjustable wrench (10‑12 mm) - for tightening hose clamps.
- Phillips and flat‑head screwdrivers - most panels are secured with #2 Phillips screws.
- Nut driver set - for the motor and pump mounts.
- Multimeter - to check voltage on the Control Board the electronic module that manages cycles and sensor input.
- Gloves and goggles - protect against sharp metal, hot water, and detergent residue.
- Bucket and towels - catch any water that may spill when you remove the Pump circulates water out of the tub during draining.
Diagnosing the Most Common Problems
Most failures fall into three buckets: water‑related, mechanical, or electrical. Below is a quick decision tree you can follow before pulling anything apart.
- No water entering the machine
- Check that the Water Inlet Valve opens to let water in when the machine starts a cycle isn’t clogged with sediment.
- Verify the home’s water pressure - low pressure can prevent proper filling.
- Leaking during operation
- Inspect the Drain Hose carries waste water from the machine to the household drain for cracks or loose clamps.
- Examine the door seal (front‑load) or tub gasket (top‑load) for tears.
- Spin or agitate issues
- Listen for a humming motor without drum movement - likely a broken Belt connects the motor to the drum, allowing it to turn.
- If the drum spins but the machine won’t drain, the Pump circulates water out of the tub during draining may be jammed.
- Unexpected error codes
- Consult the user manual for the meaning of the code; many indicate sensor problems that can be reset by unplugging the unit for 5 minutes.
Step‑by‑Step Repairs
Below are detailed procedures for the top five DIY fixes. Feel free to skip any that don’t match your symptom.
1. Replacing a Worn Belt
Tools: screwdriver, nut driver, replacement belt (consult model spec for length).
- Unplug the appliance and pull the unit away from the wall to access the rear panel.
- Remove the rear access panel using a Phillips screwdriver.
- Locate the Belt connects the motor to the drum, allowing it to turn. If it looks frayed, glossy, or has cracks, it needs replacement.
- Shift the motor slightly to release tension, then slide the old belt off the pulleys.
- Thread the new belt around the motor pulley and the drum pulley, ensuring the ribbed side faces outward.
- Re‑align the motor, tighten any mounting bolts, replace the rear panel, and plug the machine back in.
- Run a quick test cycle - the drum should spin smoothly without slipping.
2. Cleaning a Clogged Drain Pump
Tools: bucket, pliers, lint‑free cloth.
- Disconnect power and position a bucket beneath the front lower access panel (often held by two screws).
- Open the panel to reveal the Pump circulates water out of the tub during draining housing.
- Remove the pump’s filter cover; pull out any lint, hair, or small clothing items trapped inside.
- Rotate the impeller by hand - it should turn freely. If it’s stiff, soak the pump in warm water for 10 minutes and try again.
- Re‑assemble the filter, secure the panel, and run a rinse cycle to verify proper drainage.
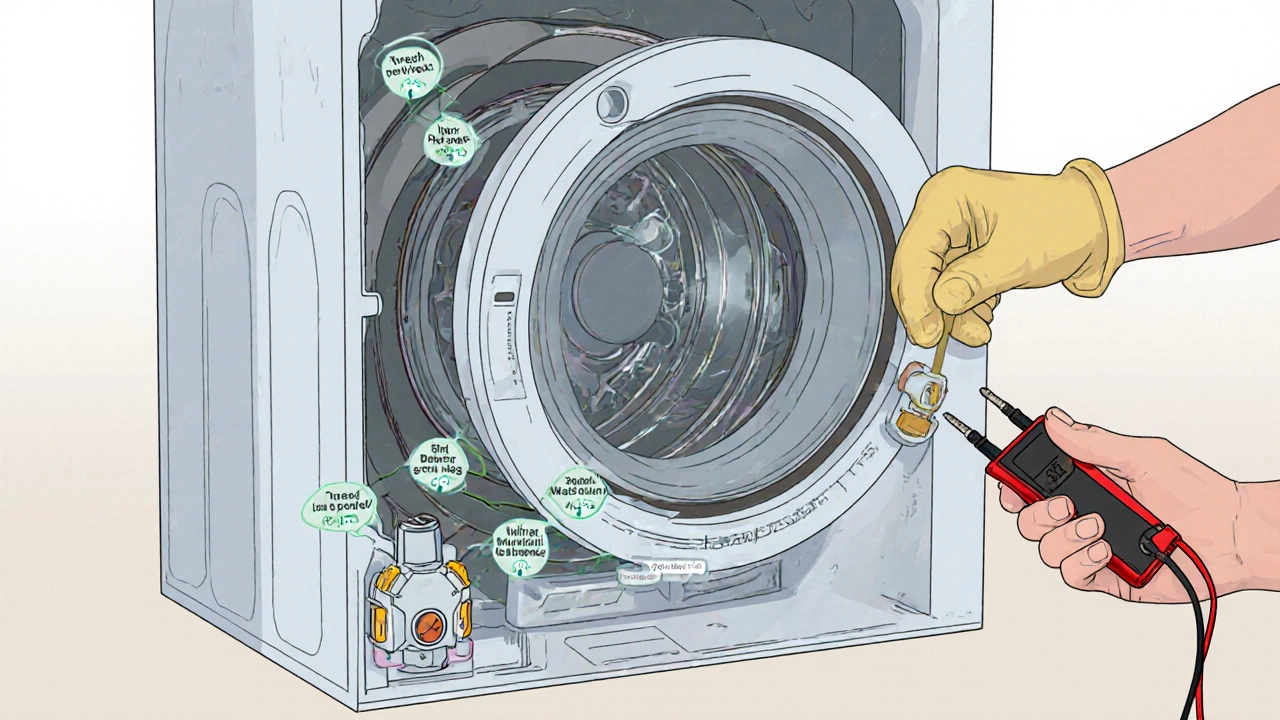
3. Fixing a Faulty Water Inlet Valve
Tools: multimeter, screwdriver.
- Turn off both the hot and cold water supplies and unplug the washer.
- Remove the back panel to expose the Water Inlet Valve opens to let water in when the machine starts a cycle. It’s typically a small, rectangular component with two hoses attached.
- Disconnect the hoses and unplug the electrical connector.
- Set your multimeter to the ohm (Ω) setting and measure resistance across the valve’s terminals. A healthy valve usually reads between 500‑1500 Ω.
- If the reading is out of range, replace the valve with a model that matches the machine’s make and capacity.
- Re‑connect hoses, restore water supply, plug the unit back in, and test with a fill cycle.
4. Replacing a Faulty Control Board
Tools: screwdriver, photo of wiring layout (often on the board itself).
- Unplug the washer and remove the top or back panel depending on model design.
- Locate the Control Board the electronic module that manages cycles and sensor input. It’s a green or black circuit board with a ribbon cable attached.
- Take a clear photo of the wiring configuration before disconnecting any connectors.
- Release the retaining clips, disconnect the ribbon cable, and unscrew the board.
- Install the new board, reconnect the ribbon cable, and secure it with the clips.
- Replace the panel, plug in the unit, and run a diagnostic cycle (most machines have a hidden “test” mode).
5. Sealing a Leaky Door Gasket
Tools: replacement gasket, screwdriver.
- Open the door and pull the existing gasket away from the rim. It’s usually held by a metal spring or clips.
- Inspect for tears or hard spots. If damaged, replace it with an OEM gasket matching the model number.
- Fit the new gasket evenly around the door opening, ensuring the lip sits flush.
- Re‑attach any clips and close the door to check for a snug seal.
Testing and Preventive Maintenance
After any repair, run an empty hot‑water cycle. Look for abnormal noises, check that the drum spins fully, and verify that water drains without pooling. To keep future issues at bay, adopt these habits:
- Clean the Drain Hose carries waste water from the machine to the household drain and pump filter monthly.
- Leave the door ajar after each use to let the drum dry and prevent mold.
- Use the correct amount of detergent - excess suds can overload the pump.
- Inspect the Belt connects the motor to the drum, allowing it to turn for wear every six months.

When to Call a Professional
Even the best DIYers know when to step back. If you encounter any of the following, it’s smarter to call an expert:
- Electrical components like the motor or control board are still under warranty.
- The machine makes a burning smell or sparks during operation.
- Multiple components fail simultaneously - could indicate a deeper systemic issue.
- You lack the tools to safely test high‑voltage sections (above 120 V).
Professional services typically charge between $80‑$150 for diagnosis plus parts, but a correctly performed DIY repair can save $100‑$300.
Quick Reference Checklist
DIY Repair Checklist for Common Washing Machine Issues Problem Likely Part Tools Needed Time Estimate No water entering Water Inlet Valve Multimeter, screwdrivers 30 min Leaking during cycle Drain Hose or Door Gasket Wrench, screwdriver 20 min Drum won’t spin Belt or Motor Nut driver, wrench 45 min Not draining Pump Bucket, pliers 30 min Error code 5E (motor issue) Control Board or Motor Multimeter, screwdriver 60 min Frequently Asked Questions
Can I repair a washing machine if it’s still under warranty?
Most manufacturers require you to use an authorized service center to keep the warranty valid. Opening the unit yourself may void coverage, so check the warranty booklet first.
What safety precautions should I take before starting?
Always unplug the machine, shut off the water supplies, and wear gloves and eye protection. Work on a dry floor and keep a bucket ready for any residual water.
How do I know if the belt is the problem?
If the motor hums but the drum stays still, or if you hear a squealing noise, the belt is likely worn or broken. Removing the rear panel lets you inspect it visually.
My washer leaks from the bottom - could it be the pump?
A bottom leak often points to a cracked pump housing or a loose drain hose connection. Check the pump seal and tighten any hose clamps.
Is it worth replacing the control board yourself?
If you’re comfortable taking photos of wiring layouts and handling delicate connectors, a board swap can save $150‑$250. Otherwise, a technician can quickly diagnose electrical faults.