Oven Heating Element Replacement Safety Checklist
Follow this interactive checklist to safely replace your oven's heating element. Each step must be completed and verified before proceeding.
Picture this: you’re in the middle of preparing a roast for Sunday dinner, and your electric oven is a kitchen appliance that uses electricity to generate heat for cooking food just won’t stay hot. The heating element looks like it’s giving up the ghost. You check online, find a replacement part for $40, and think, "I can fix this." It’s tempting. We all want to save money and feel capable. But before you grab your screwdriver, you need to ask the real question: Is replacing an electric oven-or even just its parts-something you should do yourself?
The short answer is: maybe. But the long answer depends entirely on what exactly needs replacing. Are we talking about swapping out a broken glass door? Or are we pulling the entire unit out of the wall and connecting high-voltage wires? These are two very different beasts with vastly different risk levels.
Quick Summary / Key Takeaways
- Minor repairs are DIY-friendly: Replacing heating elements, thermostats, or door seals is usually safe if you cut the power first.
- Full oven replacement requires caution: Moving a heavy unit and handling 240V wiring carries risks of shock, fire, or injury.
- Know your limits: If you’ve never worked with household wiring, call a pro. Mistakes here aren’t cheap; they’re dangerous.
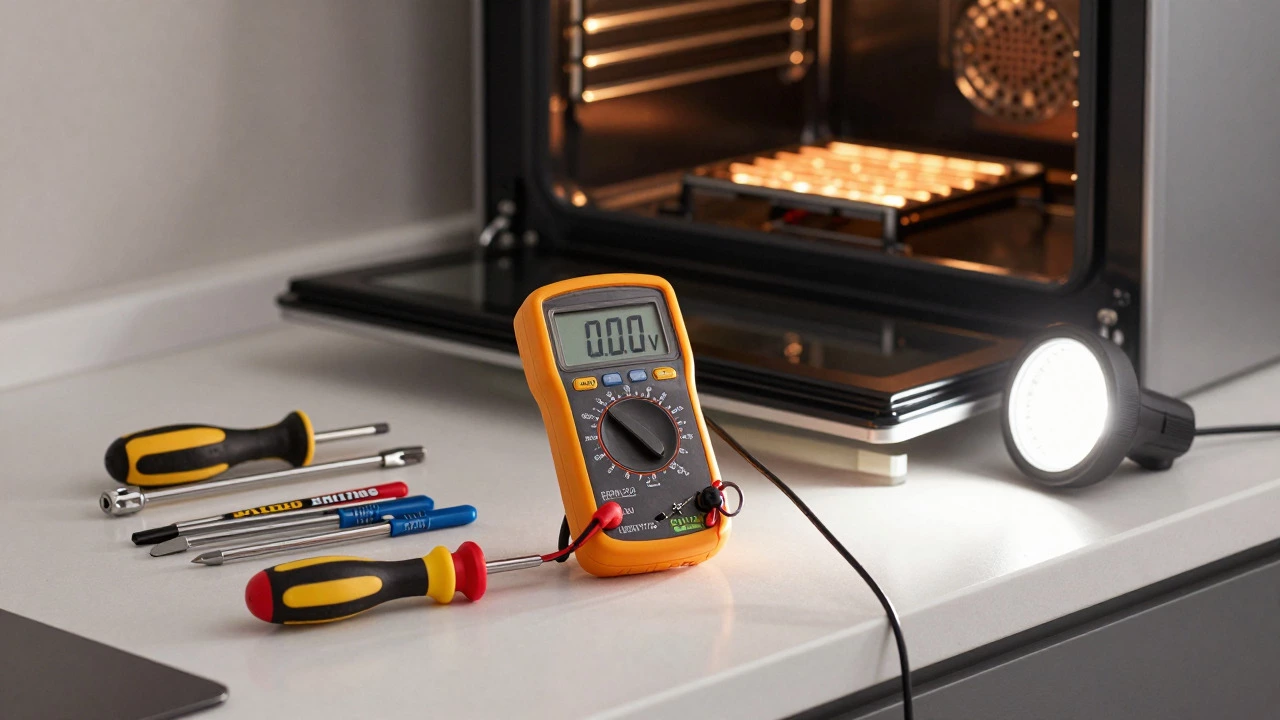
- Safety first: Always verify power is off with a multimeter before touching any internal components.
- Check local codes: In many places, including British Columbia, electrical work by unlicensed individuals can void insurance.
Understanding the Scope: Part vs. Whole Unit
Before you decide whether to tackle this job alone, you need to define the scope. "Replacing my electric oven" can mean two things. First, you might be replacing a component inside the existing oven, like a heating element is the coil inside an oven that converts electrical energy into heat. Second, you might be removing the old oven entirely and installing a brand-new one.
If it’s the former, you’re looking at a manageable weekend project for most homeowners. If it’s the latter, you’re dealing with heavy lifting, potential gas line issues (if converting from gas), and complex electrical connections. Let’s break down both scenarios so you can see where you fit.
Scenario 1: DIY Component Replacement
Let’s say your oven isn’t heating evenly. This often points to a faulty bake element or broil element. These are relatively easy to swap. Here’s why this is generally considered safe for DIYers:
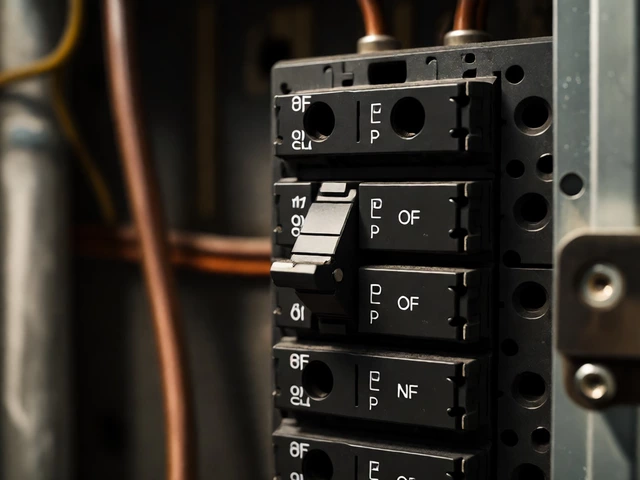
- Power isolation is straightforward: You flip the breaker in your main panel. Done. No live wires.
- No special tools needed: A Phillips head screwdriver and maybe a nut driver are usually enough.
- Clear instructions: Manufacturers provide diagrams showing exactly how elements connect.
However, "easy" doesn’t mean "risk-free." The biggest danger here is assuming the power is off because you flipped the switch. Human error happens. That’s why every DIYer should own a simple non-contact voltage tester or a multimeter. Touch the terminals. If there’s no beep or reading, you’re good to go. If there is, stop. Go back to the breaker box. Check again.
Another common DIY task is replacing the oven door seal. Over time, the rubber gasket gets brittle and lets heat escape. Your oven works harder, bills go up, and food cooks unevenly. Swapping this is as simple as prying out the old strip and pressing in the new one. No electricity involved at all.
Scenario 2: Full Oven Replacement
Now, let’s talk about replacing the whole unit. This is where things get tricky. An electric oven typically weighs between 50 to 80 pounds. It’s bulky, awkward, and unforgiving if you drop it on your foot. But the physical challenge is only half the battle. The other half is electrical.
Most modern electric ovens run on 240 volts. This is double the standard 120 volts used for outlets in your living room. Why? Because cooking appliances draw a lot of power. Handling 240V wiring requires respect. One wrong connection can cause arcing, which leads to fires. Another mistake could leave the metal casing of your oven energized, turning it into a lethal shock hazard.
In Vancouver, and across British Columbia, the BC Safety Authority is the provincial body responsible for regulating workplace health and safety, including electrical standards oversees electrical compliance. While minor repairs might slip under the radar, full appliance installations often require permits or inspection, especially if you’re upgrading the circuit. Doing it without proper knowledge isn’t just risky; it might void your home insurance policy if an electrical fire occurs.
The Electrical Connection: The Core Challenge
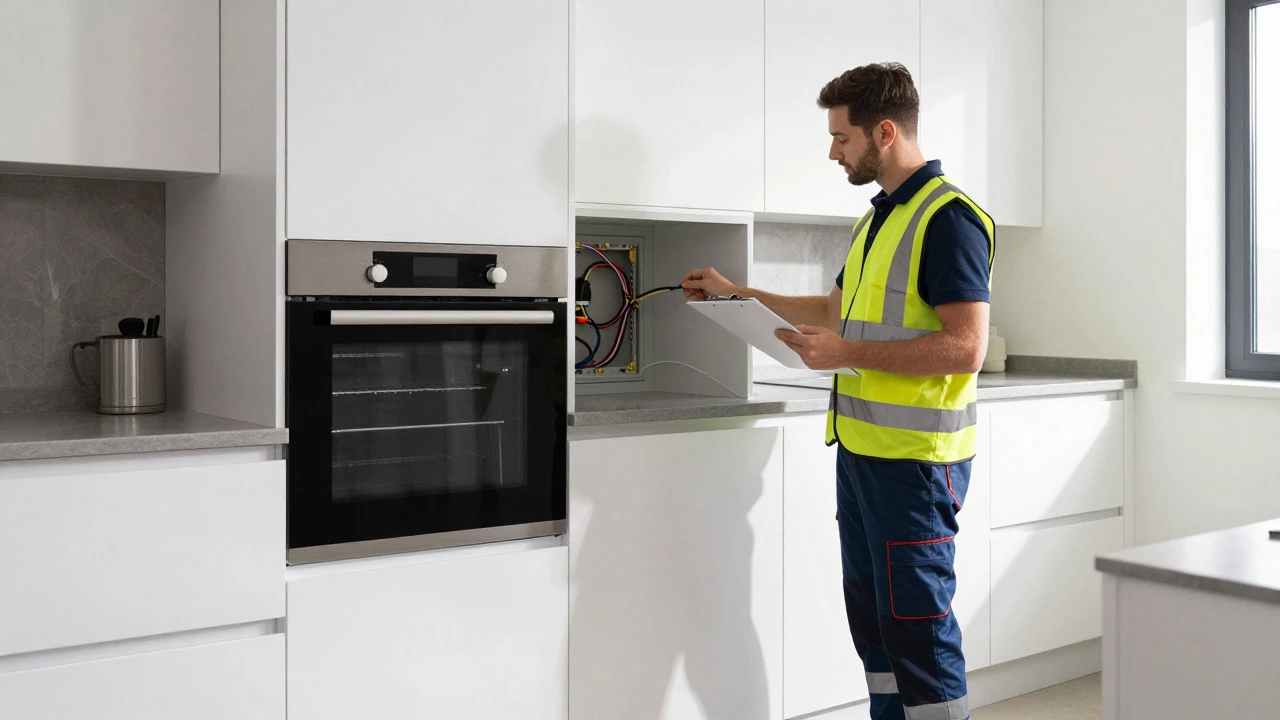
Whether you’re replacing a part or the whole oven, understanding the electrical connection is crucial. Electric ovens usually connect via a hardwired junction box behind the unit or through a plug-in cord. Hardwired connections are more common in built-in models.
| Factor | DIY Approach | Professional Installer |
|---|---|---|
| Cost | $0 labor cost | $100 - $300+ depending on complexity |
| Safety Risk | High if inexperienced | Low (trained and insured) |
| Time Required | 2-4 hours (learning curve included) | 1-2 hours |
| Warranty Impact | May void manufacturer warranty | Usually preserves warranty |
| Code Compliance | Your responsibility | Handled by licensed electrician |
If you’re going the DIY route for a full replacement, you must ensure the new oven matches the electrical specifications of your existing circuit. Check the nameplate on the back of the new oven. It will list the amperage and voltage requirements. Compare this to your breaker panel. If your old oven was on a 30-amp breaker and the new one requires 40 amps, you can’t just plug it in. You need to upgrade the wiring and the breaker. This is not a DIY job unless you have significant electrical experience.
Tools You’ll Need for a Safe DIY Job
If you’ve decided you’re up for the challenge, gather the right tools. Don’t improvise. Using the wrong tool can strip screws or damage components.
- Multimeter: Essential for verifying zero voltage.
- Screwdrivers: Both flathead and Phillips heads in various sizes.
- Nut Driver or Socket Set: For securing terminal blocks.
- Work Light: Ovens are dark inside. Good lighting prevents mistakes.
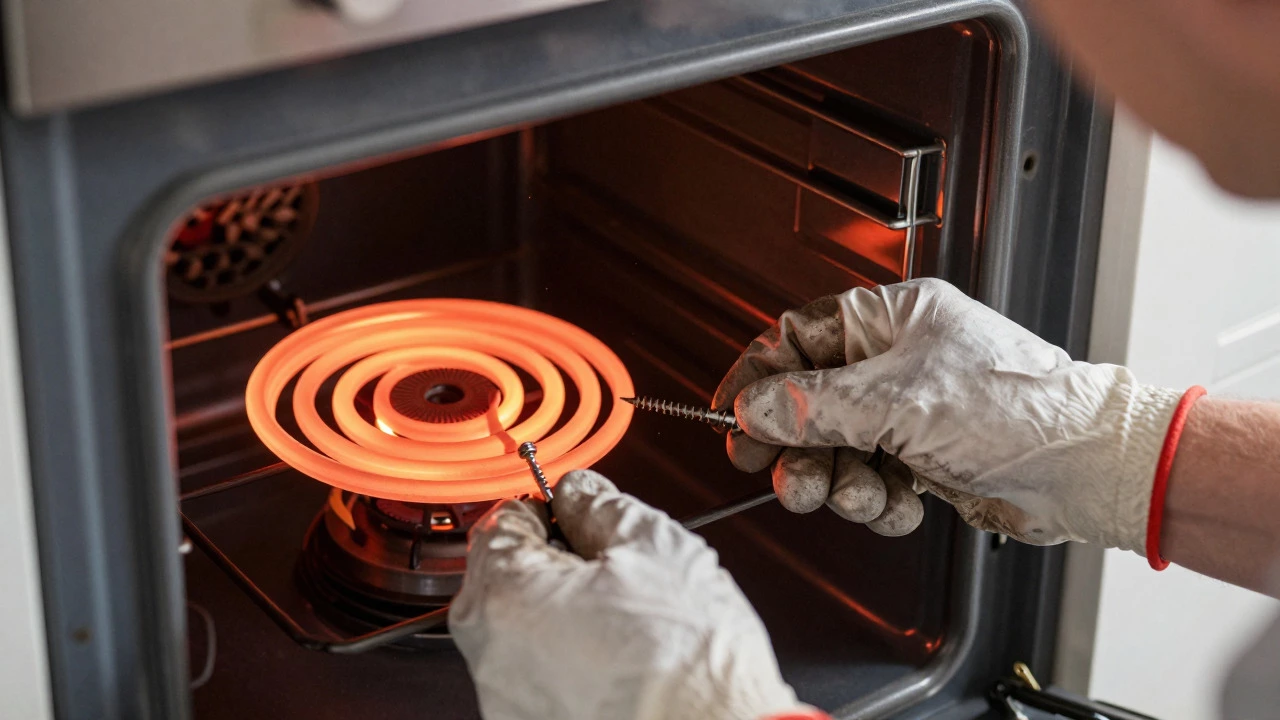
- Gloves: To protect your hands from sharp edges and burns.
- Stud Finder: If you’re mounting a wall oven, knowing where the studs are critical.
Step-by-Step: Replacing a Heating Element (Example)
Let’s walk through a specific example: replacing a baked element. This gives you a concrete sense of the process.
- Turn off the power: Go to your main electrical panel and flip the breaker labeled "Oven" or "Kitchen Appliances" to OFF.
- Verify power is off: Use your multimeter on the terminals of the heating element. It should read 0V.
- Remove the old element: Most elements are held in place by two screws at the back of the oven cavity. Unscrew them. Pull the element forward slightly to access the wires.
- Disconnect wires: Note the color coding. Typically, black goes to one terminal, red to the other. Take a photo with your phone for reference. Disconnect the wires.
- Install the new element: Connect the wires to the new element, matching colors. Push the element back into place and secure it with the screws.
- Restore power: Flip the breaker back ON.
- Test: Set the oven to bake at 350°F. Watch the element. It should glow red within a few minutes. If it does, you’ve succeeded.
When to Call a Professional
There’s no shame in calling a pro. In fact, it’s often the smarter move. Consider hiring an appliance repair technician is a skilled worker trained to diagnose and fix household appliances if:
- You’re uncomfortable working with electricity. The oven is hardwired and you don’t understand the wiring diagram.
- The circuit breaker trips repeatedly after installation.
- You’re installing a new oven that requires a different voltage or amperage.
- The oven is built-in and requires custom carpentry or drywall work.
In Vancouver, labor rates for electricians range from $75 to $150 per hour. While this adds to the cost, it buys you peace of mind and ensures the job meets local safety codes. Think of it as insurance against disaster.
Common Pitfalls to Avoid
Even experienced DIYers make mistakes. Here are the most common ones to watch out for:
- Forgetting to turn off the power: Sounds obvious, but people rush. Always double-check.
- Mixing up wire colors: Red and black look similar in dim light. Use your photo reference.
- Over-tightening screws: This can crack ceramic insulators or strip threads. Tighten until snug, not forced.
- Ignoring the manual: Every oven model is slightly different. Read the installation guide before you start.
- Skipping the test: Never assume it works. Test thoroughly before using the oven for actual cooking.
Final Thoughts on DIY Oven Replacement
So, can you replace your electric oven yourself? Yes, if it’s a minor part replacement and you follow safety protocols strictly. If it’s a full unit swap involving 240V wiring, weigh your skills honestly. If you’re unsure, the extra cost of a professional is worth avoiding hospital visits or house fires. Your kitchen is the heart of your home. Keep it safe, functional, and warm.
Is it safe to replace an oven heating element myself?
Yes, it is generally safe if you completely disconnect the power at the breaker panel and verify with a multimeter that no voltage is present. Heating elements are accessible and easy to swap, making them one of the most common DIY oven repairs.
Do I need a permit to replace my electric oven in Vancouver?
For simple like-for-like replacements where no electrical upgrades are needed, a permit is often not required. However, if you are changing the circuit breaker size, upgrading wiring, or installing a new hardwired unit, you may need a permit from the City of Vancouver and an inspection by the BC Safety Authority. Always check local regulations.
How much does it cost to hire someone to install an electric oven?
In the Vancouver area, professional installation typically costs between $100 and $300. This includes disconnecting the old unit, disposing of it, and safely wiring the new one. Prices vary based on complexity, such as if new wiring or cabinetry adjustments are needed.
What tools do I need to replace an oven part?
You will need a basic screwdriver set (Phillips and flathead), a nut driver or socket set for terminal blocks, a multimeter to check for voltage, and a work light for visibility. Gloves are recommended to protect your hands from sharp metal edges.
Can I replace a gas oven with an electric one myself?
This is highly discouraged for DIYers. Switching from gas to electric involves capping gas lines (which requires a licensed gas fitter) and installing a new 240V electrical circuit. This combination of gas and high-voltage electrical work is best left to professionals to ensure safety and code compliance.
Why does my oven breaker keep tripping?
A tripping breaker usually indicates a short circuit, an overloaded circuit, or a failing component like a heating element drawing too much current. If this happens during or after a DIY repair, immediately turn off the power and inspect your connections. If the problem persists, call an electrician.
How long does it take to replace an oven heating element?
For an experienced DIYer, replacing a heating element takes about 15 to 30 minutes. Beginners might take up to an hour due to careful verification of power-off status and locating screws. The actual swap is quick; the preparation is key.
Will DIY installation void my oven warranty?
Many manufacturers require professional installation to validate the warranty, especially for full units. For part replacements, warranties usually remain intact if the correct OEM part is used and installed correctly. Check your specific manufacturer’s terms before starting.