Bathroom Fan Installation Made Simple
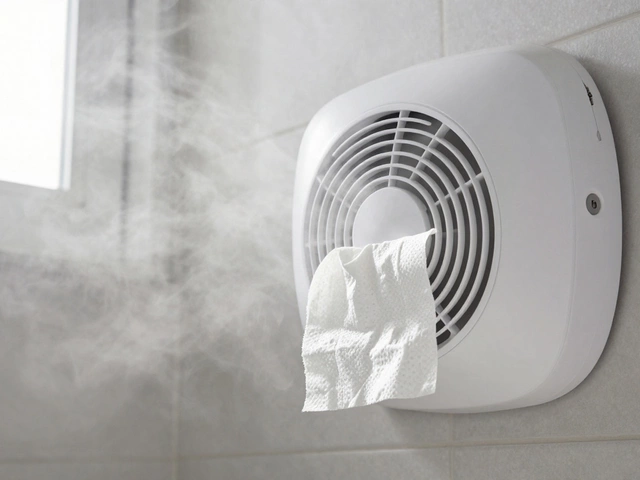
Got a steamy bathroom and tired of the fog? A properly installed fan sweeps away moisture, stops mold, and keeps the air fresh. You don’t need a pro for most jobs – just a few tools, some basic wiring knowledge, and a bit of patience.
Tools and Prep
Before you start, gather these items: a screwdriver set, drill with appropriate bits, voltage tester, wire nuts, flexible duct, and a ceiling or wall fan kit that matches your space. Turn off the electricity at the breaker – never work on a live circuit. If you’re replacing an old fan, remove it first and note how the wires were connected; a photo helps.
Measure the ceiling opening or wall cut‑out required by the new fan. Most bathroom fans need a 4‑inch round hole, but check the manufacturer’s specs. Mark the spot, drill a pilot hole, then cut the opening with a drywall saw. Keep the area clean – loose dust can make sealing harder later.
Step‑by‑Step Installation
1. Mount the housing. Feed the duct through the hole and pull it toward the outside vent. Secure the fan housing to the joist or stud with the supplied brackets. Make sure it sits flat; a wobbling fan will make noise and wear out faster.
2. Connect the wiring. Strip about ½ inch of insulation off the black (hot) and white (neutral) wires. Twist each to a wire nut, then attach them to the fan’s matching terminals – black to black, white to white. The green or bare copper is the ground; clamp it to the metal housing or a grounding screw.
Give the connections a quick tug to ensure they’re tight. Use the voltage tester to double‑check that the power is still off before you pull the wires back into the ceiling.
3. Seal the duct. Attach the flexible duct to the fan’s outlet and the wall vent with metal clamps. Wrap the seams with foil tape to prevent air leaks. A sealed path makes the fan run efficiently and reduces noise.
4. Finish the trim. Snap the decorative grill onto the fan housing. If the grill screws in, tighten gently – you don’t want to crack it.
5. Test it. Restore power at the breaker and flip the switch. The fan should hum steady and push air out through the vent. If it stalls, check the wiring and make sure the duct isn’t blocked. The "Extractor Fan Stopped Working?" article notes that many fans fail because of loose connections or clogged ducts, so a quick inspection often fixes the issue.
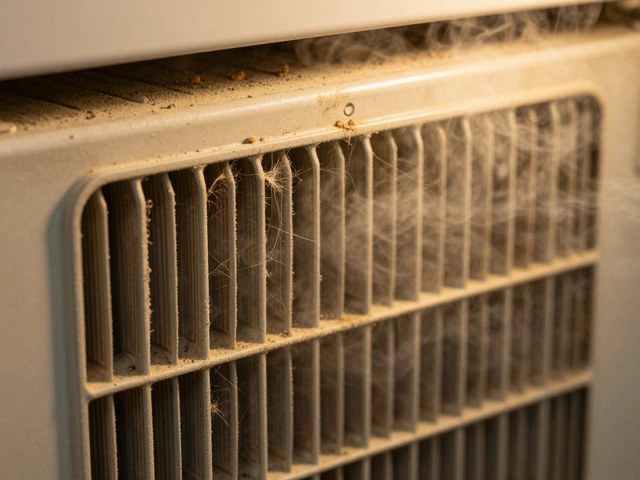
Now you have a working bathroom fan that pulls moisture out, cuts down on mold, and improves air quality. Keep the fan clean by wiping the grill every few months and checking the duct for dust buildup.
Installing a fan might seem intimidating, but with the right prep and a clear step‑by‑step plan, you can finish the job in an afternoon. If anything feels unsafe or the wiring looks unusual, don’t hesitate to call a qualified electrician – it’s better to be safe than sorry.
How Hard Is It to Replace an Extractor Fan? DIY Guide & Tips
- Alden Wilder
- Jul 9 2025
- 0 Comments
Thinking of swapping out your extractor fan? Discover if replacing an extractor fan is tough, what skills and tools you need, and insider tips for a smoother job.
View More


