Thermostat Multimeter Tester
Thermostat Test Guide
Enter your multimeter reading to determine if your water heater thermostat is functioning correctly. This tool helps you diagnose common issues based on resistance measurements.
Enter a multimeter reading and click "Test Thermostat" to see if your thermostat is functioning properly.
Key Takeaways
- Common signs of a bad thermostat include lukewarm water, no hot water, or frequent cycling.
- Safety first: turn off power or gas and drain the heater before testing.
- A multimeter can confirm whether the thermostat is open or shorted.
- Replacing a thermostat is a straightforward DIY job for most electric water heaters.
- Call a professional if you suspect gas‑related components or notice corrosion.
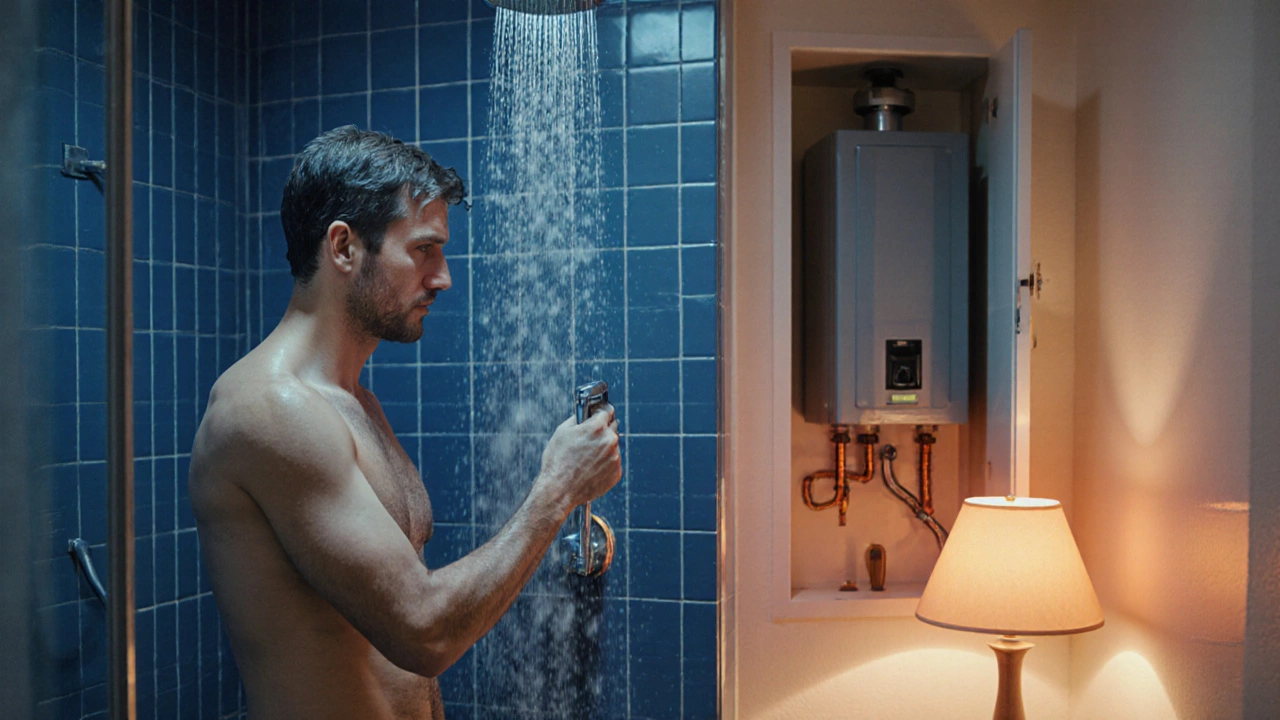
When your hot water supply feels lukewarm or stops heating altogether, the hot water heater thermostat is the component that tells the system when to turn the heating element on or off. A malfunctioning thermostat can leave you with cold showers, a higher electricity bill, or an over‑working heating element that may fail sooner. Below is a step‑by‑step guide to tell if your thermostat is the culprit, how to test it safely, and what to do next.
What the Thermostat Does Inside a Water Heater
The thermostat is essentially a temperature‑sensing switch. In an electric unit it sits between the heating element and the power supply, closing the circuit when water drops below the set point (usually 120°F or 49°C) and opening it once the target temperature is reached. In a gas‑powered heater, the thermostat triggers the gas valve and pilots the burners.
Symptoms That Often Point to a Bad Thermostat
Before you open the tank, watch for these tell‑tale signs:
- Lukewarm or cold water even after the heater has had time to run.
- Water heater cycles on and off rapidly (short‑cycling).
- Heater runs continuously but never reaches the set temperature.
- No hot water at all while other appliances work fine.
- Visible scorching or a burnt smell from the element (often a downstream effect).
These symptoms overlap with other failures-like a broken heating element, a clogged dip tube, or a faulty temperature sensor-so testing is essential.

Safety Checklist Before You Begin
- Turn off the power at the breaker for electric heaters or shut off the gas supply for gas models.
- Close the cold‑water inlet valve and open a hot‑water faucet to relieve pressure.
- Drain a few gallons from the tank using the drain valve. This prevents water from splashing when you remove the thermostat.
- Wear insulated gloves and safety glasses; water inside the tank can be scalding.
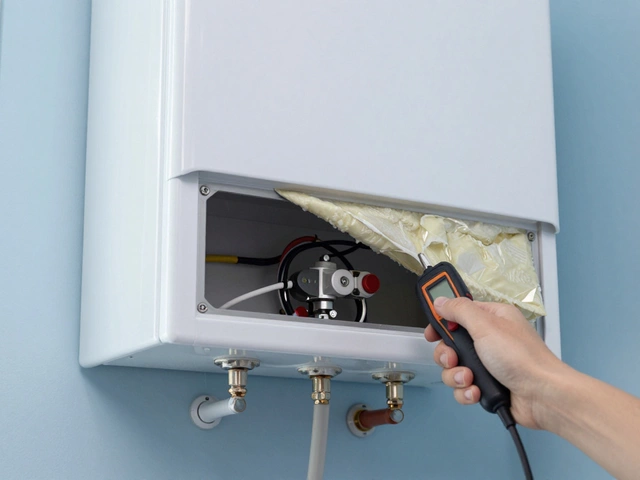
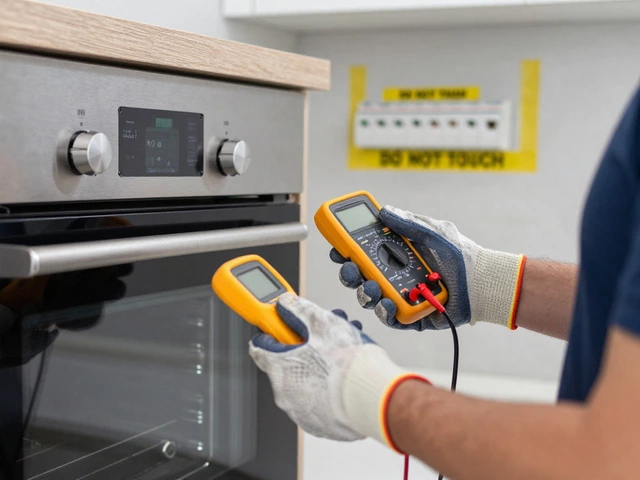
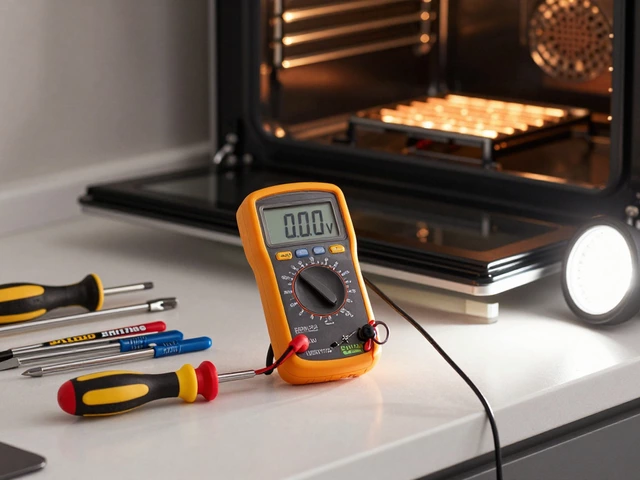
How to Test the Thermostat with a Multimeter
You’ll need a digital multimeter that can measure resistance (ohms). Follow these steps:
- Locate the thermostat. In most electric models it’s a round, white or metallic disc screwed to the top of the tank, usually behind a plastic cover.
- Remove the cover and disconnect the two wires attached to the thermostat terminals.
- Set the multimeter to the “ohms” (Ω) setting.
- Touch one probe to each terminal. Note the reading:
- If the meter shows a low resistance (typically 0-5Ω), the thermostat is closed-good for the “on” position.
- If it reads near infinite resistance (OL), the thermostat is open-good for the “off” position.
- To verify failure, set the thermostat to the “off” position (usually by turning the temperature knob to the lowest setting) and repeat the test. An open circuit in the off position is normal; an open circuit in the on position indicates a bad thermostat.
- For a more thorough check, you can heat the thermostat with a hair dryer for 30 seconds and test again. A functional thermostat should close (low resistance) as it senses heat.
If the readings are inconsistent-sometimes open, sometimes closed-or if the resistance is wildly out of the 0‑5Ω range, the thermostat should be replaced.
When to Consider Other Components First
Before buying a new thermostat, rule out these common culprits:
- Heating element: Test with a multimeter for continuity; a broken element will also cause cold water.
- Temperature sensor: Some modern heaters use a separate sensor; a faulty sensor mimics thermostat failure.
- Safety valve (pressure relief valve): If it’s leaking, the heater may shut down automatically.
- Dip tube blockage: Sediment can trap cold water at the bottom, giving the illusion of a thermostat problem.
If those parts check out, you can confidently move on to the thermostat replacement.
Replacing the Thermostat - A DIY Walkthrough
Here’s a concise guide that works for most 40‑50gal electric water heaters:
- Purchase the correct replacement part. Match the model number, voltage (usually 240V), and amperage rating. The part number is often printed on the old thermostat’s side.
- With the power still off, remove the thermostat cover and unscrew the thermocouple (if present) and the two wire connectors.
- Take a photo of the wiring layout for reference, then detach the thermostat from its mounting bracket.
- Install the new thermostat by aligning the mounting holes, securing it with the screw, and reconnecting the wires exactly as they were.
- Replace the cover, seal any O‑rings with a thin layer of plumber’s tape, and re‑tighten the screws.
- Close the drain valve, turn the cold‑water inlet back on, and let the tank refill.
- Restore power at the breaker, set the temperature knob to the desired setting (120°F is recommended for energy efficiency), and wait for the heater to cycle.
- Check for hot water after 30‑45 minutes. If the water reaches the set temperature, the job is done.
Tip: Keep a small notebook of the heater’s make, model, and serial number. This speeds up future parts orders and helps professionals diagnose issues faster.

Comparison Table: Bad Thermostat vs. Other Common Failures
| Issue | Typical Symptom | Primary Test | Typical Fix |
|---|---|---|---|
| Faulty Thermostat | Cold water, rapid cycling | Multimeter resistance check (0‑5Ω when hot) | Replace thermostat |
| Burned Heating Element | No hot water, element humming | Continuity test on element leads | Replace element |
| Clogged Dip Tube | Cold water at faucet, sediment in water | Visual inspection after draining; flow test | Replace dip tube |
Mini‑FAQ
Frequently Asked Questions
How can I tell if the thermostat is the only problem?
Start by testing the thermostat with a multimeter. If it shows normal open/closed resistance, move on to the heating element and dip tube. When each component checks out, the thermostat is likely the culprit.
Do I need a licensed plumber to replace an electric thermostat?
For electric models, a competent DIYer can replace the thermostat safely after turning off the breaker. However, if you’re uncomfortable working with 240V circuits, hiring a licensed electrician is advisable.
What temperature should I set my water heater to?
120°F (49°C) balances comfort, energy savings, and scald risk. If you have a dishwasher that requires hotter water, you can raise it to 130°F, but consider a mixing valve to protect against burns.
Can a bad thermostat cause a leak?
Indirectly, yes. If the thermostat stays closed, the heating element may overheat and cause the tank’s pressure relief valve to open, leading to a leak. Replace the thermostat promptly to avoid this cascade.
Is it worth buying a premium thermostat?
Premium models often include built‑in high‑limit switches and digital displays, offering better safety and precision. If you run a large household or want remote monitoring, a smart thermostat can be a good upgrade.
Next Steps & Troubleshooting
If you’ve replaced the thermostat and still see problems, try these actions:
- Re‑test the heating element for continuity; a partially failed element can cause intermittent heating.
- Flush the tank to remove sediment that can insulate the thermostat and skew temperature readings.
- Check the pressure relief valve for leaks; a stuck valve can trigger safety shut‑offs.
- For gas heaters, verify that the gas valve clicks when the thermostat calls for heat. If not, a professional should inspect the gas line.
When in doubt, call a licensed plumber or HVAC specialist. A faulty thermostat is easy to fix, but gas‑related faults require trained hands.
By following the checklist, testing with a multimeter, and swapping out the thermostat when needed, you can restore hot water quickly and avoid costly callbacks. Remember, safety always comes first-never work on a live circuit or a pressurized tank.