Water Heater Maintenance Checklist Calculator
Enter Your Information
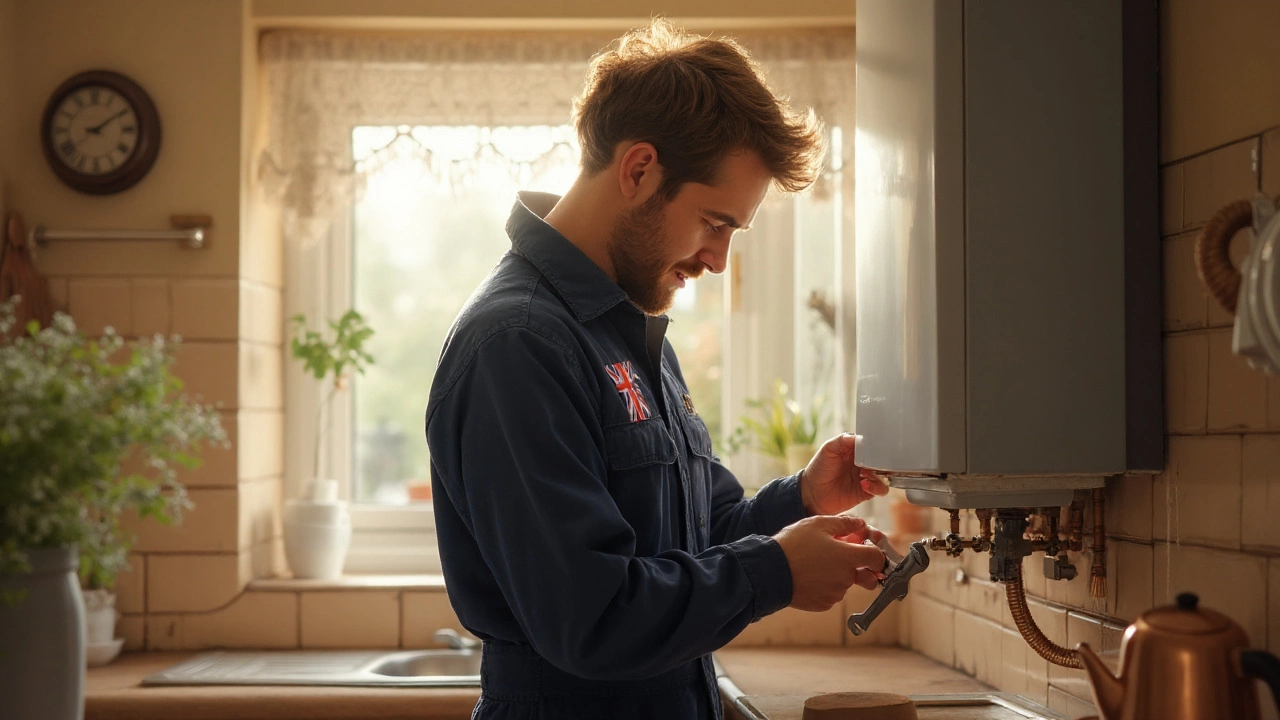
Water Heater is a device that heats stored water for domestic use, usually powered by electricity or natural gas. If you’ve ever taken a cold shower because the heater froze or dealt with a sudden leak, you know how disruptive a neglected system can be. Regular water heater maintenance prevents costly breakdowns, slashes energy bills, and keeps safety valves working when you need them most. Below is a complete, hands‑on guide that covers everything a homeowner should know.
TL;DR - Quick Checklist
- Inspect pressure relief valve every 6 months.
- Flush the tank yearly to remove sediment.
- Check and replace the anode rod every 2‑3 years.
- Test thermostat settings and gas pilot annually.
- Audit electrical connections and venting before winter.
Why Maintenance Matters
Three core reasons drive a maintenance routine:
- Longevity: A well‑maintained heater can last 10‑15 years, compared to 5‑7 years for a neglected one.
- Energy Efficiency: Sediment buildup forces the heating element or burner to work harder, raising consumption by up to 30%.
- Safety: Faulty pressure‑relief valves or cracked vent pipes can cause over‑pressurization or carbon‑monoxide leaks.
Manufacturers such as Rheem, AO Smith, and Bosch all list routine service as a warranty condition, underscoring its importance.
Core Maintenance Tasks
The following tasks form the backbone of any annual service plan. Each item is linked to a specific component, making it easy to follow.
1. Test the Temperature‑Pressure Relief (TPR) Valve
Temperature‑Pressure Relief Valve is a safety device that releases water if temperature or pressure exceeds safe limits. To test:- Place a bucket under the discharge pipe.
- Lift the valve lever gently; water should flow briskly and then stop when released.
- If no water appears, replace the valve-it's a cheap insurance policy.
2. Flush the Tank to Remove Sediment
Mineral deposits settle at the bottom of a tank, insulating the heating element and reducing heat transfer.
- Turn off power (electric) or gas supply.
- Connect a garden hose to the drain valve and run it to a floor drain.
- Open the valve; let water run until it’s clear (usually 10‑15 minutes).
- Close the valve, remove the hose, and refill the tank.
- Turn power or gas back on and let the heater reach set temperature.
3. Inspect and Replace the Anode Rod
Anode Rod is a sacrificial metal rod that attracts corrosion, protecting the tank interior. Steps:- Locate the 6‑inch hex head on top of the tank.
- Use a 1‑1/2" socket wrench to loosen and remove the rod.
- Check the core: if it’s more than 50% corroded, replace it with a new magnesium‑aluminum rod.
- Re‑install, tighten, and re‑check for leaks.
4. Verify Thermostat Settings and Pilot Light (Gas Models)
Thermostat is a control that sets the desired water temperature, typically between 120°F and 140°F. For electric heaters, use a multimeter to confirm continuity. For gas units:- Ensure the pilot flame is steady and blue; a yellow flame signals incomplete combustion.
- Adjust the thermostat knob to 120°F for energy savings and safety.
5. Examine Venting and Gas Supply (Gas Heaters)
A clear flue ensures proper exhaust of carbon monoxide. Look for cracks, rust, or blockage.
- Disconnect the vent pipe at the stove end.
- Use a flexible brush to clear any soot.
- Inspect the gas line for leaks with a soap‑solution; bubbles indicate a problem.
6. Check Electrical Connections (Electric Heaters)
Loose wires can cause arcing and fire hazards.
- Turn off the breaker dedicated to the heater.
- Open the access panel and tighten any loose terminal screws.
- Look for signs of corrosion or burnt insulation.
- Replace damaged wiring according to local electrical code.
Maintenance Frequency Schedule
| Task | Frequency | Key Indicator |
|---|---|---|
| Inspect TPR valve | Every 6 months | Valve releases water on test |
| Flush tank | Yearly | Water runs clear |
| Check anode rod | Every 2‑3 years | Rod ≥ 50% metal left |
| Test thermostat / pilot | Yearly | Stable flame, accurate temp |
| Inspect venting & gas line | Yearly (before heating season) | No cracks, no leaks |
| Check electrical connections | Yearly for electric models | Tight, corrosion‑free terminals |
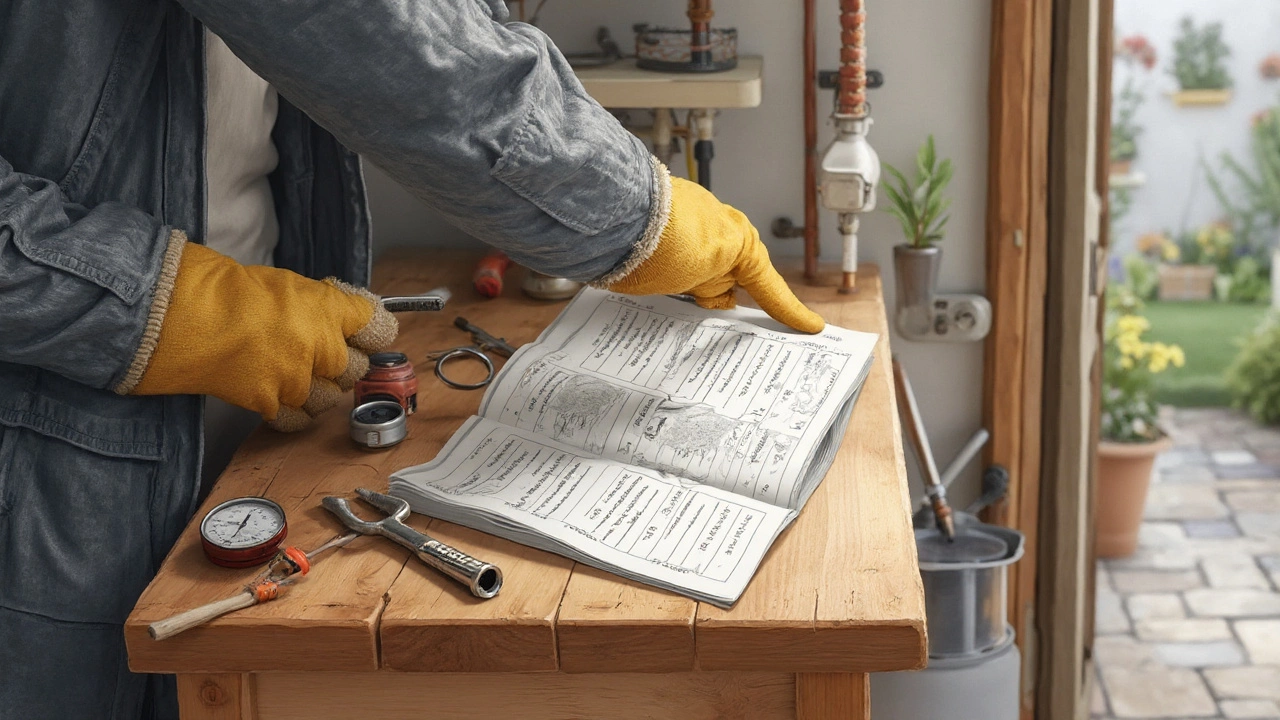
Tools & Safety Gear You’ll Need
- Adjustable wrench (1‑1/2" for anode rod)
- Screwdriver set (Phillips & flathead)
- Garden hose with backflow preventer
- Multimeter (for electrical diagnostics)
- Safety glasses and gloves
- Soap‑solution bottle for leak detection
DIY vs. Professional Service
Most tasks listed above are safe for a competent DIYer, provided you follow basic safety procedures:
- Shut off power or gas before any work.
- Vent the area if you’re testing a gas flame.
- Never replace the TPR valve with a non‑rated part; it must meet local codes.
If you encounter any of the following, call a licensed plumber:
- Persistent leaks after tightening connections.
- Corroded vent pipes beyond simple cleaning.
- Repeated pilot‑light extinguishing.
- Electrical components that show signs of arcing.
Professional service often includes a performance test (BTU output verification) that homeowners rarely have the tools to perform.
Common Pitfalls & Troubleshooting
Even with regular upkeep, problems arise. Below are the most frequent symptoms and quick fixes.
Cold Water at the Tap
- Check the thermostat-maybe set too low.
- Inspect the heating element for scale; replace if resistance is high.
- Ensure the gas valve is open and the pilot is lit.
Water Leaking from the Bottom
- Often a failed tank liner-requires full replacement.
- If dripping from the TPR valve, replace the valve.
Strange Noises (Rumbling, Popping)
- Typical sign of sediment; flush the tank immediately.
- Install a water softener if mineral content is high.
Foul Smell
- Indicates bacterial growth-run a diluted bleach solution (1 cup per 5 gallons) through the tank, then flush.
Comparison: Tank vs. Tankless Water Heater Maintenance
| Aspect | Tank Heater | Tankless Heater |
|---|---|---|
| Primary cleaning | Annual tank flush to remove sediment | Descaling every 12‑18 months (acid bath) |
| Component wear | Anode rod replacement every 2‑3 years | Heat exchanger check; replace after 10‑12 years |
| Safety checks | TPR valve test, vent inspection (gas) | Venting inspection; no TPR valve |
| Energy efficiency impact | Sediment reduces efficiency by up to 30% | Scale buildup reduces flow, causing “cold‑water syndrome” |
Both systems need regular attention, but the tasks differ in focus. Tankless units are compact and lack a storage tank, so descaling is the biggest chore, while traditional tanks demand sediment removal and anode‑rod care.
Related Concepts and Next Steps
Understanding water heater upkeep opens the door to broader home‑energy topics. You might explore:
- Boiler maintenance - similar safety valves and venting considerations.
- HVAC efficiency - seasonal checks that complement water heating schedules.
- Home insulation - reducing heat loss improves overall hot‑water performance.
Each of these subjects belongs to the same knowledge hierarchy: they fall under “Home Improvement → Energy Systems → Heating & Hot Water”. After mastering water heater tasks, diving into boiler and HVAC maintenance creates a well‑rounded skill set for any homeowner.
Frequently Asked Questions
How often should I flush my water heater?
A full tank flush is recommended once a year. In areas with hard water, performing the flush every six months can prevent excessive scale buildup and keep heating efficiency high.
What is the purpose of the anode rod?
The anode rod acts as a sacrificial metal that attracts corrosion inside the tank, protecting the steel walls. When the rod is more than half‑consumed, it should be replaced to avoid tank rust.
Can I replace the temperature‑pressure relief valve myself?
Yes, as long as you use a valve that meets local plumbing codes and follow the manufacturer’s torque specifications. After installation, always perform the test lift to confirm it discharges correctly.
Why does my water heater make popping noises?
Popping usually indicates water trapped under sediment is turning to steam. A thorough flush removes the mineral layer and eliminates the noise.
What safety gear should I wear when servicing a water heater?
Wear safety glasses, insulated gloves, and sturdy shoes. For gas units, keep a fire‑extinguisher nearby and ensure the area is well‑ventilated.
Is it worth upgrading to a tankless water heater?
Tankless models provide on‑demand hot water and can lower energy use by 20‑30% if you have low to moderate demand. However, installation cost is higher, and you’ll need regular descaling to keep performance up.
How can I tell if my water heater is under‑performing?
Measure the temperature rise (cold water vs. hot water) and compare it to the manufacturer’s spec. A drop of more than 10°F usually signals sediment, a failing heating element, or a stuck thermostat.