Kitchen Extractor Fan Size Calculator
Room & Stove Details
Recommended Specifications
Enter your room details to find the perfect fan size.
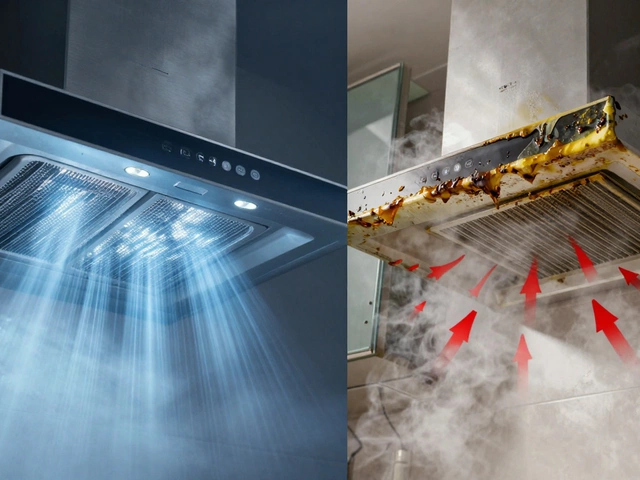
That whirring noise in your kitchen isn't just annoying; it’s a sign that your kitchen extractor fan is a mechanical device designed to remove smoke, steam, and cooking odors from the air by venting them outside or filtering them internally. When it fails, grease builds up, windows fog up, and your home smells like last night’s dinner. The immediate question on most homeowners' minds is: "Can I fix this myself, or do I need to call an electrician?" The short answer is yes, you can replace it yourself, provided you are comfortable with basic tools, understand how to turn off power at the breaker, and follow local electrical codes. However, there are specific scenarios where hiring a professional is not just safer but legally required.
This guide will walk you through the decision-making process, the tools you need, and the step-by-step installation procedure. We’ll also cover the critical safety checks and regulatory requirements that many DIYers overlook, ensuring your new fan works efficiently and keeps your home safe from fire hazards.
Assessing Your Skill Level and Safety Risks
Before you buy a new unit, take an honest look at your comfort level with household repairs. Replacing an extractor fan involves two main disciplines: carpentry (removing the old housing and fitting the new one) and electrical work (wiring the new motor). If you have changed a light fixture or installed a ceiling rose before, you likely have the necessary skills. If the thought of touching live wires makes you nervous, stop here and hire a professional.
The biggest risk isn’t the height or the drilling; it’s electricity. Even when switched off at the wall, circuits can be mislabeled or share neutral lines with other devices. Always assume a wire is live until you’ve tested it with a voltage tester. Additionally, if your home has older wiring (pre-1980s), the insulation may be brittle, increasing the risk of short circuits during handling.
| Factor | DIY Suitable? | Call a Pro If... |
|---|---|---|
| Electrical Confidence | Yes, if you know how to isolate circuits | You are unsure about finding the correct breaker |
| Wiring Condition | Clean, modern cables with clear labels | Frayed, burnt, or unidentified wires |
| Ventilation Path | Existing ductwork is clear and accessible | You need to drill through exterior walls or roof |
| Local Regulations | No permit required for like-for-like replacement | New circuit needed or major structural changes |
Gathering Tools and Materials
Success depends heavily on preparation. You don’t need expensive gear, but you do need the right tools to avoid damaging your cabinetry or the new unit. Here is what you should have ready before starting:
- Replacement Fan Unit: Ensure it matches the cut-out dimensions of your existing hood or cabinet space. Check the airflow rating (measured in cubic feet per minute, CFM) to ensure it meets your kitchen size requirements. For standard kitchens, 300-400 CFM is usually sufficient.
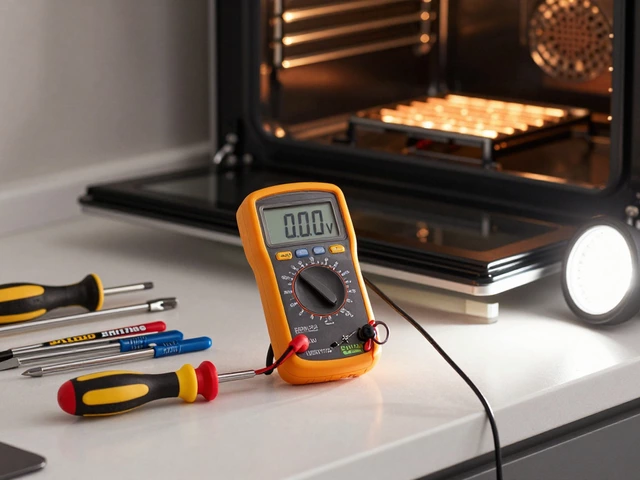
- Non-Contact Voltage Tester: Essential for confirming power is off. Never rely solely on the switch position.
- Screwdrivers: Both flathead and Phillips head, preferably magnetic tips to keep screws from falling into dark spaces.
- Wire Strippers and Connectors: Use twist-on wire nuts or Wago lever-nuts for secure connections. Avoid tape alone, as it degrades over time.
- Drill and Bits:**: For mounting brackets if the new unit requires additional support.
- Flashlight or Headlamp:**: Cabinets and under-hood spaces are notoriously dark.
- Sealant Tape:**: To prevent air leaks around the duct connection.
Note that if you are replacing a recirculating fan (one with charcoal filters) with a ducted fan (one that vents outside), you will need significant additional materials, including metal ducting, wall caps, and possibly a hole saw kit. This is a more advanced project and often falls outside simple "replacement" scope.
Step-by-Step Replacement Process
Follow these steps carefully. Rushing leads to mistakes, and mistakes in electrical work can lead to fires.
- Isolate the Power: Go to your consumer unit (fuse box) and switch off the breaker supplying the kitchen lighting and appliances. Label it clearly so no one turns it back on while you’re working. Verify the power is off using your voltage tester at the fan’s location.
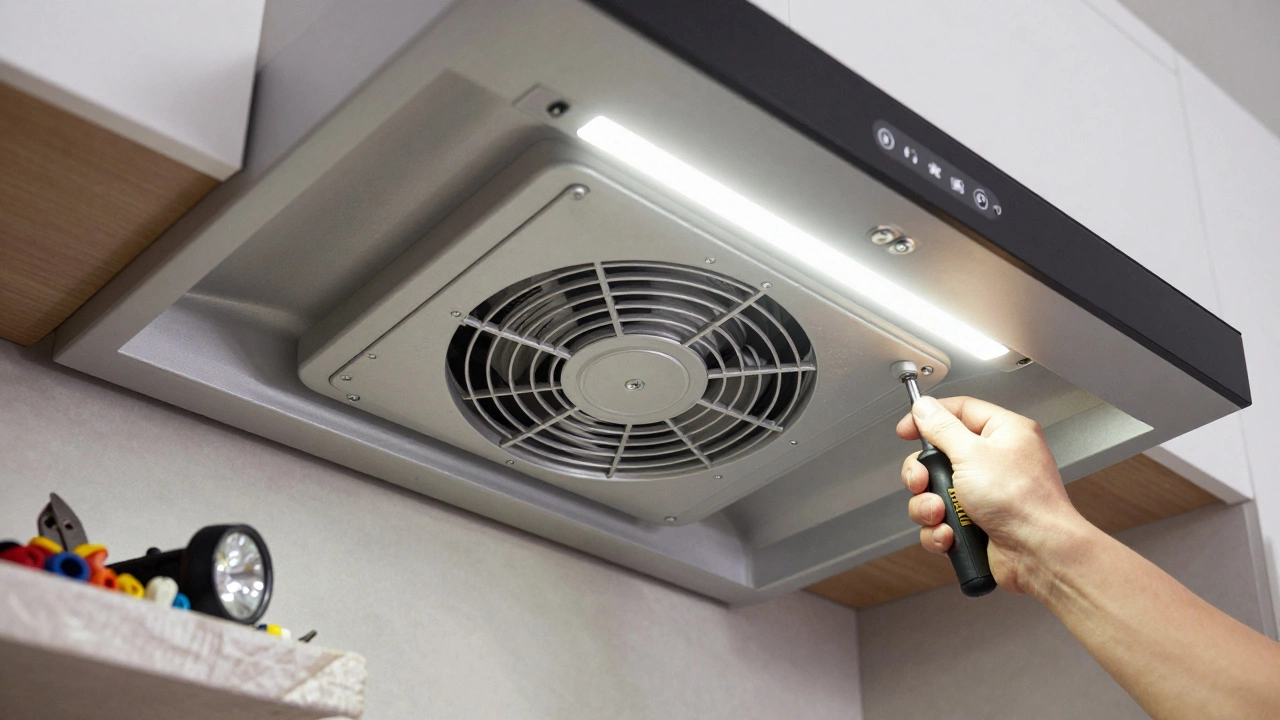
- Remove the Old Unit: Unscrew the faceplate or grille. Disconnect the wires by undoing the connectors. Note the color coding: typically brown/black is live, blue is neutral, and green/yellow is earth. Take a photo of the wiring setup before disconnecting anything. Remove the mounting screws holding the fan housing in place.
- Prepare the New Unit: Compare the new fan’s mounting bracket with the old one. If they differ, you may need to drill new holes. Attach the new bracket securely to the cabinet or wall structure, not just the drywall or wood paneling.
- Connect the Wiring: Feed the wires through the opening. Connect live to live, neutral to neutral, and earth to earth. Tighten the connectors firmly. Push the wires neatly back into the junction box or behind the unit to avoid pinching.
- Mount the Fan: Align the fan body with the bracket and screw it in place. Ensure it sits flush against the surface to prevent vibration noise.
- Reassemble and Test: Reattach the grille or filter. Turn the power back on at the breaker. Switch the fan on and listen for unusual noises. Check for proper airflow by holding a tissue near the intake; it should stick firmly.

Understanding Electrical Codes and Regulations
In many regions, including the UK and parts of Europe, replacing a like-for-like extractor fan is considered "minor works" and does not require notification to building control, provided you do not alter the fixed wiring significantly. However, if you are installing a new circuit, moving the fan to a different location, or connecting it to a different power source, you must comply with Part P of the Building Regulations (in the UK) or NEC Article 400 (in the US).
A key consideration is the type of switch used. Extractor fans in bathrooms or kitchens near water sources often require a switched fused connection unit (SFCU) rather than a standard wall switch, due to moisture risks. If your current setup lacks this, upgrading to a compliant SFCU is recommended for safety, even if not strictly mandatory for a simple swap.
Always check local guidelines. In some jurisdictions, any electrical work in a kitchen must be certified by a qualified electrician, regardless of complexity. Ignoring these rules can void your home insurance and create liability issues if a fire occurs.
Common Pitfalls to Avoid
Even experienced DIYers make mistakes. Here are the most common errors that cause premature failure or safety hazards:
- Ignoring Airflow Direction: Make sure the fan is oriented correctly. Installing it backward means it pushes air into your kitchen instead of out.
- Using Incorrect Ducting: Flexible plastic ducting creates turbulence and reduces efficiency. Use rigid metal ducting whenever possible, and keep bends to a minimum.
- Over-tightening Screws: Plastic housings can crack if screws are forced. Hand-tighten until snug, then give a quarter-turn more.
- Skipping the Earth Connection: Never omit the ground wire. It protects you from electric shock if the motor casing becomes live.
- Choosing the Wrong Size: A fan that is too small won’t clear steam, leading to mold. One that is too large will be noisy and waste energy. Calculate your kitchen volume and multiply by 6-10 air changes per hour to determine required CFM.
When to Call a Professional Electrician
While DIY saves money, it doesn’t always save time or stress. Hire a pro if:
- You discover damaged or corroded wiring behind the old fan.
- The new fan requires a different voltage or amperage than your current circuit supports.
- You need to drill through load-bearing walls or exterior cladding.
- Your local laws require certification for kitchen electrical work.
- You feel uncertain at any point during the process.
A licensed electrician can complete the job in under an hour and provide a guarantee on their workmanship. For complex installations involving smart home integration or high-capacity commercial-grade units, professional expertise ensures optimal performance and compliance.
Maintenance Tips for Longevity
Once installed, your new extractor fan needs regular care to maintain efficiency. Grease and dust accumulate quickly in kitchen environments. Clean the filters every 4-6 weeks by soaking them in warm soapy water or placing them in the dishwasher (if manufacturer-approved). Inspect the ductwork annually for blockages from bird nests or debris. Lubricate the motor bearings once a year if the model allows access. These small tasks extend the life of the unit and prevent costly replacements down the line.
Do I need a permit to replace my kitchen extractor fan?
In most cases, no. Replacing a like-for-like unit without altering the wiring circuit is considered minor work and does not require a permit. However, if you are changing the location, adding a new circuit, or modifying the ventilation path through exterior walls, you may need approval from local building authorities. Always check your regional codes before starting.
What if the new fan doesn’t fit the old hole?
If the new fan is slightly smaller, you can use trim rings or filler strips to cover gaps. If it’s larger, you’ll need to carefully enlarge the cut-out using a jigsaw or hole saw, ensuring you don’t damage surrounding structures. Measure twice before cutting. Alternatively, choose a model with adjustable mounting brackets that accommodate various sizes.
Can I install a ducted fan if my current one is recirculating?
Yes, but it’s a more complex project. You’ll need to install external ducting, which involves drilling through walls or roofs. This requires sealing penetrations to prevent drafts and pests. Consider hiring a professional for this conversion to ensure proper airflow and weatherproofing.
How do I know if my fan is wired correctly?
After connecting wires, double-check that live connects to live, neutral to neutral, and earth to earth. Use a voltage tester to confirm power reaches the unit before turning it on. If the fan hums but doesn’t spin, the wiring might be reversed or the capacitor faulty. Consult the manufacturer’s diagram for specific color codes.
Why is my new extractor fan noisy?
Noise often comes from poor mounting, vibrating ductwork, or restricted airflow. Ensure all screws are tight but not over-tightened. Check that ducting is straight and unobstructed. Install rubber gaskets between the fan and housing to dampen vibrations. If noise persists, the unit may be defective or incorrectly sized for your kitchen.