Fan Repair: Simple Fixes for Extractor, Bathroom & Kitchen Fans
If your fan has gone quiet or rattles weirdly, you’re probably thinking about a call to a pro. But before you pick up the phone, try a few easy checks. Most fan problems are caused by something you can fix in a few minutes with basic tools.
Common Reasons Fans Stop Working
First, look at the power. A tripped circuit breaker or a loose plug can shut a fan down instantly. Reset the breaker or plug it back in and see if the fan spins. If power is fine, the next suspect is the fan motor. Over time, dust and grease build up, making the motor overheat and shut off.
Another frequent issue is a clogged fan blade. Kitchen and bathroom fans pull a lot of moisture and grease. When the blades or the vent get blocked, airflow drops and the fan may stall. Give the blades a clean with a damp cloth and remove any debris from the vent opening.
Sometimes the problem is the fan’s capacitor. This small part stores electricity to give the motor a boost when it starts. A bad capacitor can cause a humming sound but no movement. Spotting a swollen or leaking capacitor means it’s time for a replacement.
Step‑by‑Step DIY Repair Guide
Ready to roll up your sleeves? Start by turning off the power at the circuit breaker – safety first. Remove the fan cover; most are held by a few screws or clips. Take a quick look for dust, and use a soft brush or vacuum to clear it out.
Next, check the motor shaft. Spin it by hand; it should turn smoothly. If it feels gritty, spray a little light oil on the shaft and wipe away excess. For stubborn grime, a cotton swab dipped in rubbing alcohol works well.
Inspect the wiring connections. Loose wires can cause intermittent power loss. Tighten any loose screws and make sure the wires are securely clamped. If you see any frayed insulation, trim the damaged part and twist the exposed copper together before re‑securing.
If the fan still doesn’t start, test the capacitor with a multimeter set to “capacitance”. Compare the reading to the value printed on the part. A mismatch means you need a new capacitor – they’re cheap and easy to replace.
After fixing or replacing parts, re‑assemble the fan, restore power, and give it a test run. Listen for any odd noises and feel for steady airflow. If everything sounds good, you’ve saved a call to a technician and kept the repair bill low.
When the DIY route isn’t enough – for example, if the motor itself is burnt out or you spot water damage – call a professional. A qualified tech can replace the motor safely and ensure the fan meets local safety standards.
Keeping fans clean and checking them once a year can prevent most breakdowns. A quick wipe of the grill and a spin of the blades will catch problems early and extend the fan’s life.
Whether it’s an extractor over your stove, a bathroom vent, or a ceiling fan that’s lost its spin, most issues are fixable with a little time and the right steps. Use these tips as a checklist, and you’ll get your fan humming again in no time.

Do Extractor Fans Wear Out? Understanding Wear and Tear
- Alden Wilder
- Mar 19 2025
- 0 Comments
Extractor fans are vital for maintaining air quality in our homes, but like all appliances, they don’t last forever. Understanding what causes them to wear out and recognizing signs of deterioration can help you address problems before they escalate. With tips on maintenance and repair, you can extend the life of your fan and avoid costly replacements. Whether it's a strange noise or a decrease in airflow, identifying these issues early is key to keeping your home fresh and ventilated.
View More-
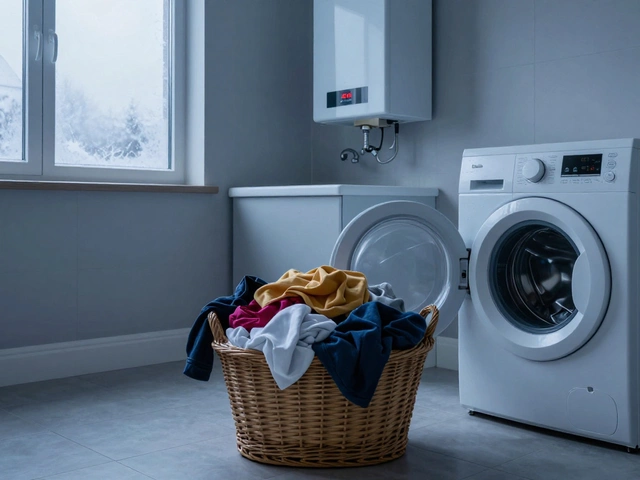
Can You Use a Washing Machine With a Broken Boiler?
Apr 4, 2026 -
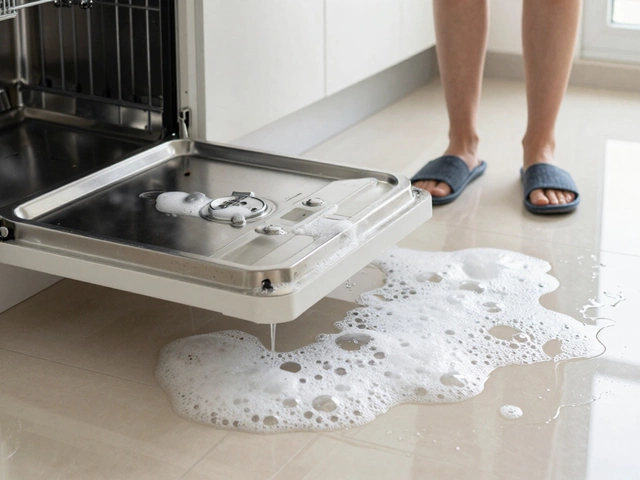
Is it Worth Repairing a 4-Year-Old Dishwasher? Cost vs. Replacement Guide
Apr 6, 2026 -

Is it Safe to Take Your Laptop to a Repair Shop? How to Protect Your Data
Apr 5, 2026 -
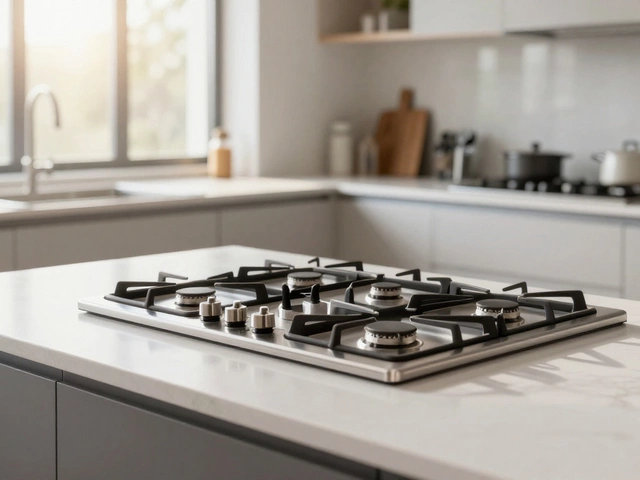
Replacing a Gas Hob: Do You Need a Certified Gas Engineer?
Apr 12, 2026 -

Oven Element vs. Thermostat: How to Tell Which One is Broken
Apr 9, 2026