Home Ventilation: Simple Solutions for Cleaner Air
Good ventilation is a hidden hero in every house. It clears out moisture, odors, and pollutants, so you breathe easier and avoid mold. The best part? You don’t need a big budget or a professional for most improvements. A few practical steps can make a huge difference.
Why Good Ventilation Matters
Whenever you cook, shower, or dry clothes indoors, humidity builds up. Too much moisture invites mould, which can damage walls and trigger allergies. Stale air also traps smells and carbon dioxide, lowering comfort and even affecting sleep. By moving fresh air in and stale air out, you keep temperature stable and protect your home’s structure.
Most homes rely on natural airflow – windows and doors – plus mechanical devices like extractor fans. If either is under‑performing, you’ll notice stuffy rooms, condensation on windows, or a lingering kitchen smell. Fixing these signs is easier than you think.
Easy DIY Fixes and Fan Choices
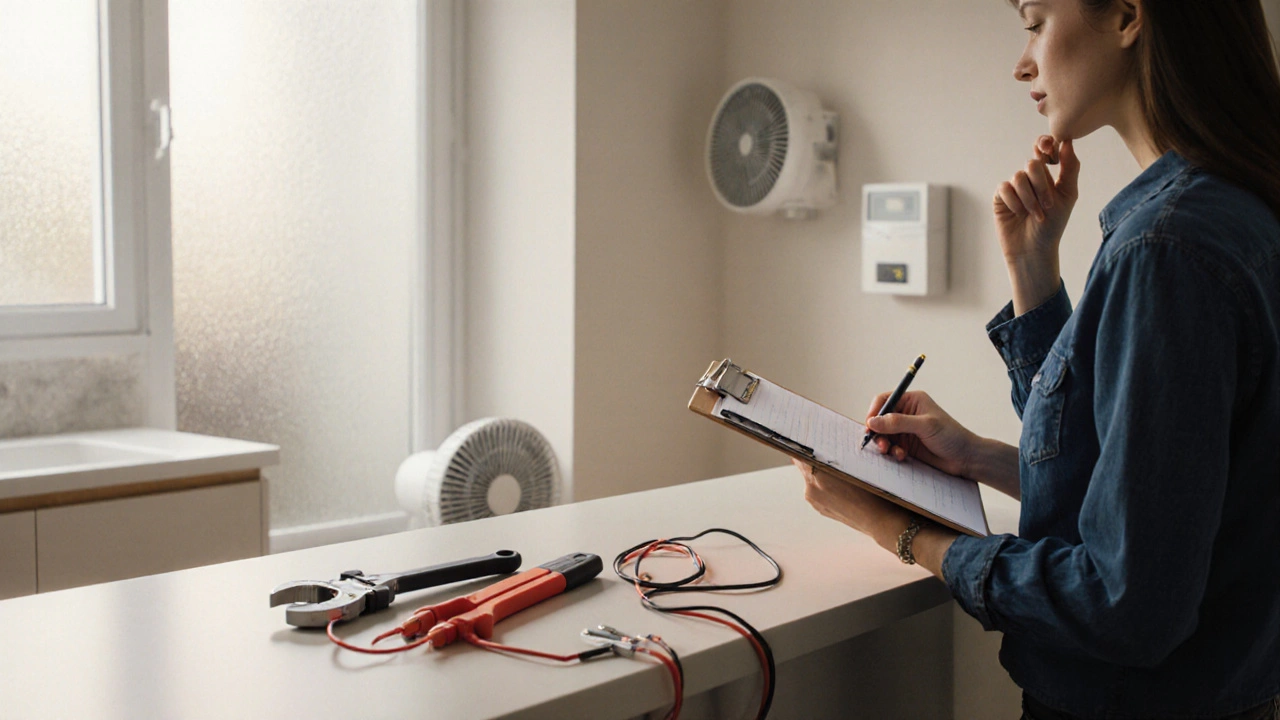
Start with a quick check of existing fans. Turn on the bathroom extractor while running a hot shower; you should feel a steady breeze on the outside. If it’s weak, clean the grille and replace the filter. Dust and hair often block airflow.
When buying a new fan, look for CFM (cubic feet per minute) ratings that match room size. A 50‑square‑foot bathroom typically needs 50‑70 CFM, while a kitchen with a gas stove may require 100‑150 CFM. Higher CFM means quicker moisture removal, but louder operation. Choose a model with a speed switch so you can quiet it when you’re not cooking or showering.
Installation is straightforward for most ceiling‑mounted fans. You’ll need a screwdriver, drill, and a safety switch. Shut off electricity at the breaker, remove the old unit, attach the mounting bracket, connect the wires (live to live, neutral to neutral, earth to earth), and secure the new fan. If the wiring looks unfamiliar, it’s safer to call an electrician.
For rooms without a fan, consider a simple window vent. Cut a small section in the upper corner, install a vent hood, and attach a flexible duct to the outside. This passive system works well in laundry rooms or small kitchens where a full extractor isn’t needed.
Don’t forget regular maintenance. Wipe fan blades monthly, check the motor for overheating, and replace filters every three months if you have a recirculating model. Keeping the system clean ensures optimal airflow and extends the fan’s life.
Finally, boost natural ventilation when the weather allows. Open windows opposite each other to create a cross‑draft. Even a 10‑minute session each morning can lower indoor pollutants dramatically.
By combining clean fans, simple checks, and a bit of fresh air, you’ll notice drier walls, fewer smells, and a healthier home environment—all without a hefty price tag.
Do Plumbers Install Extractor Fans? What You Need to Know
- Alden Wilder
- Oct 7 2025
- 0 Comments
Find out if plumbers can install extractor fans, when to hire a plumber versus an electrician, costs, permits, and step‑by‑step DIY tips.
View More
Can I Install an Extractor Fan Myself?
- Alden Wilder
- Mar 14 2025
- 0 Comments
Thinking about installing an extractor fan yourself? This long-read article delves into the process, exploring whether it's a feasible DIY project. Learn about essential tools, the importance of correct installation to avoid mold and moisture, and safety tips to consider during the project. Discover common challenges and how to tackle them. By the end, you'll know if this task is within your grasp or if a professional should handle it.
View More-

Is it Worth Repairing a 4-Year-Old Dishwasher? Cost vs. Replacement Guide
Apr 6, 2026 -

Oven Element vs. Thermostat: How to Tell Which One is Broken
Apr 9, 2026 -

Is it Safe to Take Your Laptop to a Repair Shop? How to Protect Your Data
Apr 5, 2026 -
Can You Use a Washing Machine With a Broken Boiler?
Apr 4, 2026 -

Replacing a Gas Hob: Do You Need a Certified Gas Engineer?
Apr 12, 2026