DIY Fixes: Quick Home Appliance Repairs & Tips
Got a noisy fridge, a dishwasher that won't drain, or an oven that refuses to heat? You don’t always need to call a tech right away. A few simple tools, a bit of patience, and the right guidance can save you time and cash. Below you’ll find practical, no‑fluff advice for the most common faults we see on the job.
Common Appliance Problems You Can Fix at Home
Refrigerator not cooling. Usually it’s a dirty condenser coil or a blocked airflow vent. Unplug the unit, pull it away from the wall, and vacuum the coils with a brush attachment. If the temperature still won’t drop, check the thermostat setting and make sure the door seals are clean.
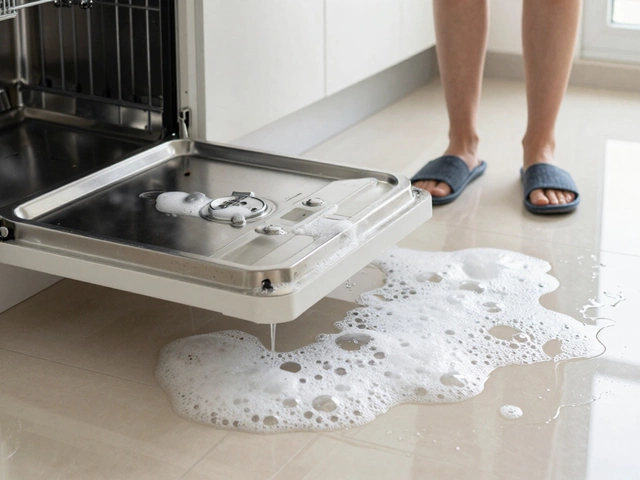
Dishwasher not draining. A clogged filter or a kinked drain hose is the usual culprit. Remove the bottom rack, locate the filter, and clean any food bits. Then pull the hose out of the sink connection and look for blockages. A quick run of the dishwasher on a short cycle will confirm it’s working again.
Oven won’t heat. The heating element is often the offender. When the oven is cool, look through the door to spot any discoloration or breaks in the coil. If you see a break, order the exact replacement part (most brands list the part number online) and swap it out. Keep an eye on the element for a minute after you turn the oven on to be sure it glows red.
Washing machine won’t spin. A stuck lid switch or a worn drive belt can halt the spin cycle. Open the lid and listen for a click when you close it – no click means the switch is faulty and should be replaced. If the belt looks cracked or loose, pull the back panel, release the tension, and fit a new belt.
Step‑by‑Step DIY Guide for the Most Frequent Issues
Pick the problem you’re facing, then follow these three universal steps:
1. Diagnose the symptom. Write down exactly what’s happening: noises, error codes, or when the fault occurs. This narrows down the possible parts and saves you from guesswork.
2. Gather tools and parts. Most fixes need a screwdriver set, a multimeter, and sometimes a wrench. Use the appliance’s model number (usually on a sticker inside the door) to order the correct part online. Look for “OEM” or “exact match” to avoid compatibility issues.
3. Perform the repair and test. Always unplug the appliance first. Follow the part‑by‑part instructions: remove the faulty component, install the new one, and reassemble in reverse order. After you’re done, plug it back in and run a short cycle or a test mode. If the problem persists, double‑check your connections or consider whether the issue might be electrical and needs a professional.
Remember, safety comes first. If you ever feel unsure about handling electricity or gas components, it’s wiser to call a qualified technician. But for most cooling, draining, and heating hiccups, a quick DIY fix can have your kitchen humming again in no time.
Keep this guide handy, and you’ll turn many small headaches into easy wins. Happy fixing!

DIY Electric Oven Repair: Tips & Tricks for Fixing Common Issues
- Alden Wilder
- Dec 5 2024
- 0 Comments
Repairing your own electric oven can seem daunting, but with the right guidance, it's entirely possible. This article explores common issues such as faulty heating elements and malfunctioning thermostats, while offering practical advice on diagnosing and fixing these problems. Learn about essential tools, safety measures, and when it's best to call a professional. Take control of your kitchen repairs and save on costly service calls.
View More-
Is it Worth Repairing a 4-Year-Old Dishwasher? Cost vs. Replacement Guide
Apr 6, 2026 -

Oven Element vs. Thermostat: How to Tell Which One is Broken
Apr 9, 2026 -
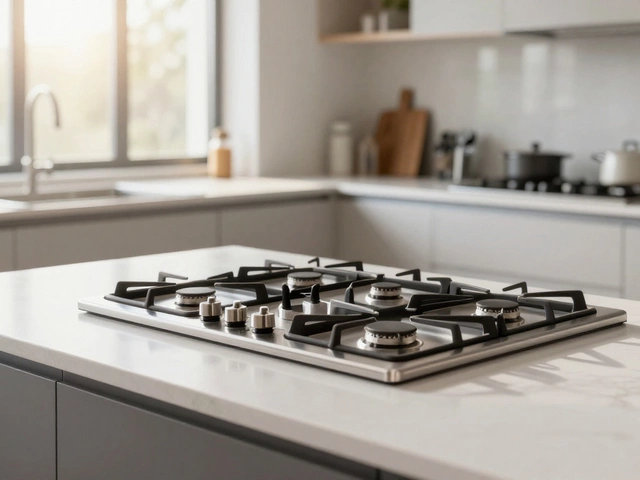
Replacing a Gas Hob: Do You Need a Certified Gas Engineer?
Apr 12, 2026 -

Is it Safe to Take Your Laptop to a Repair Shop? How to Protect Your Data
Apr 5, 2026 -
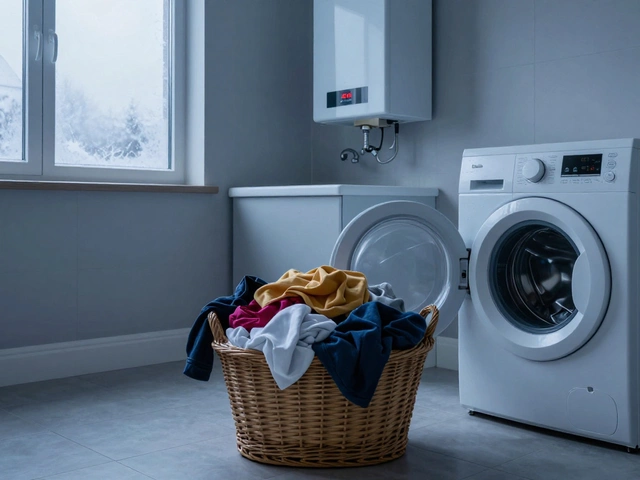
Can You Use a Washing Machine With a Broken Boiler?
Apr 4, 2026